将 HTML 表单连接到 Google 电子表格
如果您更喜欢观看视频,请在 YouTube 上查看。
人员在其职业生涯中迟早都会遇到的一个环节,最近我的一个朋友问我,有没有办法在没有任何后端的情况下保存 HTML 表单中输入的数据,答案是肯定的!
本文将教你如何以最简单快捷的方式将一个简单的 HTML 表单链接到 Google 表格。你只需要一个 HTML 表单、一个 Google 帐户(用于创建 Google 表格)以及复制粘贴功能。
以下步骤用于将表单和工作表链接在一起:
1)创建 HTML 表单并添加相应的输入字段。在本例中,我将创建一个包含姓名和留言字段的反馈表单 。
。
2.) 然后登录您的 Google 帐户并创建一个电子表格,在表格的第一行填写 HTML 表单中各个输入字段的名称。省略第一列;该列将用于跟踪每条记录的日期。
3)在表格中,点击扩展菜单并选择应用程序脚本。这将在另一个浏览器标签页中打开 。
。
4.)

将应用程序脚本的名称从“untitled project”更改为您想要的任何名称。我将其重命名为“feedback form”。之后,将 myFunction 函数替换为以下函数。
const sheetName = 'Sheet1'
const scriptProp = PropertiesService.getScriptProperties()
function intialSetup () {
const activeSpreadsheet = SpreadsheetApp.getActiveSpreadsheet()
scriptProp.setProperty('key', activeSpreadsheet.getId())
}
function doPost (e) {
const lock = LockService.getScriptLock()
lock.tryLock(10000)
try {
const doc = SpreadsheetApp.openById(scriptProp.getProperty('key'))
const sheet = doc.getSheetByName(sheetName)
const headers = sheet.getRange(1, 1, 1, sheet.getLastColumn()).getValues()[0]
const nextRow = sheet.getLastRow() + 1
const newRow = headers.map(function(header) {
return header === 'Date' ? new Date() : e.parameter[header]
})
sheet.getRange(nextRow, 1, 1, newRow.length).setValues([newRow])
return ContentService
.createTextOutput(JSON.stringify({ 'result': 'success', 'row': nextRow }))
.setMimeType(ContentService.MimeType.JSON)
}
catch (e) {
return ContentService
.createTextOutput(JSON.stringify({ 'result': 'error', 'error': e }))
.setMimeType(ContentService.MimeType.JSON)
}
finally {
lock.releaseLock()
}
}
```.
Save the project (Ctrl + S or click the floppy disk icon).
5.) Run the script. This should bring up a permission dialog, follow the steps and grant all permissions required. When you get to this part
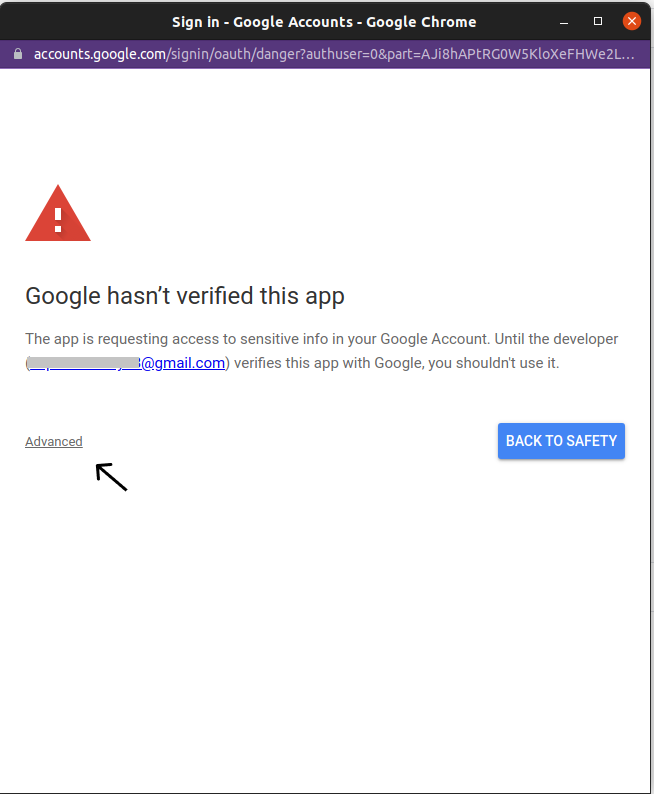 click in advance and continue to the form. If permissions have been given properly, then you should see this
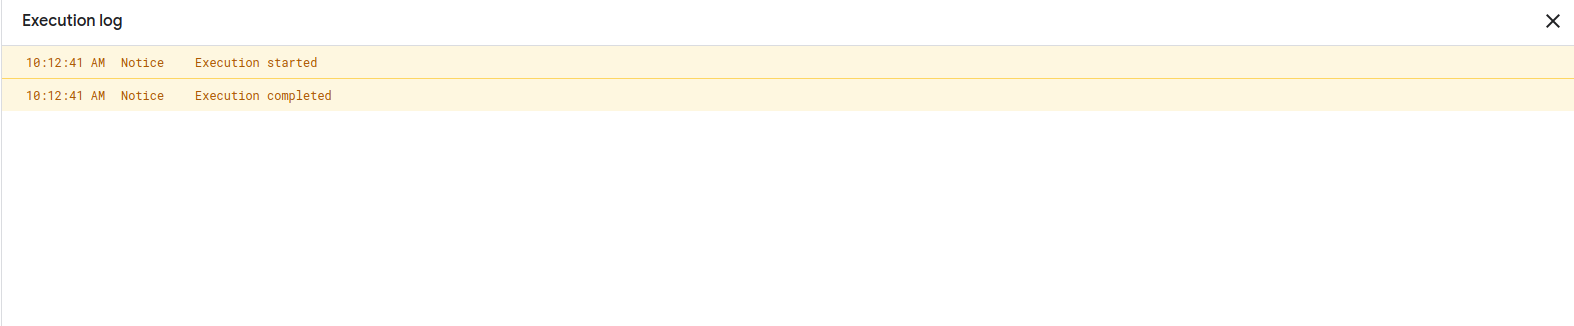.
6.) create triggers for the script by clicking on the trigger icon(alarm) on the sidebar and clicking the fab-like button to add a trigger. This would open up a modal like this
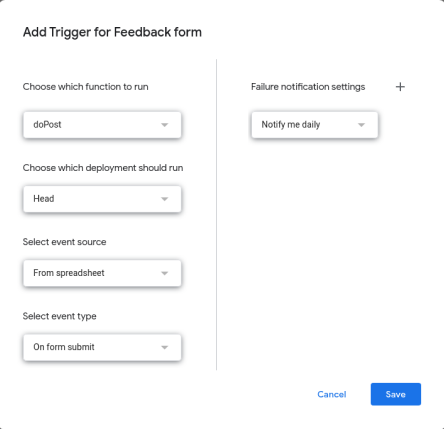
Fill in the following options:
- Choose which function to run: “doPost”
- Choose which deployment should run: “Head”
- Select event source: “From Spreadsheet”
- Select event type: “On form submit”
Then save, this might require another permission request which you should grant.
7.) After saving, click on the blue Deploy button on the top right corner and select “New Deployment”. Then click the “Select type Icon” and select “Web App”.
8.) In the form that appears fill in the description field, this can be whatever you want. In the “execute as” field, select “Me”. and then in “who has access” select “anyone”
9.) Deploy and copy the web URL that is shown afterward.
With the above steps, we are done with the google sheet aspect. All that is left now is to link the HTML Form to the sheet. There are several methods of doing this but I would be showing you the one I perceive to be the easier and most flexible. Copy and paste the code below in a script tag.
const form = document.querySelector("#form")
const submitButton = document.querySelector("#submit")
const scriptURL = ' https://script.google.com/macros/s/AKfycbwG9vCMBREFM4suhSiTdVPFu7-F-6JclKyZGGuKjFS-dqaZT6kKXS6r_15kub3YH2R5yw/exec '
form.addEventListener('submit', e => {
submitButton.disabled = true
e.preventDefault()
let requestBody = new FormData(form)
fetch(scriptURL, { method: 'POST', body: requestBody})
.then(response => {
alert('成功!', response)
submitButton.disabled = false
})
.catch(error => {
alert('错误!', error.message)
submitButton.disabled = false
   }
   )
})
The above script:


- submits the form data.
-  prevents the page from reloading.
-  Disables the submit button while the data is being sent to
prevent double clicks.

### Conclusion.
If you follow the instructions above, then you should be able to any type of HTML form to a google spreadsheet. Below is a list of helpful links.
- The Github repo: https://github.com/kromate/HTMLForms-to-google-sheets
- The Google Sheet: https://docs.google.com/spreadsheets/d/1WDCaLrS8u9Topr2cwERgOgvKbJGqhuHgnQjyf5oZWgY/edit#gid=0