轻松集成 AI:CopilotKit 使用入门指南
🌟什么是 CopilotKit?
CopilotKit 是一个开源框架,可轻松将功能强大、可立即投入生产的 AI Copilot 集成到任何应用程序中。借助 CopilotKit,您可以无缝地实现自定义 AI 聊天机器人、客服人员、文本区域等功能,从而增强您的产品。
🟢让我们构建一个应用程序,在其中我们将学习如何将 CopilotKit 集成到我们的应用程序中:-
🌟这个应用程序是干什么的?
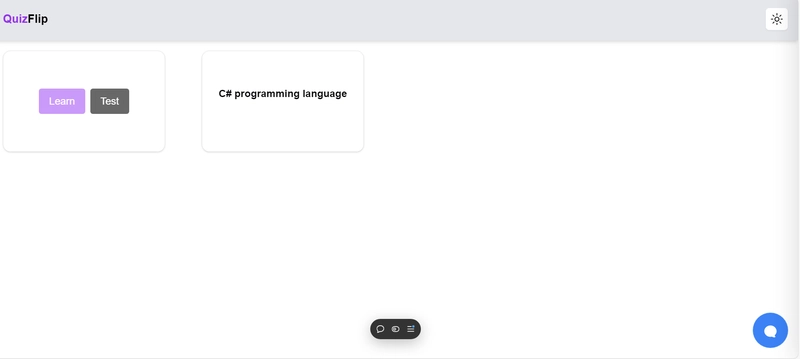
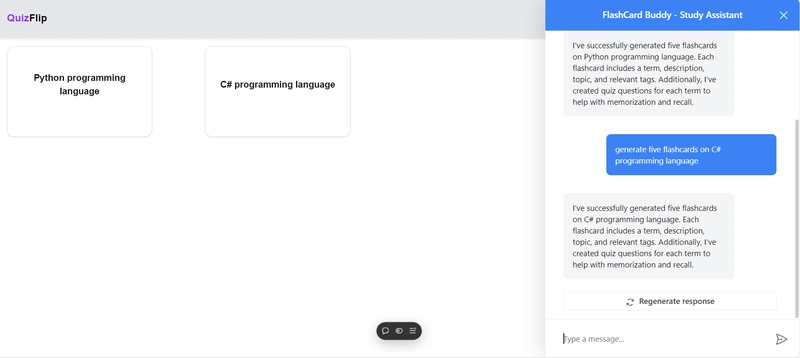
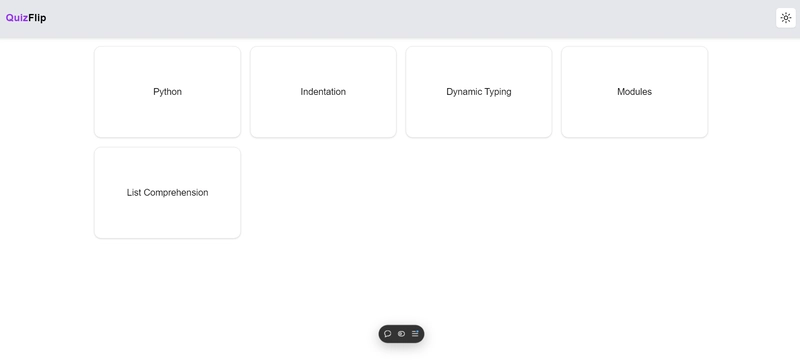
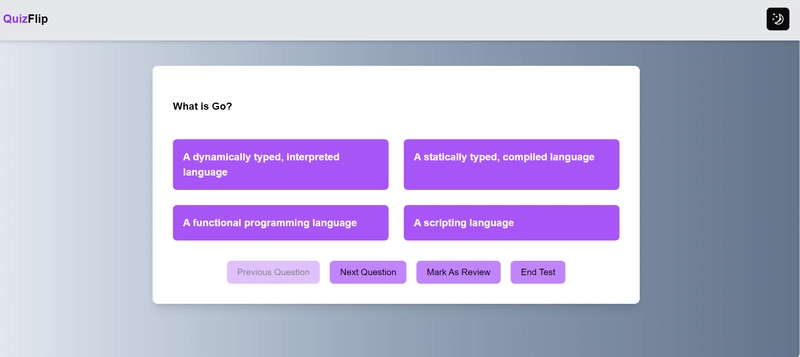
此应用使用 CopilotKit 自动生成抽认卡和测验。只需让这个人工智能聊天机器人创建任何主题的抽认卡,它就会立即生成抽认卡和相应的测验。这是一种快速高效的学习任何科目的方法。
🛠 技术栈:
前端:NextJs、Tailwind CSS、shadcdn、Zustand
后端:Next Js
数据存储:本地存储
📤 设置
- 继续安装这些依赖项:
npm install @copilotkit/react-core @copilotkit/react-ui @copilotkit/runtime
- 在应用程序的根级别创建一个 .evn 文件并将这些变量添加到其中:
GROQ_API_KEY=<your_groq_api_key>
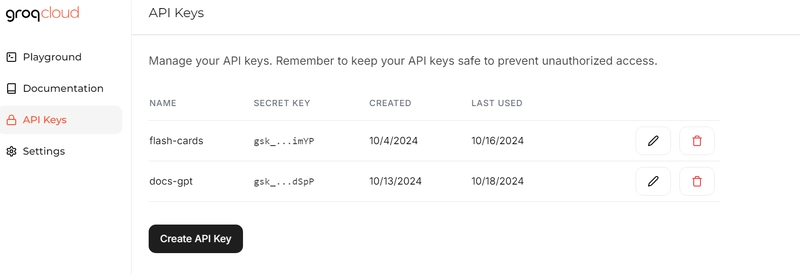
🚀要获取您的 Groq API 密钥,请按照以下步骤操作:
转到GroqCloud并单击创建 API 密钥按钮生成 API 密钥。
🍀 让我们深入开发:
后端:对于后端,我们将设置一个/api/copilotkit端点。此端点将处理来自前端的请求,提供数据或根据需要进行响应。仅此一个端点即可为您的应用程序提供 CopilotKit 的支持。
import {
    CopilotRuntime,
    GroqAdapter,
    copilotRuntimeNextJSAppRouterEndpoint,
} from "@copilotkit/runtime";
import { NextRequest } from "next/server";
import Groq from "groq-sdk";

const groq:Groq = new Groq({ apiKey: process.env.GROQ_API_KEY }) ;

const copilotKit = new CopilotRuntime();

const serviceAdapter = new GroqAdapter({ groq, model: "llama3-groq-8b-8192-tool-use-preview" });

export const POST = async (req: NextRequest) => {
    const { handleRequest } = copilotRuntimeNextJSAppRouterEndpoint({
        runtime: copilotKit,
        serviceAdapter,
        endpoint: "/api/copilotkit",
    });

    return handleRequest(req);
};
前端:
现在,让我们将 CopilotKit 集成到我们的应用程序中。CopilotKit 提供了几个有用的钩子,在本教程中,我们将重点介绍两个关键的钩子:
- useCopilotReadable:这
useCopilotReadable是一个 React hook,用于向 Copilot 提供应用状态和其他相关信息。此外,此 hook 还可以管理应用内的层级状态,允许您根据需要将父子关系传递给 Copilot。
useCopilotReadable({
    description: 'A code snippet manager',
    value: flashcards,
  });
- useCopilotAction:这
useCopilotAction是一个 React 钩子,它允许你的 Copilot 在应用内执行操作。你可以使用此钩子定义可由应用中的 AI 触发的自定义操作。
useCopilotAction({
      name: "create-flashcards-and-also-quiz-questions-for-those-flashcards",
      description: `Create a new flashcard along with corresponding quiz questions. Each flashcard should contain a term, description, topic, and relevant tags. Additionally, for each flashcard, generate quiz questions with multiple answer options.
      The quiz questions should conform to the 'QuizQuestion' interface, where:
      - Each question contains a string 'question', an array of four  'options', and the 'correctOption' corresponding to the correct answer.
     `,
      parameters: [
        {
          name: "flashcards",
          description: "The flashcards for the given topic",
          type: "object[]", // Use "array" as the type
        },
        {
          name: "quiz",
          description: "The quiz questions for the given topic, adhering to the QuizQuestion interface",
          type: "object[]", // Use "array" for QuizQuestion[]
        },
        {
          name:"topic",
          description: "The title of the topic",
          type: "string"
        }
      ],
      handler: (args: { flashcards: Flashcard[], quiz: QuizQuestion[], topic: string }) => {
        addTopics(args);
      },
    });
- 要实现聊天机器人,您可以使用软件包
CopilotSidebar中的组件@copilotkit/react-ui。操作方法如下:
<CopilotSidebar
        instructions={"You are assisting the user with creating flashcards on any topic they ask for. Break down information into concise, easy-to-remember points, and include key facts, definitions, or questions on one side, with answers or explanations on the other. Organize the information in a way that enhances memorization and recall. Add relevant tags for better categorization and future review."}
        labels={{
          title: "FlashCard Buddy - Study Assistant",
          initial: "Hey there! 👋 Ready to create some flashcards? Let me know the topic!",
        }}
      />
- 将所有这些组件放在一起,完整文件看起来如下:
"use client";
import { CopilotSidebar } from '@copilotkit/react-ui';
import "@copilotkit/react-ui/styles.css";
import { useCopilotAction, useCopilotReadable } from '@copilotkit/react-core';
import useFlashCardStore from '@/lib/store/flashcardstore';
import { Flashcard, QuizQuestion } from '@/lib/store/flashcardstore';
import RecentFlashCardTopic from "@/components/FlashCardTopics";


export default function Home() {
  const flashcards = useFlashCardStore((state) => state.flashcards);
  const addFlashCard = useFlashCardStore((state) => state.addTopicContent);

  useCopilotReadable({
    description: 'A code snippet manager',
    value: flashcards,
  });

  const addTopics = (args: { flashcards: Flashcard[], quiz: QuizQuestion[] ,topic:string}) => {
    // args.flashcards.forEach((newFlashcard) => {
    //   const existingFlashcard = flashcards.find(element =>
    //     element.flashcards.some(flashcard =>
    //       flashcard.term === newFlashcard.term &&
    //       flashcard.description === newFlashcard.description &&
    //       flashcard.topic === newFlashcard.topic
    //     )
    //   );

      // If the flashcard does not exist, add it
      // if (!existingFlashcard) {
      //   addFlashCard({ flashcards: [newFlashcard], quiz: args.quiz });
      // }
      addFlashCard(args);
    };


    useCopilotAction({
      name: "create-flashcards-and-also-quiz-questions-for-those-flashcards",
      description: `Create a new flashcard along with corresponding quiz questions. Each flashcard should contain a term, description, topic, and relevant tags. Additionally, for each flashcard, generate quiz questions with multiple answer options.
      The quiz questions should conform to the 'QuizQuestion' interface, where:
      - Each question contains a string 'question', an array of four  'options', and the 'correctOption' corresponding to the correct answer.
     `,
      parameters: [
        {
          name: "flashcards",
          description: "The flashcards for the given topic",
          type: "object[]", // Use "array" as the type
        },
        {
          name: "quiz",
          description: "The quiz questions for the given topic, adhering to the QuizQuestion interface",
          type: "object[]", // Use "array" for QuizQuestion[]
        },
        {
          name:"topic",
          description: "The title of the topic",
          type: "string"
        }
      ],
      handler: (args: { flashcards: Flashcard[], quiz: QuizQuestion[], topic: string }) => {
        addTopics(args);
      },
    });

  return (
    <>
     <RecentFlashCardTopic/>
      <CopilotSidebar
        instructions={"You are assisting the user with creating flashcards on any topic they ask for. Break down information into concise, easy-to-remember points, and include key facts, definitions, or questions on one side, with answers or explanations on the other. Organize the information in a way that enhances memorization and recall. Add relevant tags for better categorization and future review."}
        labels={{
          title: "FlashCard Buddy - Study Assistant",
          initial: "Hey there! 👋 Ready to create some flashcards? Let me know the topic!",
        }}
      />
    </>
  );
}
- 此外,我们需要一个状态管理库,以确保我们的 UI 在 AI 执行操作时能够更新。您可以选择任何状态管理库,但在本教程中,我将使用 Zustand 和本地存储进行数据存储。这将作为应用程序状态的全局管理点。
import { create } from 'zustand';
import { persist, createJSONStorage } from 'zustand/middleware';

// Interface for flashcards
interface Flashcard {
  term: string;
  description: string;
  topic: string;
  tags: string[];
}

// Interface for quiz options
interface QuizOption {
  id: number;
  text: string;
}

// Interface for a quiz question
interface QuizQuestion {
  id:number;
  question: string;
  options: string[]; // Array of 4 options
  correct: string; // ID of the correct option

}

// Interface for the topic's JSON object
interface TopicContent {
  id: number;
  topic:string;
  flashcards: Flashcard[];
  quiz: QuizQuestion[];
}

// Store interface
interface FlashcardStore {
  flashcards: TopicContent[];
  addTopicContent: (topicContent: Omit<TopicContent, 'id'>) => void;
  removeTopicContent: (id: number) => void;
}

const useFlashcardStore = create<FlashcardStore>()(
  persist(
    (set) => ({
      flashcards: [],
      addTopicContent: (newTopicContent) =>
        set((state) => ({
          flashcards: [...state.flashcards, { ...newTopicContent, id: Date.now() }],
        })),

      removeTopicContent: (id) =>
        set((state) => ({
          flashcards: state.flashcards.filter((topicContent) => topicContent.id !== id),
        })),
    }),
    {
      name: 'flashcard-storage', // Key to store flashcards in local storage
      storage: createJSONStorage(() => localStorage), // Use local storage for persistence
    }
  )
);
export default useFlashcardStore;
export type { Flashcard, QuizQuestion,TopicContent,QuizOption };
这是我参考的项目:
https://github.com/Niharika0104/learn-using-flash-cards
这里是该项目的现场演示:
https://learn-using-flash-cards.vercel.app/
我希望您喜欢这个关于 CopilotKit 的简短教程。请继续关注更多此类有趣且简洁的教程!
希望下次还能见到你们,
尼哈里卡。
文章来源:https://dev.to/niharikaa/integrate-ai-effortless-a-beginners-guide-to-using-copilotkit-1pgg 后端开发教程 - Java、Spring Boot 实战 - msg200.com
