逼真的 CSS 艺术技巧
创建逼真的 CSS 艺术的秘密,我保证它很简单!
我将通过一个简单的示例向你展示如何轻松制作逼真的 CSS 艺术作品。CSS 艺术可以成为你练习 CSS 技能和知识的一种非常有趣的方式,所以我强烈推荐你尝试一下!
选择一个对象
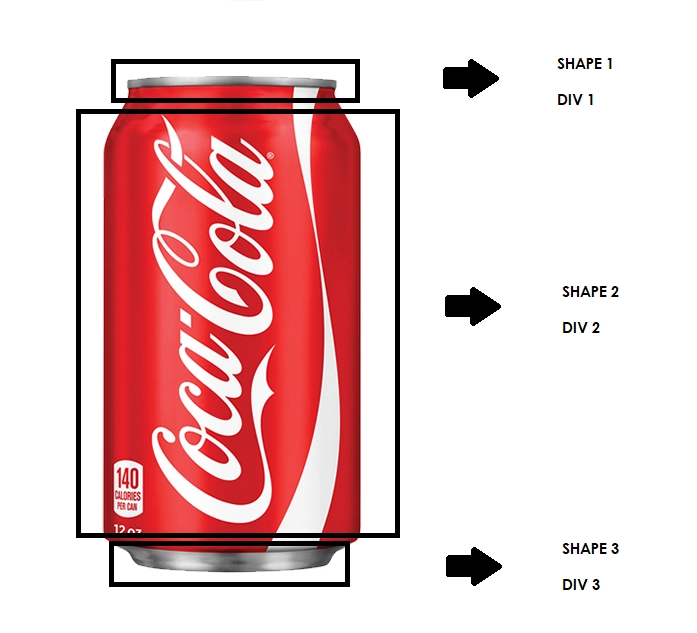
选择要绘制的对象时,您不希望其形状过于复杂。您需要将对象分解成几个简单的形状,这些简单的形状将成为您的 div。
描摹你的形象
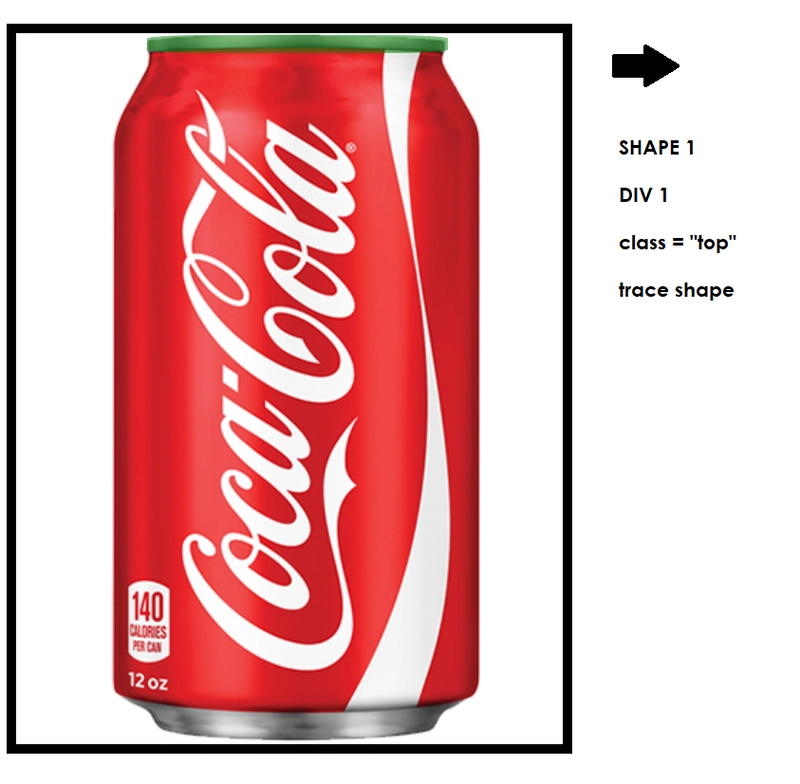
确定好对象及其拆分方式后,就可以开始编写代码了。为了让你的工作更轻松,我建议为所有 div 创建一个容器,并将绘制的对象设置为背景图像,以便“描摹”它。这样可以更轻松地确定位置和比例。将它们放入容器中也有助于定位。
.container {
    width: 700px; /* size of container */
    height: 700px;
    background-image: url(https://cdn.huntoffice.co.uk/images/D/can-of-coke.jpg); /* insert image to trace */
    background-size: 700px; /* you may need to play around with the sizing to fit container */
    background-repeat: no-repeat;
    border: 10px solid black;  /* so you can see your canavas */
 position: relative; /* important for positioning*/
}
创建形状的 DIVS
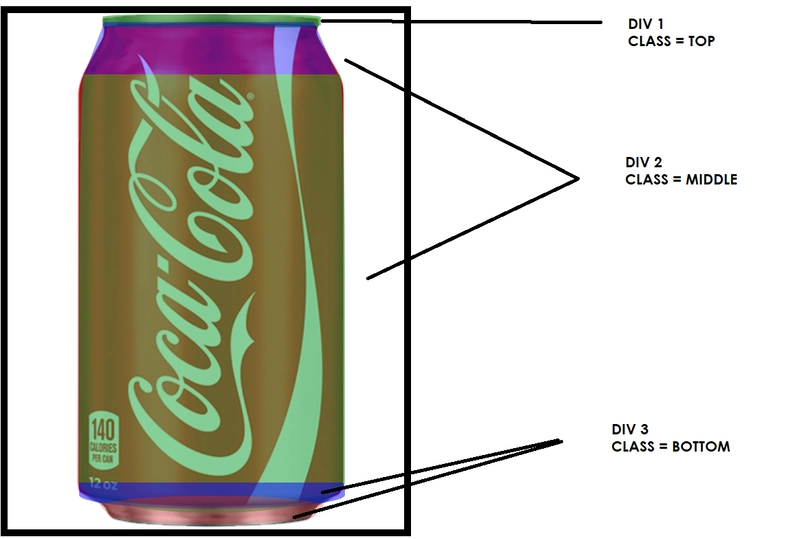
将每个 div 设置为随机背景色,并将不透明度设置为 0.5,以此来描摹每个形状。这样,您就可以清楚地看到正在执行的操作。参见下文。
.top {
    /* size */
    width: 55%;
    height: 2.5%;
    /* position */
    position: absolute;
    left: 24%;
    top: 0.3%;
    /* shape */
    border-radius: 20%;
    /* to help you trace - will remove */
    background-color: green;
    opacity: 0.5;
}
有很多方法可以让你得到你想要的形状。我链接了一些资源,可以很容易地教你如何创建不同的形状。
-
可以用 CSS/one div 制作的简单形状
https://css-tricks.com/the-shapes-of-css/
下面我使用上述资源完成了可乐罐的形状。
.top {
    /* size */
    width: 55%;
    height: 2.5%;
    /* position */
    position: absolute;
    left: 24%;
    top: 0.3%;
    /* shape */
    border-radius: 20%;
    /* to help you trace - will remove */
    background-color: green;
    opacity: 0.5;
}


.middle:before {
    content: "";
    /* size */
    width: 95%;
    height: 12%;
    /* position */
    position: absolute;
    left: 2%;
    top: -12%;
    /* shape */
    clip-path: polygon(8% 0%, 91% 0%, 100% 100%, 0% 100%);
    /* to help you trace - will remove */
    background: blue;
    opacity: 0.8;
}


.middle {
     /* size */
    width: 67%;
    height: 85%;
 /* position */
    position: absolute;
    left: 18%;
    top: 9.5vh;
     /* shape */
    border-radius: 2% 2% 50% 50% / 49% 50% 7% 7%;
     /* to help you trace - will remove */
    background: rgb(16, 162, 53);
    opacity: 0.5;
}

.base {
    /* size */
    width: 67%;
    height: 5%;
    /* position */
    position: absolute;
    left: 5.4vw;
    top: 91%;
    /* shape */
    border-radius: 0% 1% 50% 50% / 49% 50% 57% 57%;
    /* to help you trace - will remove */
    background: blue;
    opacity: 0.5;
}


.base:before {
    content: "";
      /* size */
    width: 90%;
    height: 110%;
     /* position */
    position: absolute;
    left: 5%;
    top: 50%;
    /* shape */
 border-radius: 50%;
 clip-path: polygon(0 0, 100% 1%, 90% 100%, 10% 100%);
 /* to help you trace - will remove */
   background: red;
   opacity: 0.5;
}
选择正确的颜色
我有一个非常简单但有效的方法可以为您的图像获取正确的颜色 - 是的,图像颜色选择器:
https://imagecolorpicker.com/en/
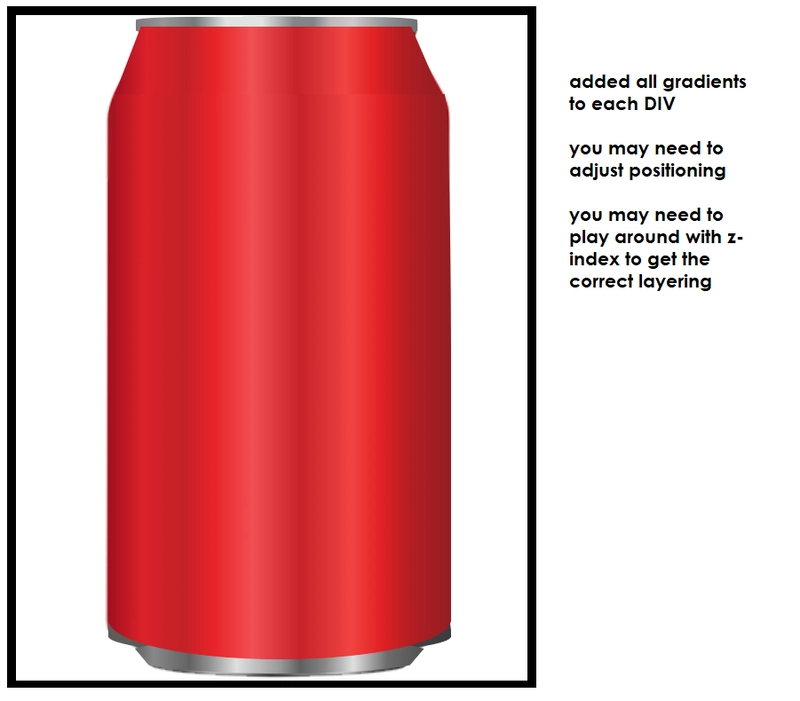
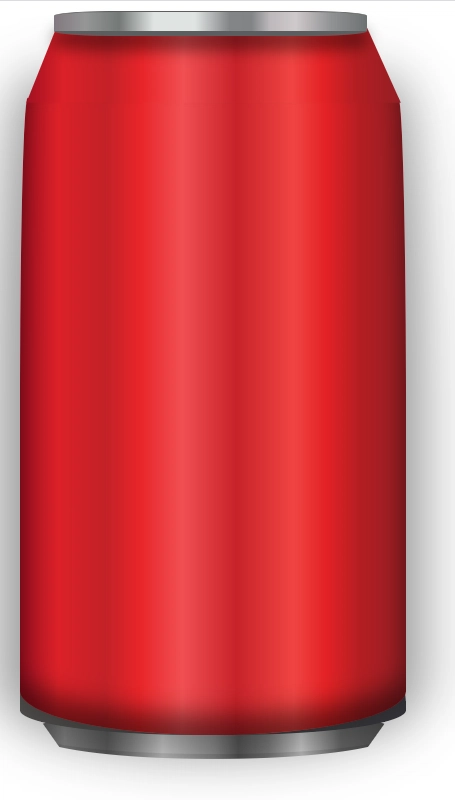
正如您在我们正在处理的可口可乐主图(上图)中看到的,它有一个轻微的渐变(就像大多数物体一样)。确保渐变正确是让物体看起来逼真的关键!使用我上面链接的图像颜色工具和这个 CSS 渐变生成器来获得完美的渐变效果。
总结一下——使用颜色选择工具从原始图像中分别选择渐变中的每种颜色,然后将其添加到渐变生成器中,以在 CSS 中创建完美的颜色。将此代码添加到你的形状 div 中,就大功告成了!
例子:
.middle {
     /* size */
    width: 67%;
    height: 85%;
 /* position */
    position: absolute;
    left: 18%;
    top: 9.5vh;
    z-index: 6;
     /* shape */
    border-radius: 2% 2% 50% 50% / 49% 50% 7% 7%;
     /* color */
     background: linear-gradient(90deg, rgba(162,16,33,1) 0%, rgba(219,33,40,1) 10%, rgba(194,33,39,1) 22%, rgba(232,37,41,1) 31%, rgba(241,79,82,1) 42%, rgba(199,34,41,1) 56%, rgba(240,68,66,1) 71%, rgba(227,34,37,1) 79%, rgba(179,30,34,1) 88%, rgba(148,30,36,1) 100%);
}
使用阴影/边框使图像栩栩如生
使用 box-shadow 添加边框和阴影,能让你的图片更加生动,看起来更有 3D 效果。我建议使用这个网站来快速生成盒子阴影:
https://www.cssmatic.com/box-shadow
在这里我添加了阴影和边框,正如您所见,形状看起来更加清晰和立体。
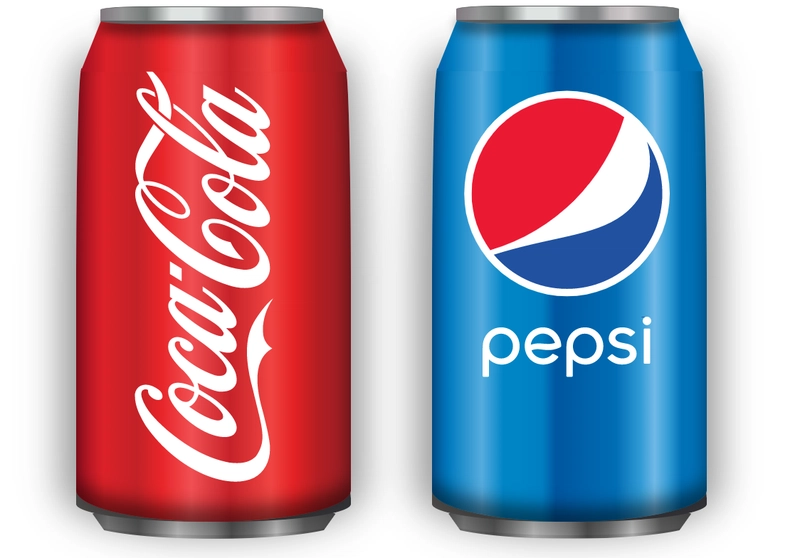
现在你可以继续添加任何你喜欢的细节了。我在上面加了一个 SVG 标志,效果非常好。形状确定后,你还可以尝试不同的颜色,制作不同的软饮料!
希望我已经解释了如何分解它,以便您可以创建自己的 CSS 对象。我真的很喜欢这样做,而且它确实帮助我提升了日常的 CSS 技能。
免责声明:请注意,我并非专家,我只是为了好玩才这么做的。这只是本教程中的一个非常简单的示例。如果您需要任何帮助,或者想了解更复杂的对象分解,请在 Twitter 上告诉我 - @ellie_html
文章来源:https://dev.to/elliehtml/realistic-css-art-hacks-27pk 后端开发教程 - Java、Spring Boot 实战 - msg200.com
