Aurora UI - 如何使用 CSS 创建
设计趋势就像新的 JavaScript 框架一样瞬息万变——至少每天更新一个。😄 今天,我想向大家介绍我的朋友 Michal Malewicz 提出的另一个趋势——Aurora UI 。你可以在这里找到Michal 撰写的一篇文章。
极光趋势是什么?
这种趋势并不新鲜。例如,Stripe 很久以前就在其标题中使用它了。它在 Dribbble 和 Behance 等服务上也越来越流行。
其特征是:
- 模糊的形状
- 相似的颜色
- 颜色之间的平滑过渡
如何用 CSS 创建它?
至少有三种方法可以产生这种效果。
- 模糊的形状
- 模糊渐变
- 模糊的图像
模糊的形状
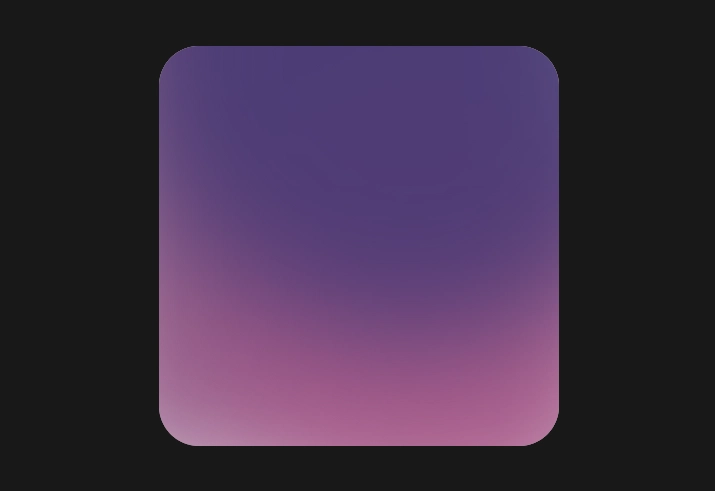
第一种方法是创建三个相互叠加的椭圆。创建三个大的椭圆并调整它们的位置:
- 第一个在容器顶部
- 底角有两个
然后我们需要稍微增加filter: blur()并降低不透明度。
HTML
 <div class="wrapper">
  <div class="base one"></div>
  <div class="base two"></div>
  <div class="base three"></div>
</div>
CSS
.wrapper {
  width: 400px;
  height: 400px;
  background: #fff;
  position: relative;
  overflow:hidden;
  border-radius: 40px;
}

.base {
  position: absolute;
  filter: blur(60px);
  opacity: 0.8;
}

.one {
  border-radius: 100%;
  width: 600px;
  height: 600px;
  background-color: #373372;
  left:-50px;
  top:-300px;
  z-index: 3;
}

.two {
  width: 500px;
  height: 800px;
  background-color: #7C336C;
  bottom:-30px;
  left:-80px;
}

.three {
  border-radius: 100%;
  width: 450px;
  height: 450px;
  bottom:-80px;
  right:-100px;
  background-color: #B3588A;
}
径向渐变
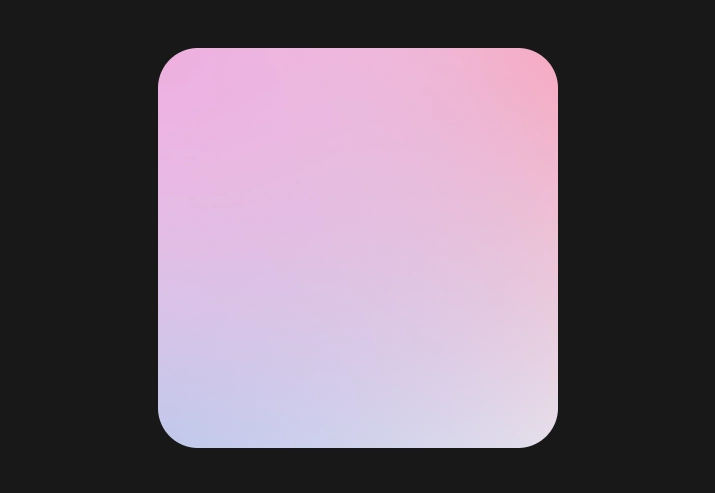
第二种方法是使用渐变色!除了纯色,我们还可以采用径向渐变来创建效果。
让我们添加三个从纯色到透明的径向渐变:
- 左上角
- 右上角
- 左下角
HTML
<div class="wrapper"></div>
CSS
.wrapper {
  width: 400px;
  height: 400px;
  position: relative;
  overflow:hidden;
  border-radius: 40px;
  background-color: #fff;
  background-image:
    radial-gradient(at top left, #F0ACE0, transparent),
    radial-gradient(at top right, #FFA4B2, transparent),
    radial-gradient(at bottom left, #A7D3F2, transparent);
  background-size: 100% 100%;
  background-repeat: no-repeat;
}
模糊图像
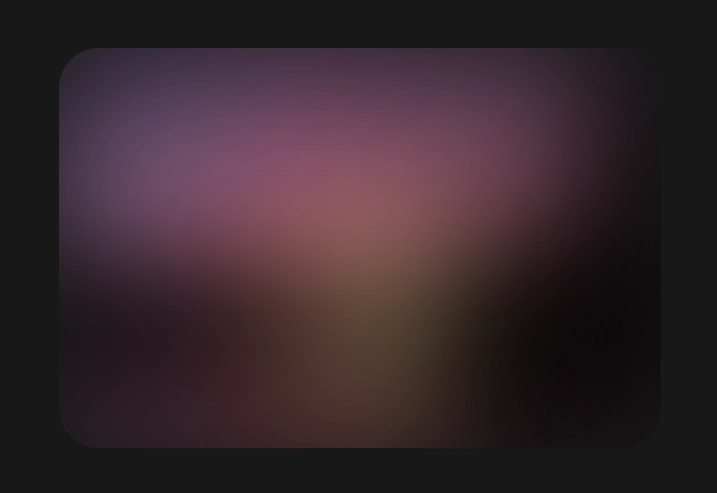
创造这种效果最简单的方法是...选择一张好的图片并添加一些filter: blur()。😄
HTML
<div class="wrapper">
  <img src="ourImg.png"/>
</div>
CSS
.wrapper {
  height: 400px;
  position: relative;
  overflow:hidden;
  border-radius: 40px;
}
img {
  filter: blur(60px);
}
动画背景
你还可以为背景添加动画效果,让它们看起来更棒!这里有一个旋转背景的小例子。🚀
我曾经transform:rotate(1turn) translate(100px) rotate(-1turn);在圆形路径上创造运动。
HTML
  <div class="wrapper">
    <div class="base one"></div>
    <div class="base two"></div>
    <div class="base three"></div>
  </div>
CSS
@keyframes fly {
  100% {
    transform:rotate(1turn) translate(100px) rotate(-1turn);
  }
}

@keyframes flyPlus {
  100% {
    transform:rotate(-1turn) translate(100px) rotate(1turn);
  }
}

.wrapper {
  width: 400px;
  height: 400px;
  background: #fff;
  position: relative;
  overflow:hidden;
  border-radius: 40px;
}

.base {
  position: absolute;
  filter: blur(60px);
  opacity: 0.8;
}

.one {
  border-radius: 100%;
  width: 600px;
  height: 600px;
  background-color: #373372;
  left:-50px;
  top:-300px;
  z-index: 3;
  animation: fly 12s linear infinite;
  transform:rotate(0) translate(80px) rotate(0);
}

.two {
  width: 500px;
  height: 800px;
  background-color: #7C336C;
  bottom:-30px;
  left:-80px;
}

.three {
  border-radius: 100%;
  width: 450px;
  height: 450px;
  bottom:-80px;
  right:-100px;
  background-color: #B3588A;
  animation: flyPlus 8s linear infinite;
  transform:rotate(0) translate(100px) rotate(0);
}
你可以在这里玩所有的背景。💪
就这样!你可以将 Aurora 与玻璃态结合,打造更出色的 UI。
感谢阅读!
您可以在 Twitter 上关注我或订阅我的新闻通讯!
文章来源:https://dev.to/albertwalicki/aurora-ui-how-to-create-with-css-4b6g 后端开发教程 - Java、Spring Boot 实战 - msg200.com
