CSS中的磨砂玻璃效果
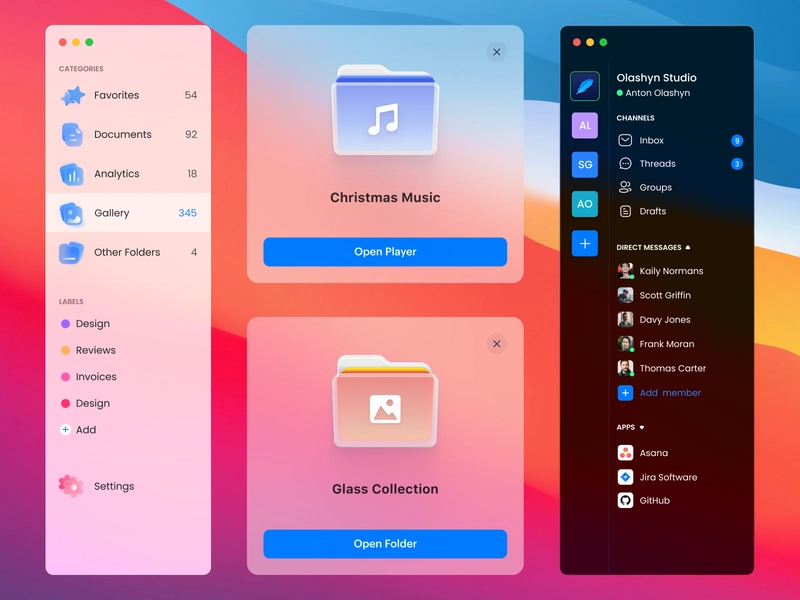
磨砂玻璃效果,或者更广为人知的“玻璃形态”(Glassmorphism)已经成为一种流行的UI功能。Mac OS以其磨砂玻璃效果而闻名,Windows 10也实现了磨砂玻璃效果,Github等网站也实现了该效果。
今天我们将了解两种使用纯 CSS 实现磨砂玻璃效果的方法。
图片来源:Anton Olashyn 在 Dribbble 上的设计
方法一
让我们首先在 html 代码中创建一个带有类包装器的 div。
<div class="wrapper"></div>
现在我们将删除所有元素的边距和填充,并将 html 和 body 的高度设为 100vh,以便它们覆盖整个屏幕。
   * {
        margin: 0;
        padding: 0;
      }
body,html {
            height: 100vh;
          }
现在让我们添加背景图像。
body {
        background-image: url("Frosted Glass effect in CSS/assets/background.png");
     }
我们可以看到这里出现了图像平铺。为了消除这种情况,我们将使用background-size: cover,而且我们不希望图像重复,所以我们将使用background-repeat: no-repeat;。
body {
        background-image: url("Frosted Glass effect in CSS/assets/background.png");
        background-size: cover;
        background-repeat: no-repeat;
      }
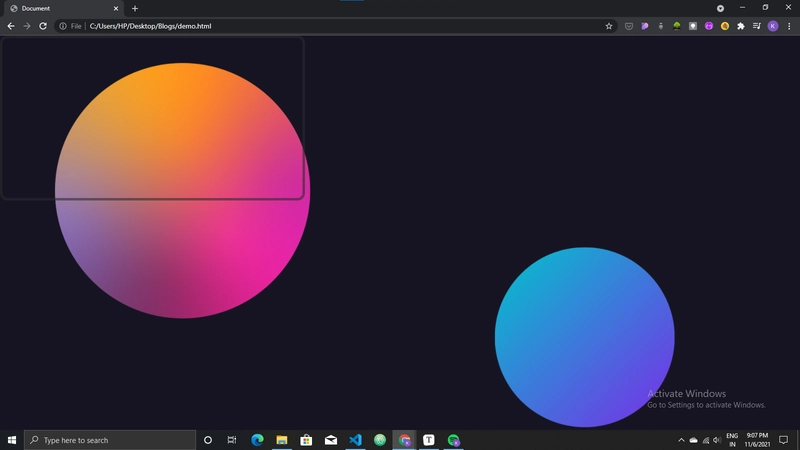
现在让我们来设置一下 wrapper div 的样式。我们将设置它的高度和宽度,并将其背景设置为inherit1。为了让它看起来更好,我们将添加边框和边框半径。我们还会给它一个位置属性,这样当我们创建覆盖层时,它就不会覆盖整个屏幕,而是适合 wrapper 内部。在本例中,我将其设置为position: absolute。
.wrapper {
            height: 320px;
            width: 600px;
            background: inherit;
            border-radius: 15px;
            border: 1px solid rgba(43, 43, 43, 0.568);
            position: absolute;
    }
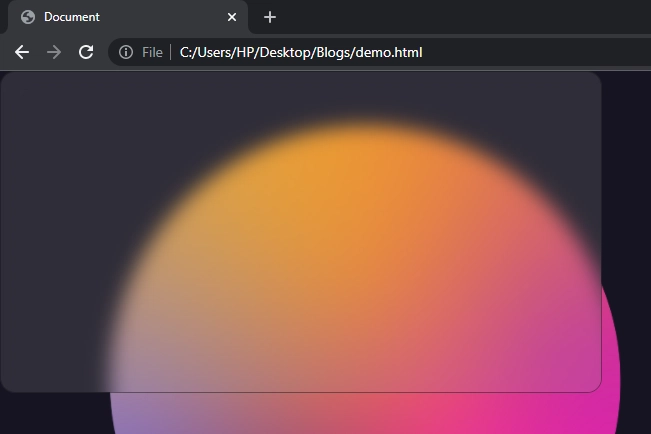
但是 div 的背景看起来不太好看。我不想让整个背景都显示在 div 内部,而是让它只显示 div 后面的部分图像。为此,我们将为background-attachment: fixedbody 元素添加该属性。
 body {
        background-image: url("Frosted Glass effect in CSS/assets/background.png");
        background-size: cover;
        background-repeat: no-repeat;
        background-attachment: fixed;
      }
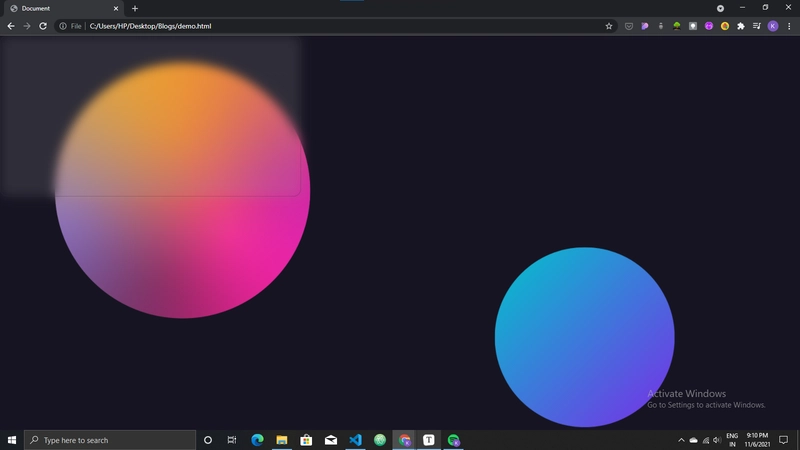
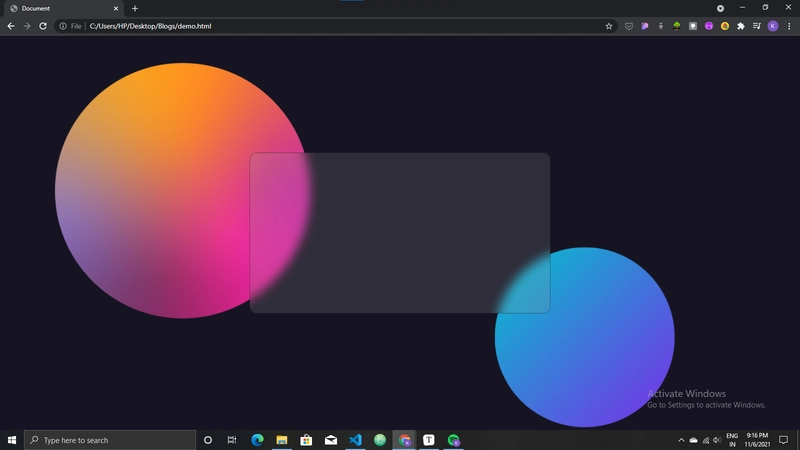
好多了。现在到了主要部分,我们将使用 before 伪类创建一个覆盖层,为我们的 div 赋予毛玻璃效果。
笔记:
- 为了使 before 伪类能够正常工作,我们需要为其添加一个 content 属性。在本例中,由于我们不需要任何内容,因此将其保留为空(
content: '')。 - 它还需要一个 display 属性来设置其大小和形状。为了简单起见,我们给它一个
position: absolute,这样它就能容纳在其父容器(包装器 div)内。
.wrapper:before {
        position: absolute;
        content: '';
        background: inherit;
        left: 0;
        right: 0;
        top: 0;
        bottom: 0;
        box-shadow: inset 0 0 0 3000px rgba(150, 150, 150, 0.192);
        filter: blur(10px);
        border-radius: 15px;
      }
我们使用 box-shadow 属性来应用灰色叠加层,并使用 blur 属性来模糊该叠加层。此外,我们还为其设置了与其父级相似的边框半径,以实现对称性。
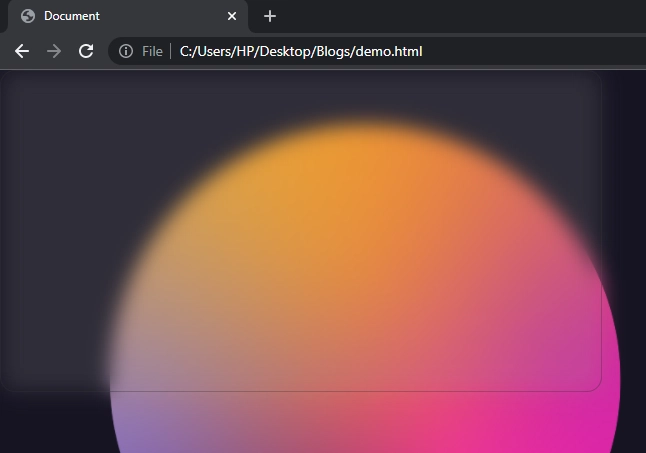
不过,我们仍然可以看到一些清晰的边缘。为了解决这个问题,我们首先将覆盖层的尺寸设置为略大于包装层的尺寸,然后将其设置left: -25px为top: -25px
.wrapper:before {
        position: absolute;
        content: '';
        background: inherit;
        height: 370px;
        width: 650px;
        left: -25px;
        right: 0;
        top: -25px;
        bottom: 0;
        box-shadow: inset 0 0 0 3000px rgba(150, 150, 150, 0.192);
        filter: blur(10px);
        border-radius: 15px;
      }
最后,为了使边缘清晰可见,我们需要设置包装器 div,overflow: hidden以便隐藏包装器外面的覆盖部分。
 .wrapper {
        height: 320px;
        width: 600px;
        background: inherit;
        border-radius: 15px;
        border: 1px solid rgba(43, 43, 43, 0.568);
        position: absolute;
        overflow: hidden;
      }
最后一步,我们将使用 flexbox 将 div 置于 body 的中心。
body {
        background-image: url("Frosted Glass effect in CSS/assets/background.png");
        background-size: cover;
        background-repeat: no-repeat;
        background-attachment: fixed;
        display: flex;
        justify-content: center;
        align-items: center;
      }
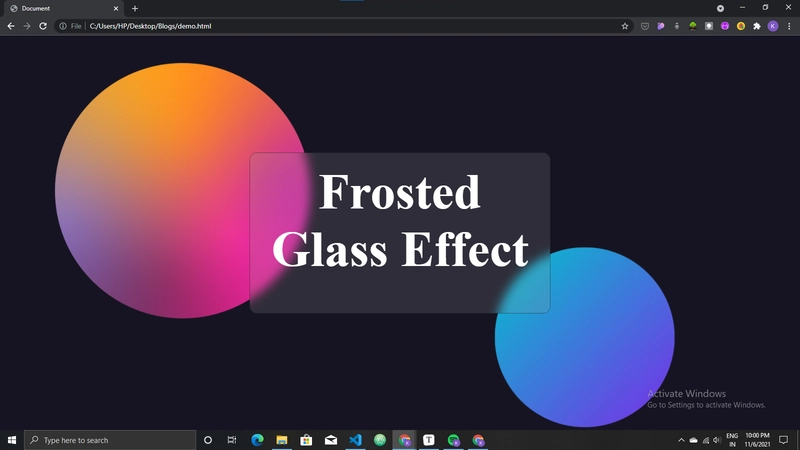
我们的磨砂玻璃效果卡片现在已经完成了。但还有最后一个问题需要解决。如果我们尝试在 div 包装器内写入内容,它会位于伪元素的后面,无法在顶部显示。为了解决这个问题,我们必须在磨砂玻璃 div 内创建另一个 div,并将内容放入其中。然后,我们必须将这个内容 div 的定位设置为绝对位置。
    <div class="wrapper">
      <div class=content>
        <h1>Frosted Glass Effect</h1>
      </div>
    </div>
.content{
        position: absolute;
      }
瞧〜
我们的磨砂玻璃效果卡已经准备好了!
方法二
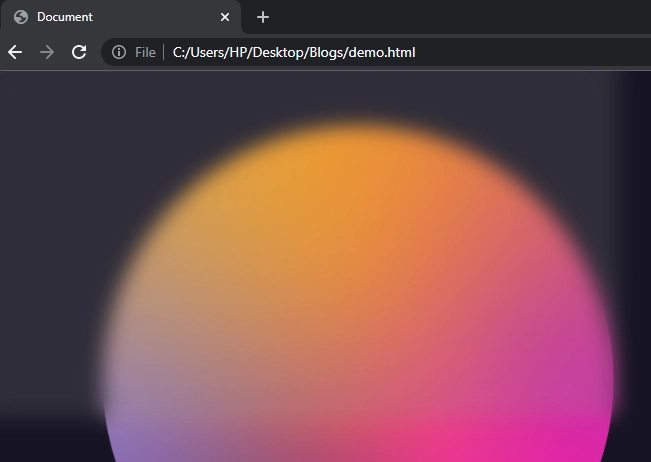
第二种方法需要的 CSS 少得多,但浏览器支持不佳。
图片来源:Caniuse 网站
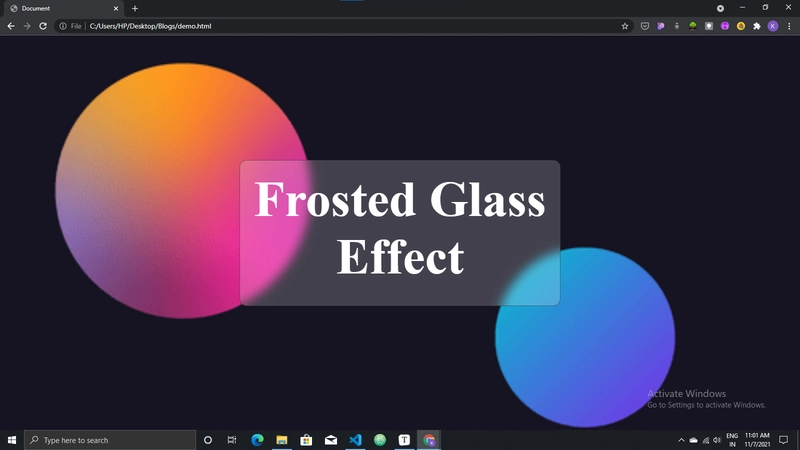
为此,我们将创建一个包装器 div 并对其应用半透明背景颜色,然后赋予它一个backdrop-filter:属性。
    <div class="wrapper">
        <h1>Frosted Glass Effect</h1>
    </div>
.wrapper{
        background: rgba(255, 255, 255, 0.192);
        backdrop-filter: blur(10px);
        height: 250px;
        width: 600px;
        border-radius: 15px;
        border: 1px solid rgba(43, 43, 43, 0.568);
      }
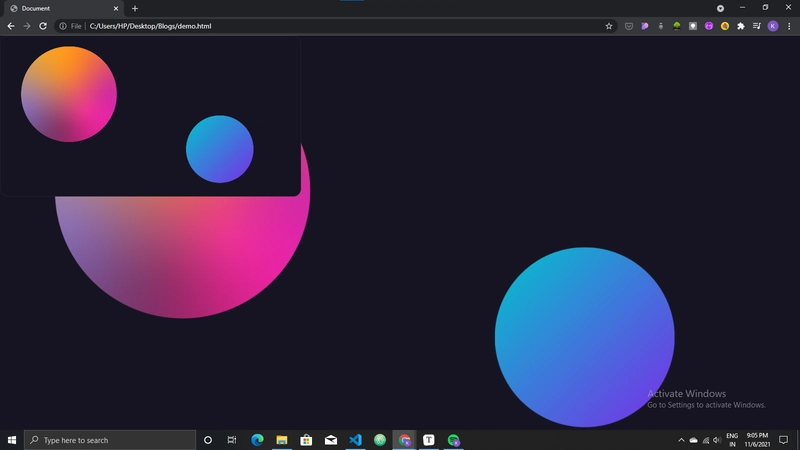
使用玻璃态的技巧
-
使用玻璃态效果时,首先要记住不要过度使用,否则可能会因为其模糊和透明性而导致可访问性问题。仅在一两个元素上使用效果最佳!
-
为了使效果更美观,请务必使用鲜艳的渐变色作为背景。避免使用单色背景。
-
你可以尝试使用几何元素。它们会给你的页面增添趣味和吸引力。
如果使用得当,玻璃态效果可以让网站或应用看起来更具吸引力。它可以显著提升 UI 的可访问性,即使是有视觉障碍的用户也能轻松导航。尽情体验玻璃态效果,享受其中的乐趣吧!
参考链接
-
这将使它继承其父级(主体)的背景 ↩
 后端开发教程 - Java、Spring Boot 实战 - msg200.com
