使用 Vue Router 处理对话框 我的 Vue 路由器架构方法 在 Vue Router 架构系列的第一部分中,我写了如何 使用 Vue Router 处理嵌套路由 。如果你已经读过那篇文章,可能会更容易理解,但这里有一个非常简短的总结: 那篇教程介绍了一个 EmptyRouterView用于处理嵌套路由的组件。
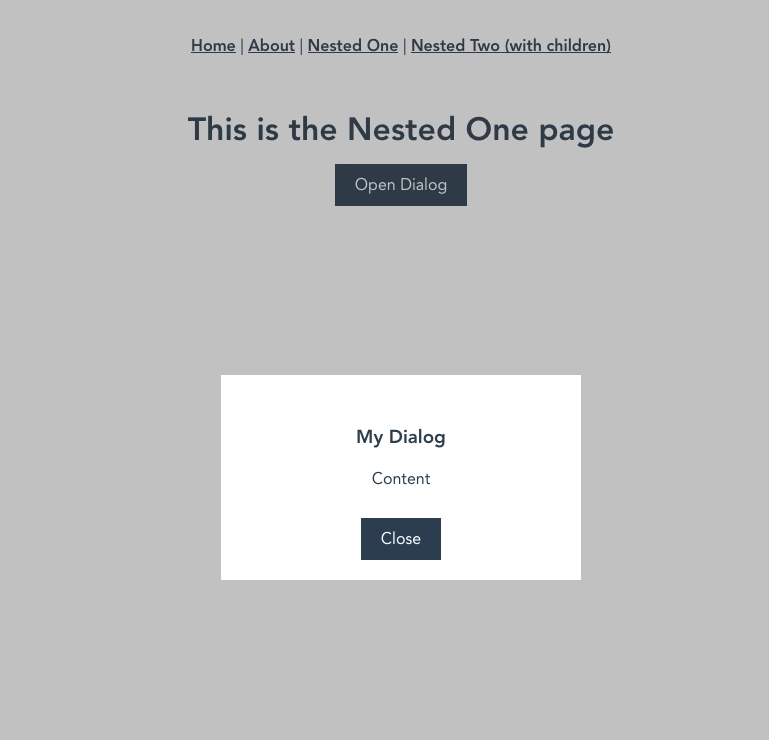
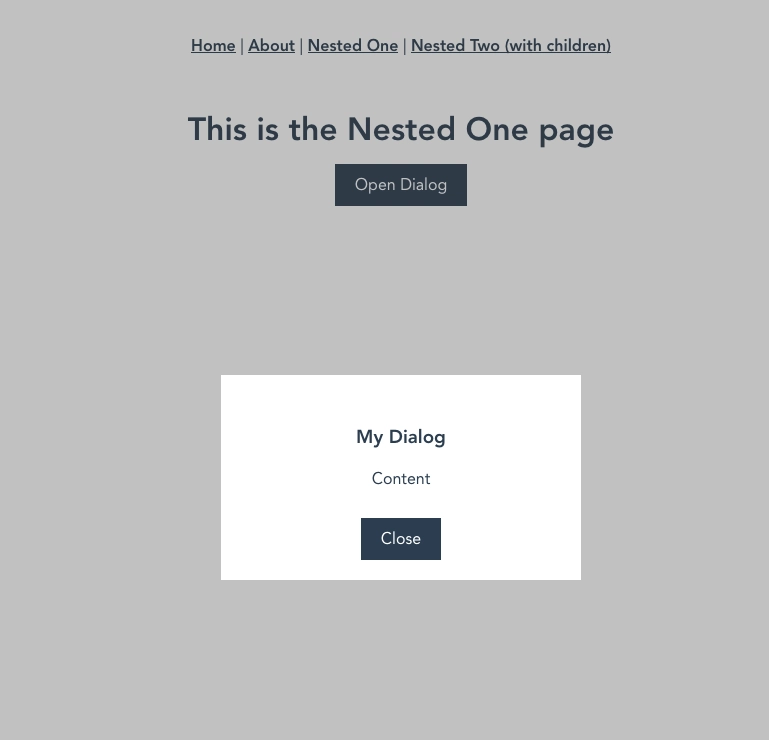
但是我们也可以使用此组件来处理如下对话框:
通过使用 Vue Router 处理对话框的可见性,我们可以通过导航到相应的 URL 来轻松切换它们。在我看来,这会让代码库更加简洁。那么我们该怎么做呢?
步骤 1:更新我们的 EmptyRouterView组件 首先我们需要编辑我们的 EmptyRouterView组件:
Enter fullscreen mode
Exit fullscreen mode
该组件现在包含两个 router-views。下面的一个(默认的)用于显示背景(或者在不需要显示对话框的情况下显示正常页面)。而对话框的 则包含对话框的内容。
步骤 2:为我们的对话框创建一个组件 现在我们必须为我们的对话框创建一个组件:
Enter fullscreen mode
Exit fullscreen mode
这是一个非常简单的组件,但是你需要一些样式来让它看起来像一个对话框(你也可以使用引导类或其他方法)。也许你注意到我已经添加了一个返回按钮。我们可以简单地使用 router.back()导航回上一页的方法来关闭模态框,因为我们使用 Vue-Router 的路由来切换可见性。
步骤3:更新路由配置 最后但同样重要的是,我们必须在 router.js配置中指定 Vue Router 的路由配置:
Enter fullscreen mode
Exit fullscreen mode
nested.dialog对于URL 中 包含 name 的对话框路由, /nested/dialog我们指定组件 MyPageView作为背景和 MyDialogComponent对话框本身。由于此路由是包含该 EmptyRouterView组件的路由的子路由,因此这些组件会直接填充 router-views我们组件中指定的部分 EmptyRouterView。
就是这样了。现在我们可以导航到我们的路线, /nested/dialog你会看到对话框:
您还可以在我创建的 repo 中试用它:
暂时就这些。欢迎告诉我你的想法😁
文章来源:https://dev.to/berniwittmann/handling-dialogs-with-vue-router-29ji  后端开发教程 - Java、Spring Boot 实战 - msg200.com


