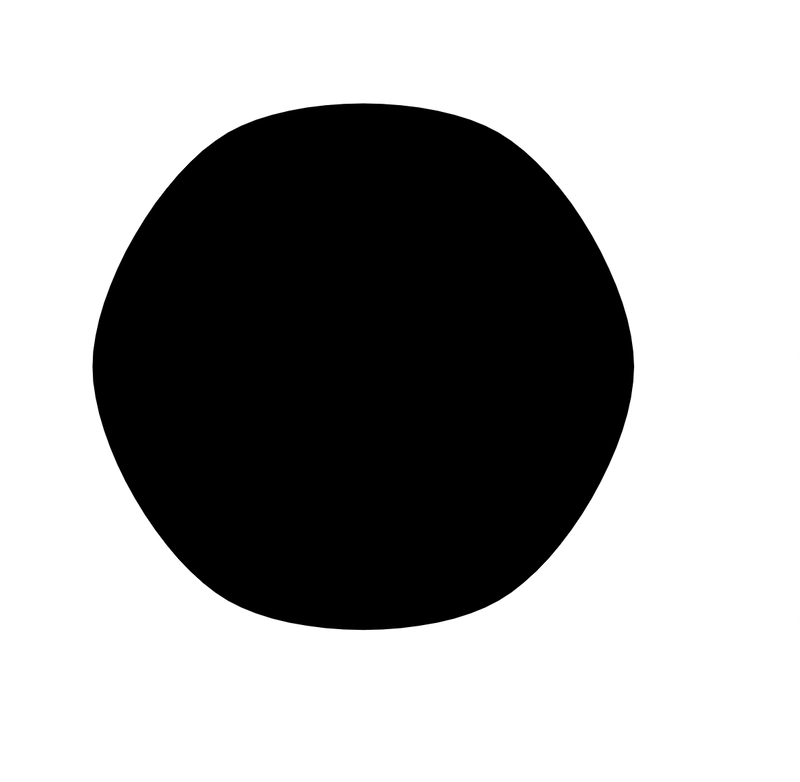
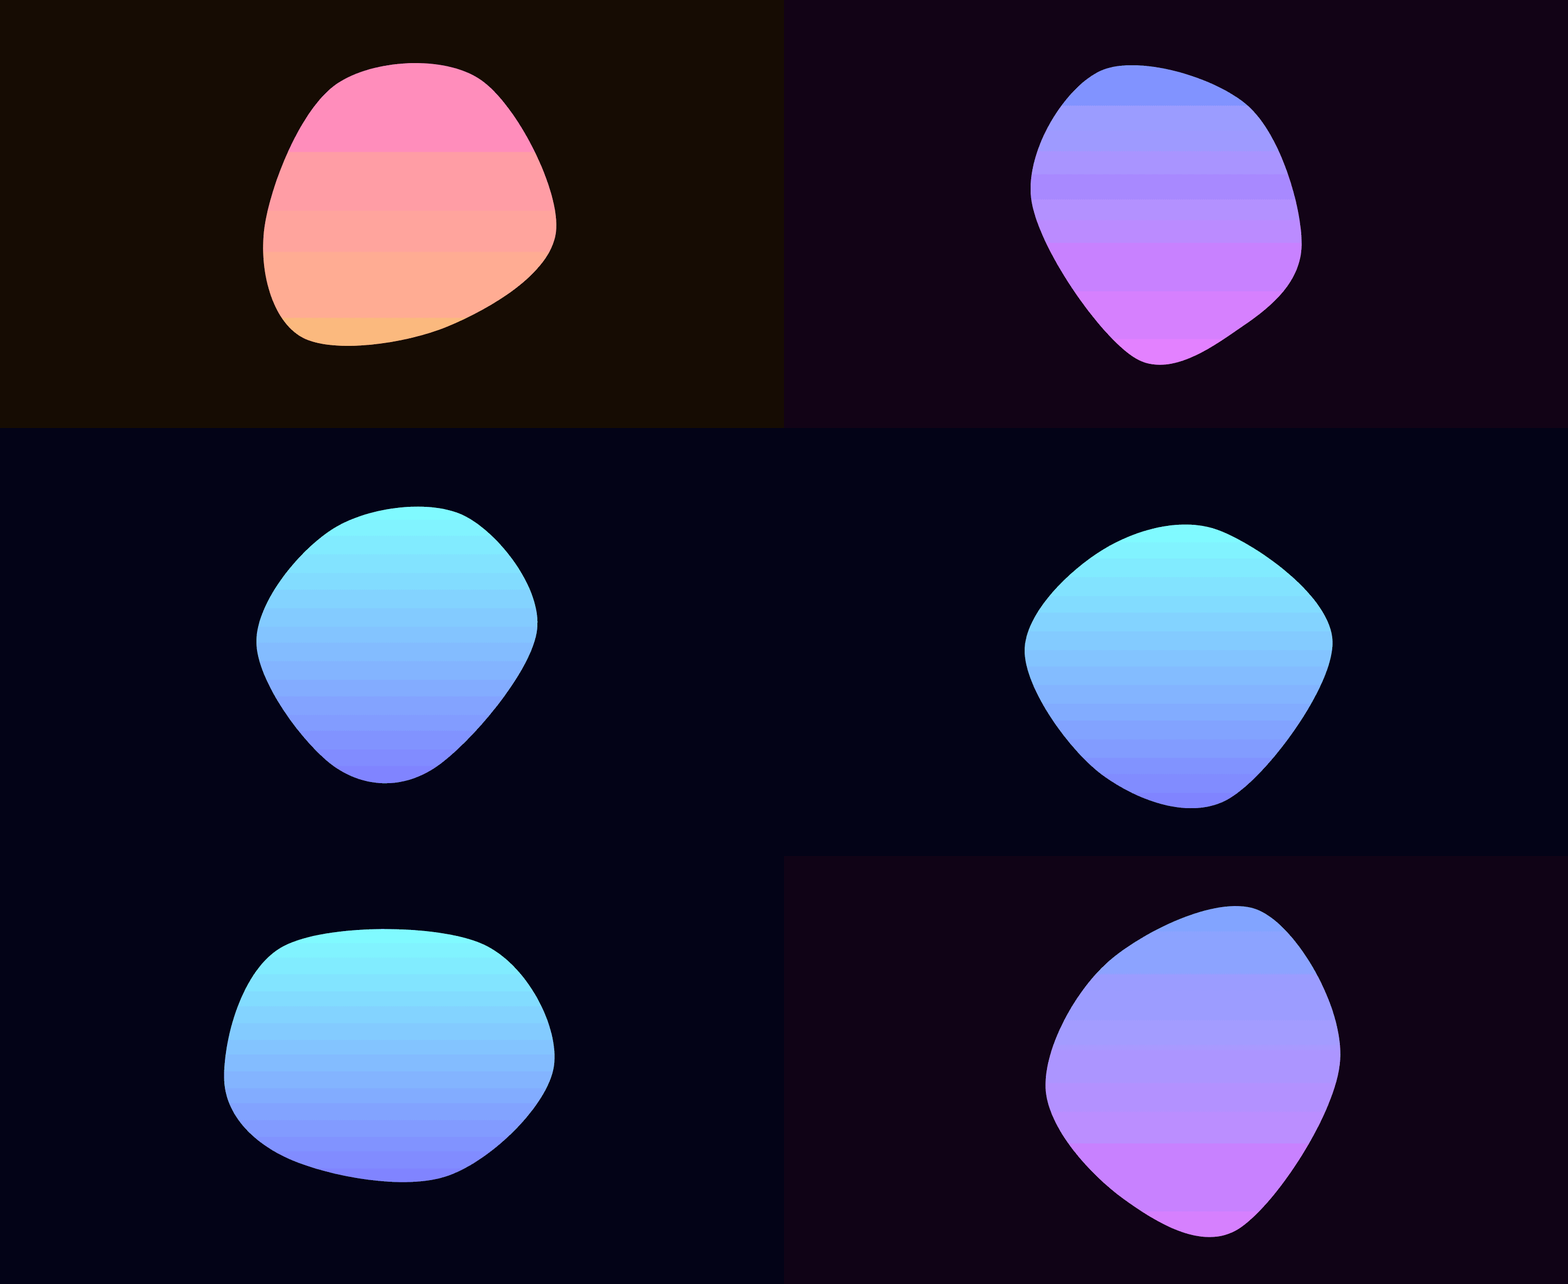
使用 SVG + JS 构建一个平滑的动画 blob
嘿!你喜欢渐变色,害怕硬边,或者收藏了大量的熔岩灯?
哦……你知道吗?
你说对地方了,我的朋友!
几天前,我在 Twitter / Reddit 上发布了这个 CodePen:
自发布以来,一些人询问有关其制作方法的信息,所以我想我会写一个关于该过程的简短教程👓。
先决条件ℹ️
本教程面向熟悉 JavaScript、HTML 和 CSS 的读者。如果您对 SVG 有一定的了解,本教程也会有所帮助。如果您之前没有接触过 SVG,那么本教程或许是一个不错的入门机会。
SVG 标记
让我们首先为我们的<svg>元素添加一些标记。
梯度 ( <linearGradient>)
这张草图最重要的方面之一是您在斑点中看到的调制渐变填充。它也是我们代码的一个很好的起点:
<!-- Draw everything relative to a 200x200 canvas, this will then scale to any resolution -->
<svg viewBox="0 0 200 200">
  <defs>
    <!-- Our gradient fill #gradient -->
    <linearGradient id="gradient" gradientTransform="rotate(90)">
      <!-- Use CSS custom properties for the start / stop colors of the gradient -->
      <stop id="gradientStop1" offset="0%" stop-color="var(--startColor)" />
      <stop id="gradientStop2 " offset="100%" stop-color="var(--stopColor)" />
    </linearGradient>
  </defs>
</svg>
如果您对 SVG 不太熟悉,请查看有关linearGradient的 MDN 文档。
如果你查看代码,你可能会注意到我使用了CSS 自定义属性来设置渐变的起始/终止值,但它们目前还没有任何值。没关系,我们稍后会使用 JavaScript 动态设置它们。
斑点形状(<path>)
您看到的斑点形状是一个单独的 SVG 元素<path>。<path>它是一个功能强大的 SVG 元素,可以通过组合曲线和直线来渲染各种形状。为了简洁起见,我不会在这里过多地介绍它,但MDN 上有一个很棒的入门指南。
让我们<path />在标记中添加一个元素:
<svg viewBox="0 0 200 200">
  ...
  <!-- Add a path with an empty data attribute, fill it with the gradient we defined earlier -->
  <path d="" fill="url('#gradient')"></path>
</svg>
目前,该<path>元素有一个空d属性。d代表data并用于定义路径的形状。我们稍后会在 JavaScript 中设置它。
打造时尚造型💅
好的,我们已经有了所有需要的 SVG 标记!太好了。在本教程的剩余部分中,我们不需要修改任何标记,因为我们只需操作自定义属性并更新<path> data属性即可。
不过,我们可以添加一些 CSS。没什么特别的,只要确保我们的 blob 尺寸始终适合视口,并且完美居中对齐即可:
* {
  margin: 0;
  padding: 0;
  box-sizing: border-box;
}

body {
  // align our svg to the center of the viewport both horizontally and vertically
  height: 100vh;
  display: grid;
  place-items: center;
}

svg {
  // a perfectly square <svg> element that will never overflow the viewport
  width: 90vmin;
  height: 90vmin;
}
注意:我实际上并没有在 CSS 本身中定义任何自定义属性,因为我们很快就会使用 JavaScript 动态设置它们。
主要活动🚀
好的,太棒了,我们已经添加了标记和样式。虽然现在还看不到任何东西,但我们已经设置好了空白画布,可以开始创建一些漂亮的斑点了。
添加依赖项
为了创建我们的 blob,我们需要一些库:
- @georgedoescode/spline:用于通过一组点绘制平滑曲线
- 单纯形噪声:用于生成平滑、自相似的随机值流(稍后会详细介绍)
如果您使用 CodePen,您可以像这样简单地导入这些库:
import { spline } from "https://cdn.skypack.dev/@georgedoescode/spline@1.0.1";
import SimplexNoise from "https://cdn.skypack.dev/simplex-noise@2.4.0";
如果您已经设置了自己的环境,则可以使用以下命令安装这些软件包:
npm install simplex-noise @georgedoescode/spline
并像这样导入它们:
import { spline } from "@georgedoescode/spline";
import SimplexNoise from "simplex-noise";
注意:如果您在自己的环境中工作,您很可能需要一个捆绑器(例如 Parcel 或 Webpack)来处理这些模块导入。
DOM 引用
现在我们已经安装并导入了我们需要的所有依赖项,我们应该存储一些对 DOM 的引用,以便稍后可以操作元素:
// our <path> element
const path = document.querySelector("path");
// used to set our custom property values
const root = document.documentElement;
创建 blob 形状概述
好耶,现在是时候开始创建我们的斑点形状了!
首先,让我重点介绍一下创建/动画 blob 所需的步骤:
- 沿圆周创建 6 个等距点
- 随着时间的推移,改变
{ x, y }每个点的值 - 使用以下方法绘制通过每个点的平滑曲线
spline() - 重复步骤 2 + 3
如果现在这看起来有点疯狂,请不要担心,当我们编写 JavaScript 时,一切都会变得清晰!
初始化 blob 点
如上面步骤 1 所述,我们需要做的第一件事是创建并存储一些{ x, y }绘制在圆周上的点。为此,我们可以添加一个函数createPoints():
function createPoints() {
  const points = [];
  // how many points do we need
  const numPoints = 6;
  // used to equally space each point around the circle
  const angleStep = (Math.PI * 2) / numPoints;
  // the radius of the circle
  const rad = 75;

  for (let i = 1; i <= numPoints; i++) {
    // x & y coordinates of the current point
    const theta = i * angleStep;

    const x = 100 + Math.cos(theta) * rad;
    const y = 100 + Math.sin(theta) * rad;

    // store the point
    points.push({
      x: x,
      y: y,
      /* we need to keep a reference to the point's original {x, y} coordinates
      for when we modulate the values later */
      originX: x,
      originY: y,
      // more on this in a moment!
      noiseOffsetX: Math.random() * 1000,
      noiseOffsetY: Math.random() * 1000,
    });
  }

  return points;
}
然后我们可以像这样初始化我们的 blob 点:
const points = createPoints();
让我们渲染一些东西!
我们已经在圆周上画出了一些点,但仍然什么也看不见。我觉得是时候改变这种现状了。
让我们使用以下方法添加动画循环requestAnimationFrame:
(function animate() {
  requestAnimationFrame(animate);
})();
此animate(函数将调用自身,然后以每秒大约 60 次的速度继续执行(这可能会因不同的显示器/设备而异,但通常它会以每秒 60 帧左右的速度运行)。如果您以前没有使用过requestAnimationFrame,这里有一些有用的文档。
在循环中animate(),我们可以通过所有点绘制一条平滑的样条线:
(function animate() {
  // generate a smooth continuous curve based on points, using Bezier curves. spline() will return an SVG path-data string. The arguments are (points, tension, close). Play with tension and check out the effect!
  path.setAttribute("d", spline(points, 1, true));

  requestAnimationFrame(animate);
})();
添加完这行代码后,你应该会看到屏幕上出现了一个近似圆形的形状。太棒了!
注意:关于spline()函数
您在此处看到的样条函数实际上是Catmull-Rom 样条函数。Catmull-Rom 样条函数非常适合绘制有机形状,因为它不仅可以绘制经过每个{ x, y }点的平滑贝塞尔曲线,还可以完美地“闭合”或回绕到其第一个点。
噪音简介
在进入下一步为我们的 blob 制作动画之前,最好先了解一下“噪声”的基础知识以及它如何用于动画。
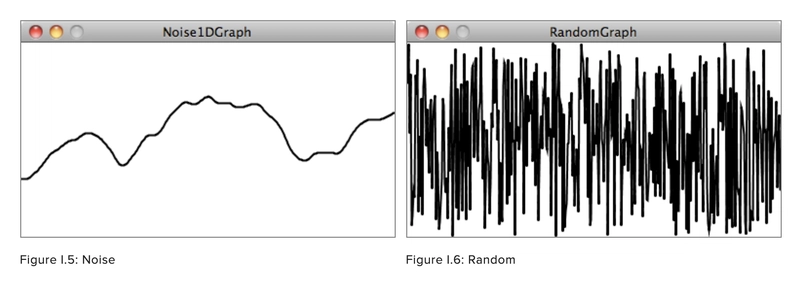
简而言之,“噪声”(通常是Perlin或Simplex)用于生成自相似的随机值流。也就是说,返回的每个值都与前一个值相似。
通过使用噪声,我们消除了随机值之间的较大变化,在我们的例子中,这会导致动画相当跳跃。
这是 Daniel Shiffman 的《代码的本质》一书中的一张出色的图表,它直观地展示了使用噪声生成的(技术上)伪随机值与使用Math.random()JavaScript等方法生成的随机值之间的区别:
将噪声值视为相对于“时间”位置的存在可能会有所帮助。以下是《代码的本质》中的另一个可视化示例。
还记得之前的这些价值观吗?
points.push({
  ...
  noiseOffsetX: Math.random() * 1000,
  noiseOffsetY: Math.random() * 1000
});
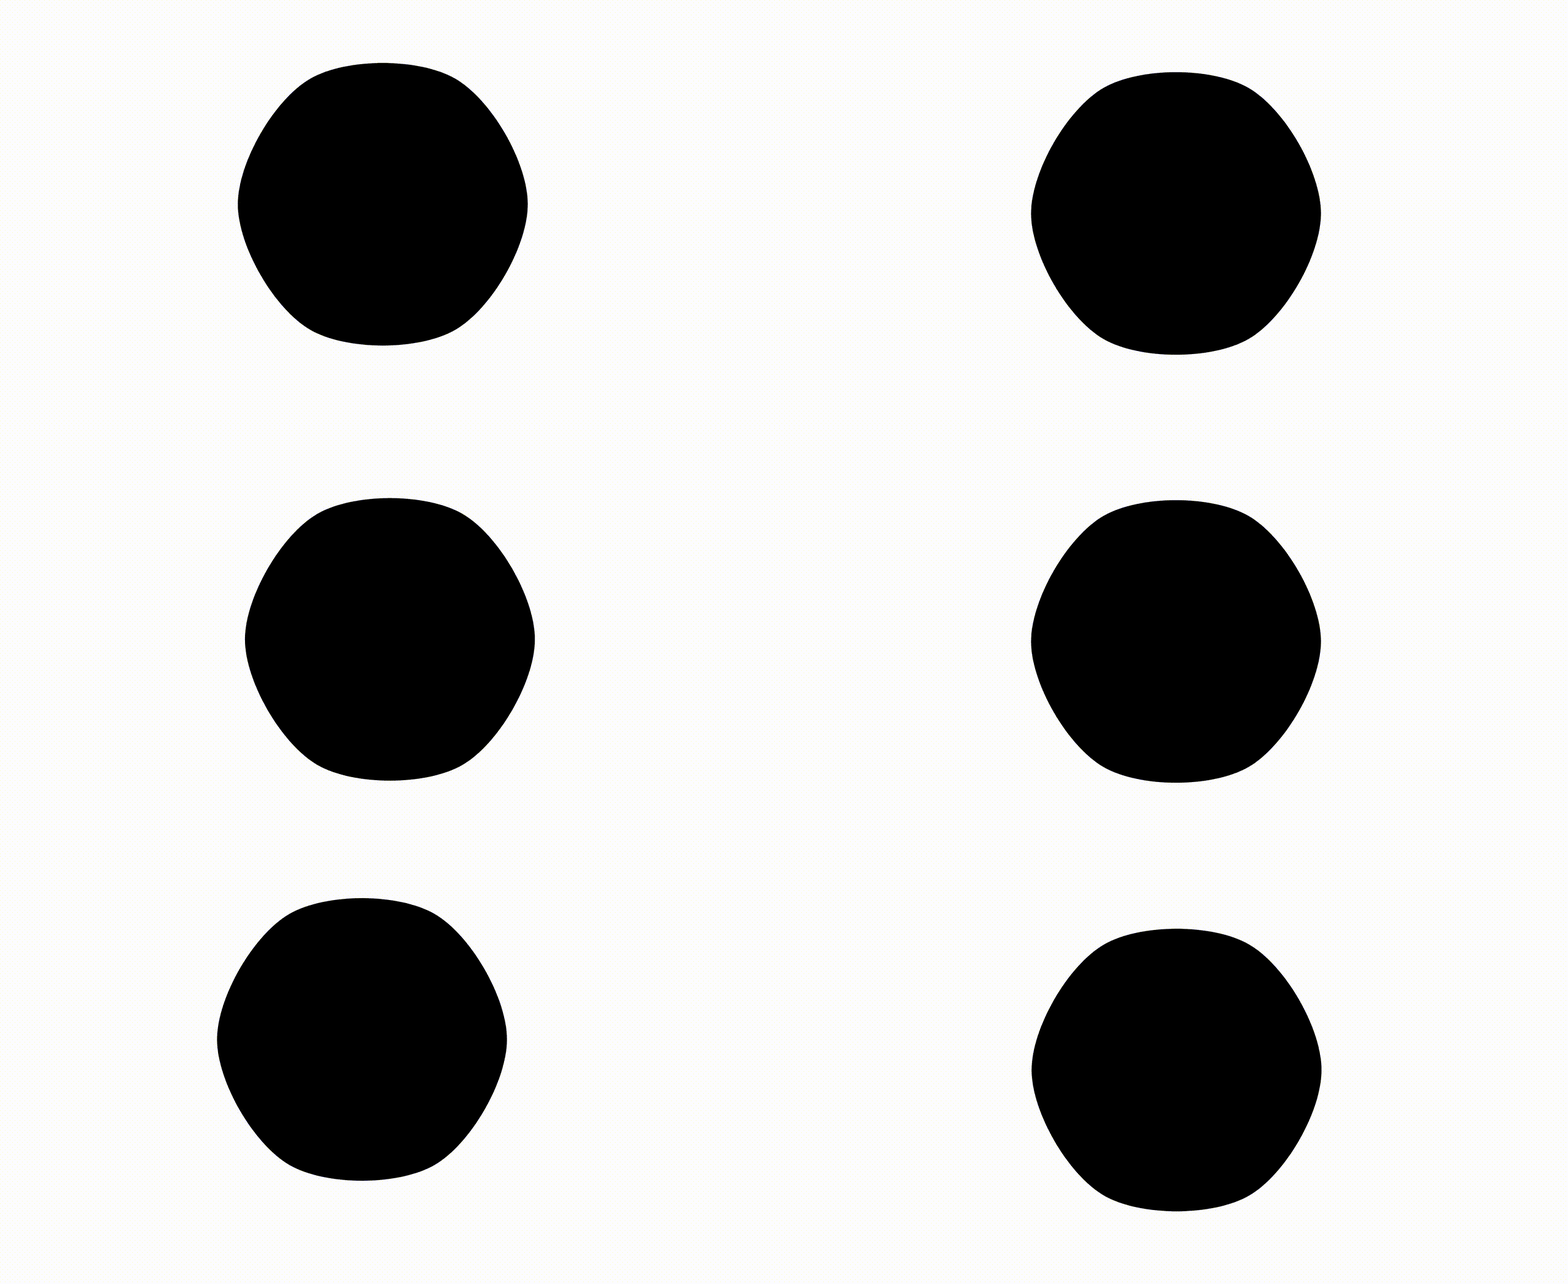
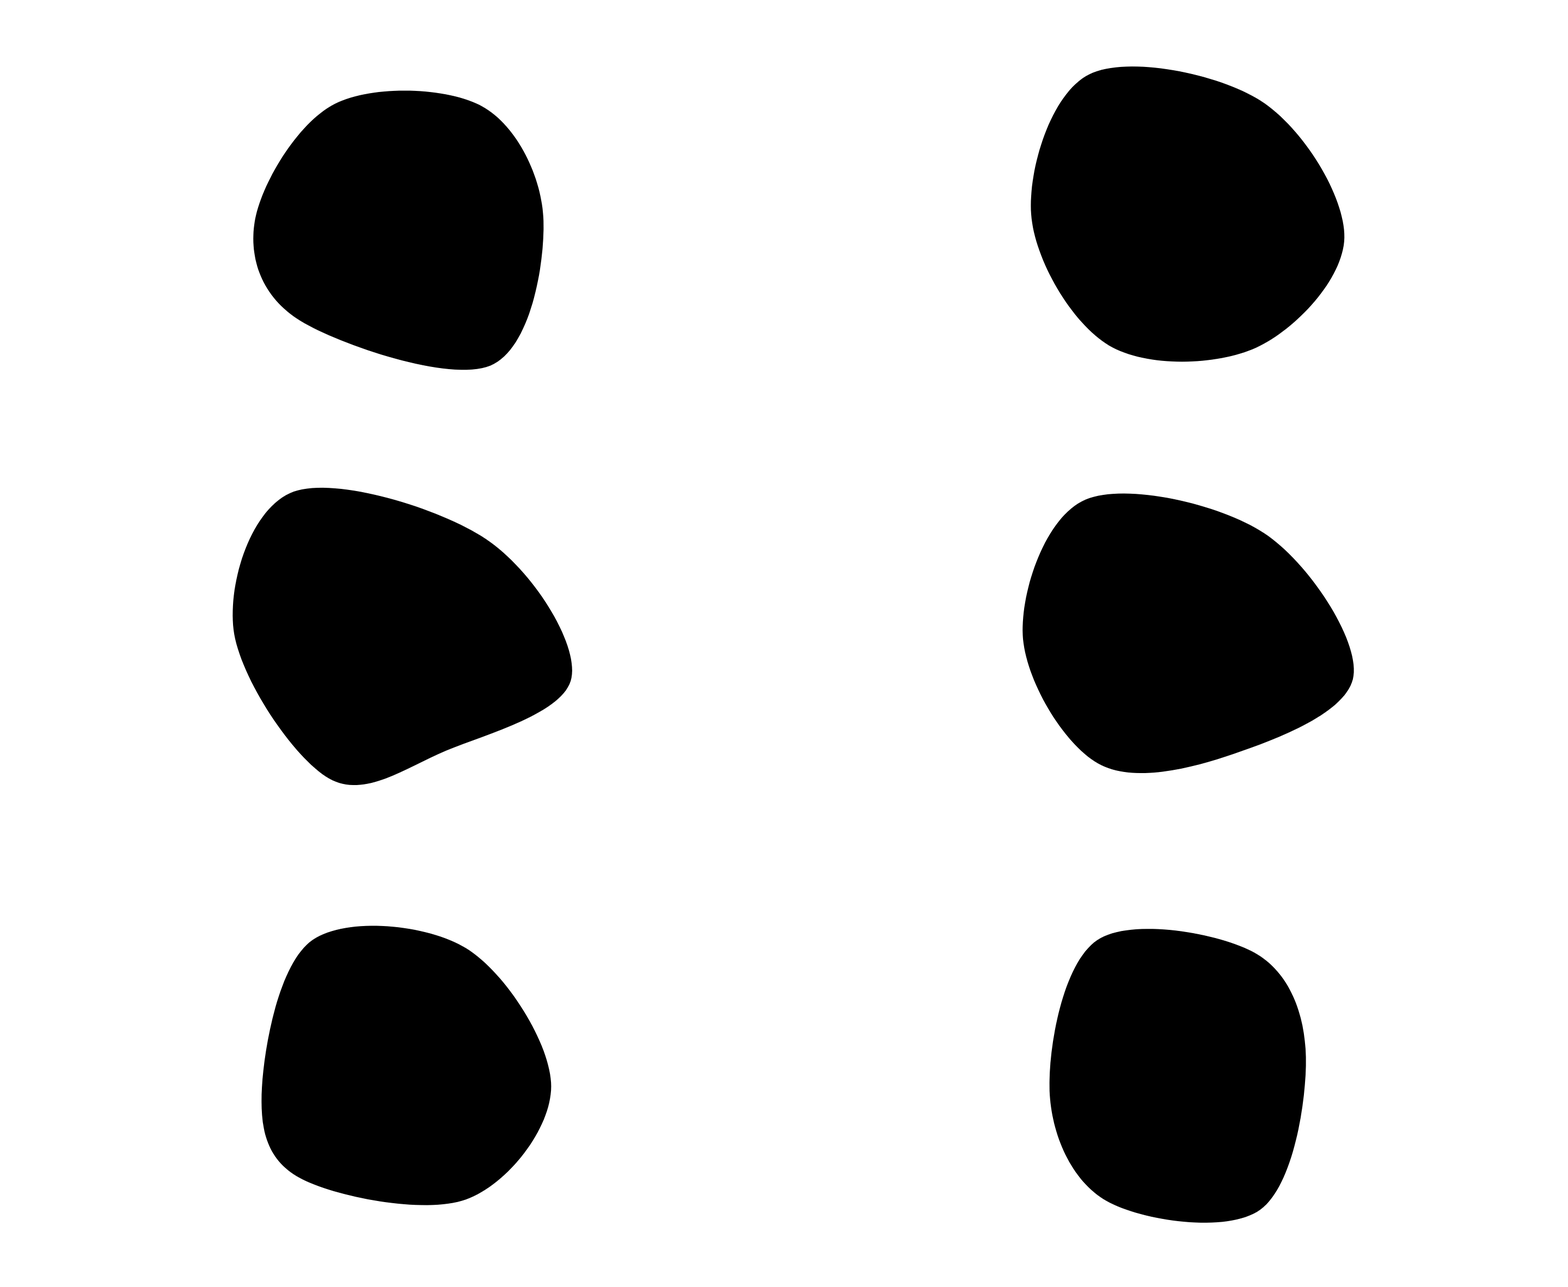
这些是每个点的起始“时间”位置。我们将每个点的噪声值从随机位置开始,以确保它们都以不同的方式移动。如果所有点都从同一时间点开始,我们的动画将会是这样的:
有点无聊,对吧?
注意:如果您想更深入地了解噪音,Daniel Shiffman 可以在https://natureofcode.com/book/introduction/上提供比我更深入的解释。
让我们动起来!
现在,事情开始变得有趣了。是时候{ x, y }根据一个噪声随机值来调整形状中每个点的值了。
不过,在执行此操作之前,让我们先添加一个快速实用功能:
// map a number from 1 range to another
function map(n, start1, end1, start2, end2) {
  return ((n - start1) / (end1 - start1)) * (end2 - start2) + start2;
}
这个map()函数非常有用。它只是接受一个范围内的值并将其映射到另一个范围内。
例如:如果我们有一个通常在 0 和 1 之间的值 0.5,并且我们将它映射到 0 到 100 的输出,我们将得到 50 的值。如果这有点令人困惑,请尝试将上述函数复制到开发工具中并玩一玩!
我们还创建一个新SimplexNoise实例,添加一个noiseStep变量并定义一个快速noise()函数:
const simplex = new SimplexNoise();

// how fast we progress through "time"
let noiseStep = 0.005;

function noise(x, y) {
  // return a value at {x point in time} {y point in time}
  return simplex.noise2D(x, y);
}
注意:上面的代码要加在我们的animate函数之前!
noiseStep只是定义了噪声值随时间变化的速度。值越高,斑点移动速度越快。
现在我们有了map()和noise()函数,我们可以将以下内容添加到我们的animate()函数/循环中:
(function animate() {
  ...
  // for every point...
  for (let i = 0; i < points.length; i++) {
    const point = points[i];

    // return a pseudo random value between -1 / 1 based on this point's current x, y positions in "time"
    const nX = noise(point.noiseOffsetX, point.noiseOffsetX);
    const nY = noise(point.noiseOffsetY, point.noiseOffsetY);
    // map this noise value to a new value, somewhere between it's original location -20 and it's original location + 20
    const x = map(nX, -1, 1, point.originX - 20, point.originX + 20);
    const y = map(nY, -1, 1, point.originY - 20, point.originY + 20);

    // update the point's current coordinates
    point.x = x;
    point.y = y;

    // progress the point's x, y values through "time"
    point.noiseOffsetX += noiseStep;
    point.noiseOffsetY += noiseStep;
  }
})();
请击鼓……
噢,是的,看看那块美味的点心!做得真棒。
添加渐变
现在,我们得到了一个很棒的动画水滴形状。唯一缺少的就是颜色!为了创建漂亮的渐变填充,我们将:
- 根据另一个噪声值(介于 0 到 360 之间)选择基本色调
- 选择与基色调相距 60 度的另一种色调(感谢 Adam Argyle 提供的这个提示!)
- 将基色分配给我们的自定义属性
--startColor,将补色分配给我们的自定义属性--stopColor - 将背景颜色设置
<body>为暗色版本--stopColor - (希望)惊叹于渐变的美丽!
为了将其添加到我们的代码中,我们首先在循环hueNoiseOffset上方定义一个变量animate(这是色调在“时间”中的位置,就像我们的点的noiseOffsetX/noiseOffsetY值一样,但是是 1 维的)
let hueNoiseOffset = 0;
然后我们可以hueNoiseOffset随着animate()循环的运行而随着时间的推移而前进:
(function animate() {
  ...
  // we want the hue to move a little slower than the rest of the shape
  hueNoiseOffset += noiseStep / 6;
})();
现在hueNoiseOffset时间已经顺利移动,我们可以添加以下代码来执行步骤 2/4:
(function animate() {
  ...
  const hueNoise = noise(hueNoiseOffset, hueNoiseOffset);
  const hue = map(hueNoise, -1, 1, 0, 360);

  root.style.setProperty("--startColor", `hsl(${hue}, 100%, 75%)`);
  root.style.setProperty("--stopColor", `hsl(${hue + 60}, 100%, 75%)`);
  document.body.style.background = `hsl(${hue + 60}, 75%, 5%)`;
})();
运气好的话,您现在应该会看到类似这样的内容:
奖励环节…互动!👉
我们的 blob 已经完成了!不过还有一件事可以添加……
如果当你把鼠标悬停在那个斑点上时,它能做出某种反应就太酷了。比如移动得快一点?
我们可以通过简单地增加noiseStep鼠标悬停在 blob 上时的值来轻松实现这一点:
document.querySelector("path").addEventListener("mouseover", () => {
  noiseStep = 0.01;
});

document.querySelector("path").addEventListener("mouseleave", () => {
  noiseStep = 0.005;
});
当noiseStep形状随时间移动得更快时,我们的随机噪声值也会随之增加。这给人一种形状移动得更快的感觉。太棒了!
感谢您的阅读!👋
希望你喜欢这篇文章,并学到一些新东西。如果你在学习过程中遇到任何困难,请查看CodePen 上的最终成果。如果这还不足以帮助你解决问题,请随时联系我。我很乐意与你交流!
如果您喜欢这些内容并希望及时了解我的更多帖子/CodePens/生成艺术材料,请在 Twitter 上关注我@georgedoescode ❤️
你也可以给我买杯咖啡来支持我的教程☕
鏂囩珷鏉ユ簮锛�https://dev.to/georgedoescode/tutorial-build-a-smooth-animated-blob-using-svg-js-3pne 后端开发教程 - Java、Spring Boot 实战 - msg200.com
