如何使用 JavaScript 制作待办事项列表
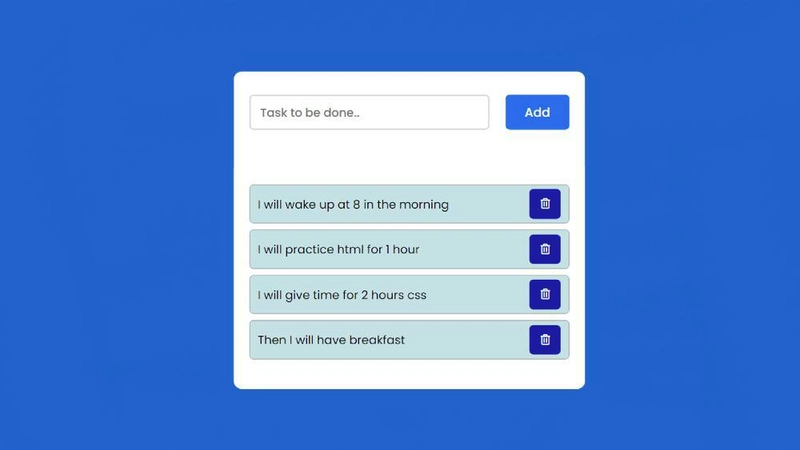
在本文中,您将学习如何使用 JavaScript 创建待办事项列表。JavaScript待办事项列表可帮助您创建全天待办事项列表。假设您想在一天中完成某项任务,您可以将其列在这里。完成该任务后,您可以将其删除。
我利用 HTML、CSS 和 JavaScript 帮助创建了这个待办事项列表。html 和 css 帮助设计它,JavaScript 使它运行。
✅ 100+最佳 JavaScript 项目
✅观看实时预览👉👉 JavaScript 待办事项列表
首先,我在网页上创建了一个输入框,然后创建了一个输入区域。你可以在那里输入一些内容,然后你可以通过旁边的添加按钮将文本添加到列表中。
每个列表都有一个删除按钮。点击该按钮后,该文本将从列表中删除。
重要通知:
I have just created a tutorial that will store your added todo list in local storage. As a result, even if you refresh the webpage, the todo list items will not be refreshed.
✅✅ 使用 JavaScript 的本地存储待办事项列表👇👇
步骤1:待办事项列表的基本结构
使用下面的 HTML 和 CSS 代码,我创建了创建此待办事项列表的基本结构html css。首先,我使用 CSS 代码设计了网页。这里框的宽度为 450px min-height: 100px。背景色我使用了白色。
<div class="container">

</div>
*,
*:before,
*:after{
    padding: 0;
    margin: 0;
    box-sizing: border-box;
}
body{
    height: 100vh;
    background: #066acd;
}
.container{
    width: 40%;
    top: 50%;
    left: 50%;
    background: white;
    border-radius: 10px;
    min-width: 450px;
    position: absolute;
    min-height: 100px;
    transform: translate(-50%,-50%);
}
步骤2:创建输入位置和按钮
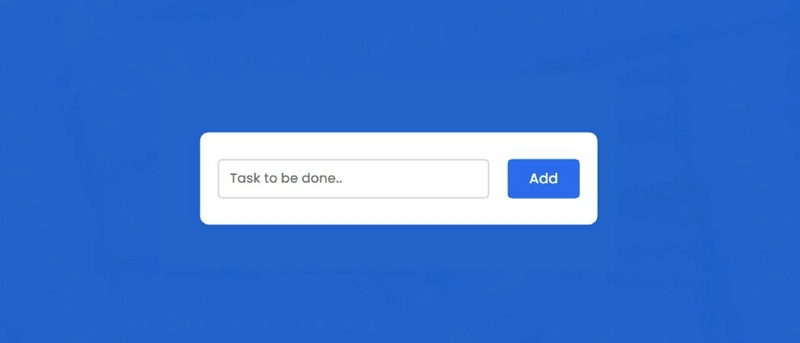
现在,我们已经使用一些 HTML 代码创建了一个按钮和输入空间。输入空间的宽度为 75%,而height is 45px。此按钮的宽度为 20%,高度为 45px。
<div id="newtask">
    <input type="text" placeholder="Task to be done..">
    <button id="push">Add</button>
</div>
#newtask{
    position: relative;
    padding: 30px 20px;
}
#newtask input{
    width: 75%;
    height: 45px;
    padding: 12px;
    color: #111111;
    font-weight: 500;
    position: relative;
    border-radius: 5px;
    font-family: 'Poppins',sans-serif;
    font-size: 15px;
    border: 2px solid #d1d3d4;
}

#newtask input:focus{
    outline: none;
    border-color: #0d75ec;
}
#newtask button{
    position: relative;
    float: right;
    font-weight: 500;
    font-size: 16px;
    background-color: #0d75ec;
    border: none;
    color: #ffffff;
    cursor: pointer;
    outline: none;
    width: 20%;
    height: 45px;
    border-radius: 5px;
    font-family: 'Poppins',sans-serif;
}
步骤 3:创建查看信息的地方
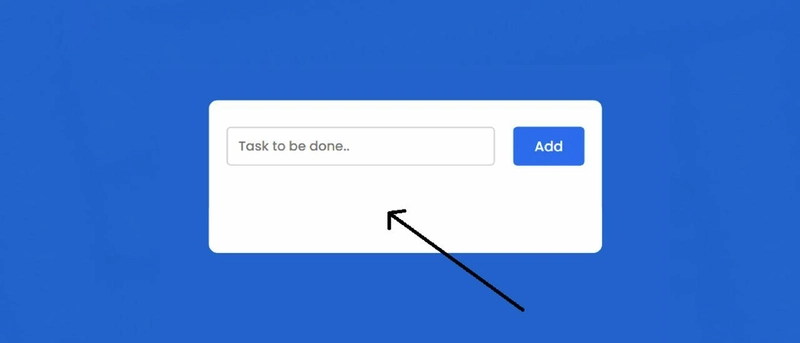
现在,我在这个项目中创建了一个列表,可以看到所有测试。我没有设置任何特定的高度,因为你可以在这里添加任意数量的文本。
<div id="tasks"></div>
#tasks{
    border-radius: 10px;
    width: 100%;
    position: relative;
    background-color: #ffffff;
    padding: 30px 20px;
    margin-top: 10px;
}

.task{
    border-radius: 5px;
    align-items: center;
    justify-content: space-between;
    border: 1px solid #939697;
    cursor: pointer;
    background-color: #c5e1e6;
    height: 50px;
    margin-bottom: 8px;
    padding: 5px 10px;
    display: flex;
}
.task span{
    font-family: 'Poppins',sans-serif;
    font-size: 15px;
    font-weight: 400;
}
.task button{
    background-color: #0a2ea4;
    color: #ffffff;
    border: none;
    cursor: pointer;
    outline: none;
    height: 100%;
    width: 40px;
    border-radius: 5px;
}
步骤 4:启用 Todo List JavaScript
以上我们已经完成了 Todo List 的基本设计。现在是时候用 JavaScript 来实现它了。观看现场演示,了解它的工作原理。
首先,我使用“if”条件来创建这个条件
➤ 如果您在输入的位置没有输入任何内容,您将看到一条错误消息。此消息将提醒您输入一些内容。为此,我借助了 alert 的帮助。
➤ 然后我使用 else 添加了上述条件。我们已经确定了如果在输入空间中输入某些内容,将会执行什么样的工作。
➤ 首先,我习惯于innerhtml在网页中显示所有添加到此处的信息。我已经在网页中创建了一个区域。所有这些信息都可以在该区域找到。
➤ 我们添加了可在每条文本中找到的删除按钮。
单击该按钮时,文本将从列表中删除。
document.querySelector('#push').onclick = function(){
    if(document.querySelector('#newtask input').value.length == 0){
        alert("Please Enter a Task")
    }

    else{
        document.querySelector('#tasks').innerHTML += `
            <div class="task">
                <span id="taskname">
                    ${document.querySelector('#newtask input').value}
                </span>
                <button class="delete">
                    <i class="far fa-trash-alt"></i>
                </button>
            </div>
        `;

        var current_tasks = document.querySelectorAll(".delete");
        for(var i=0; i<current_tasks.length; i++){
            current_tasks[i].onclick = function(){
                this.parentNode.remove();
            }
        }
    }
}

我希望您从本教程中了解了我如何创建Todo List javascript。
相关文章:
请务必评论一下您是否喜欢这个设计。
您可以访问我的博客以获取更多类似的教程。😊
https://www.foolishdeveloper.com/
 后端开发教程 - Java、Spring Boot 实战 - msg200.com


