编写一个交互式(并且令人满意的)游标:7 个简单步骤 + 2kb 代码
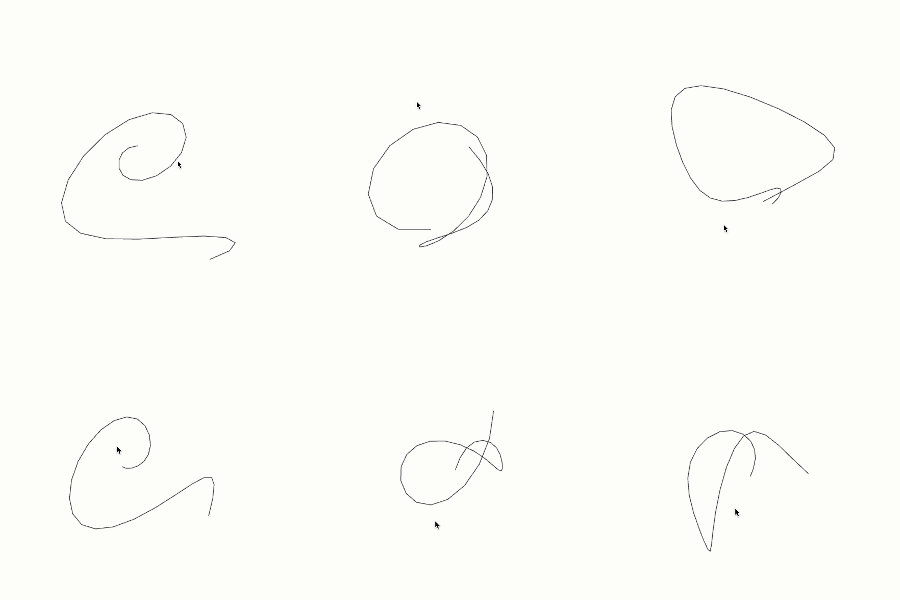
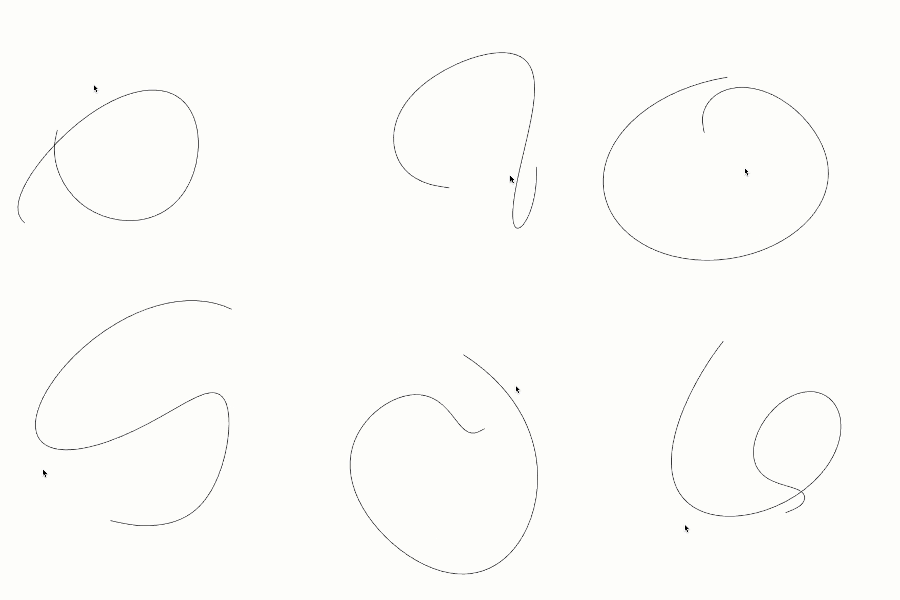
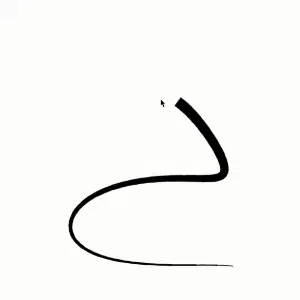
我最近制作了这个光标动画,人们似乎很喜欢它:)
这件作品不仅外观精美,而且相当简洁,仅占用 2KB 的 JS 代码。此外,这种方法非常通用,可以作为其他美图的模板。
因此它值得一步一步的指导!
我们走吧
步骤#1:设置
我们正在绘制<canvas>元素,我们需要<canvas>占据整个屏幕。
canvas {
    position: fixed;
    top: 0;
    left: 0;
}
<canvas></canvas>
setupCanvas();
window.addEventListener("resize", setupCanvas);

function setupCanvas() {
    canvas.width = window.innerWidth;
    canvas.height = window.innerHeight;
}
当然,我们需要跟踪光标的位置。
const pointer = {
    x: .5 * window.innerWidth,
    y: .5 * window.innerHeight,
}

window.addEventListener("click", e => {
    updateMousePosition(e.pageX, e.pageY);
});
window.addEventListener("mousemove", e => {
    updateMousePosition(e.pageX, e.pageY);
});
window.addEventListener("touchmove", e => {
    updateMousePosition(e.targetTouches[0].pageX, e.targetTouches[0].pageY);
});

function updateMousePosition(eX, eY) {
    pointer.x = eX;
    pointer.y = eY;
}
步骤#2:动画循环
要看最简单的鼠标跟随动画,我们只需要使用 的方法循环重绘画布window.requestAnimationFrame(),并在每一步绘制以指针坐标为中心的圆圈即可。
const p = {x: 0, y: 0}; // coordinate to draw

update(0);

function update(t) {
    ctx.clearRect(0, 0, canvas.width, canvas.height);

    // copy cursor position
    p.x = poiner.x;
    p.y = poiner.y;
    // draw a dot
    ctx.beginPath();
    ctx.arc(p.x, p.y, 5, 0, 2 * Math.PI);
    ctx.fill();

    window.requestAnimationFrame(update);
}
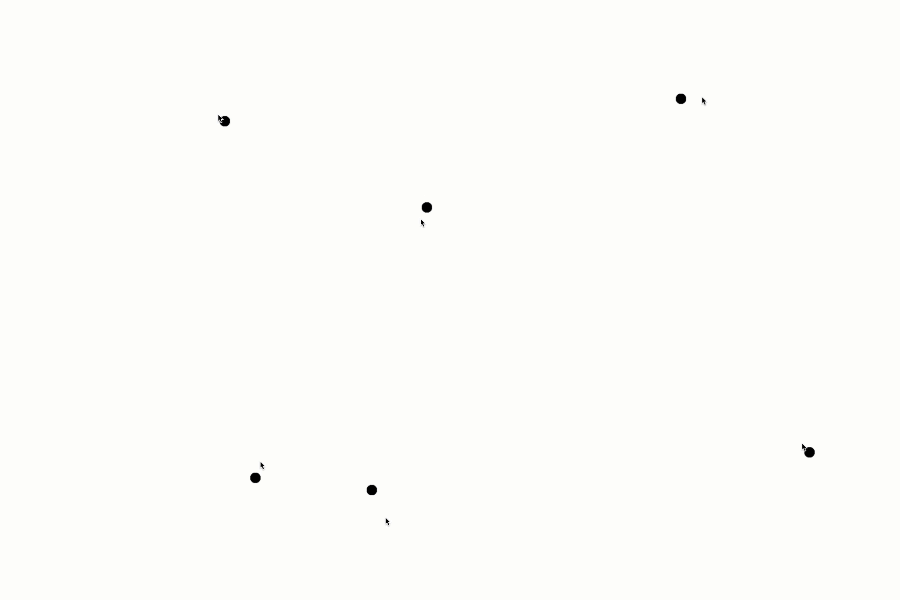
通过上面的代码,我们得到了一个跟随鼠标的黑色圆圈。
步骤#3:添加延迟
现在,圆圈正在尽可能快地跟随光标。让我们添加一个延迟,让圆点以某种弹性的方式追上目标位置。
const params = {
    // ...
    spring: .4
};
// p.x = poiner.x;
// p.y = poiner.y;
p.x += (pointer.x - p.x) * params.spring;
p.y += (pointer.y - p.y) * params.spring;

ctx.beginPath();
ctx.arc(p.x, p.y, 5, 0, 2 * Math.PI);
ctx.fill();
该spring参数用于确定点追赶光标位置的速度。较小的值(例如 ).1会使它跟随得非常慢,而 则spring = 1表示没有延迟。
步骤#3:创建鼠标轨迹
让我们创建一个轨迹 - 点数据的数组,每个点都包含我们用来计算延迟的x/y坐标和dx/增量。dy
const params = {
    // ...
    pointsNumber: 30
};

// const p = {x: 0, y: 0};

const trail = new Array(params.pointsNumber);
for (let i = 0; i < params.pointsNumber; i++) {
    trail[i] = {
        x: poiner.x,
        y: poiner.y,
        dx: 0,
        dy: 0,
    }
}
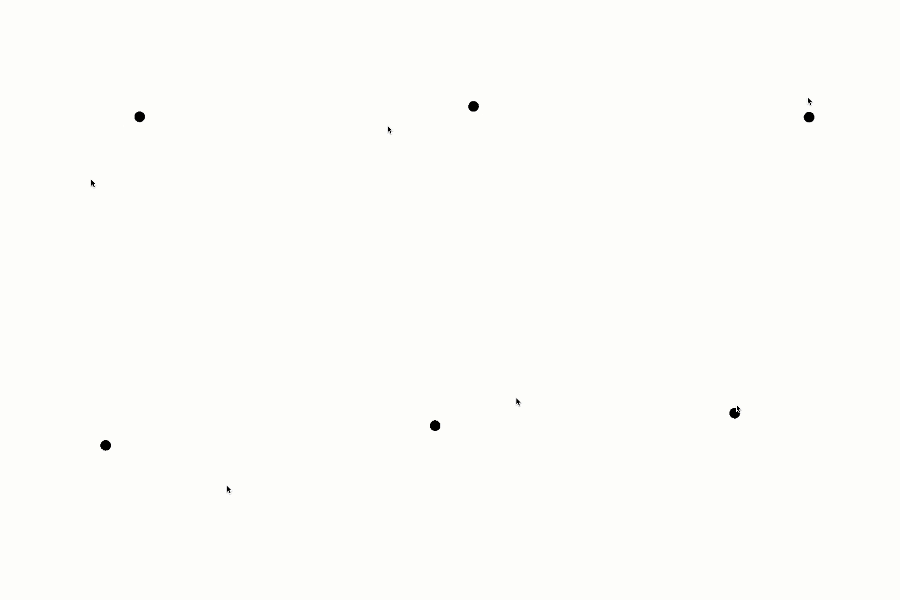
现在我们不再绘制单个点,而是绘制整条轨迹,每个点都试图追赶前一个点。第一个点追赶的是光标坐标(pointer),而这个第一个点的延迟时间更长——只是因为这样看起来更好 :)
function update(t) {
    ctx.clearRect(0, 0, canvas.width, canvas.height);

    trail.forEach((p, pIdx) => {
        const prev = pIdx === 0 ? pointer : trail[pIdx - 1];
        const spring = pIdx === 0 ? .4 * params.spring : params.spring;

        p.dx = (prev.x - p.x) * spring;
        p.dy = (prev.y - p.y) * spring;

        p.x += p.dx;
        p.y += p.dy;

        ctx.beginPath();
        ctx.arc(p.x, p.y, 5, 0, 2 * Math.PI);
        ctx.fill();
    });

    window.requestAnimationFrame(update);
}
步骤#4:将点变成线
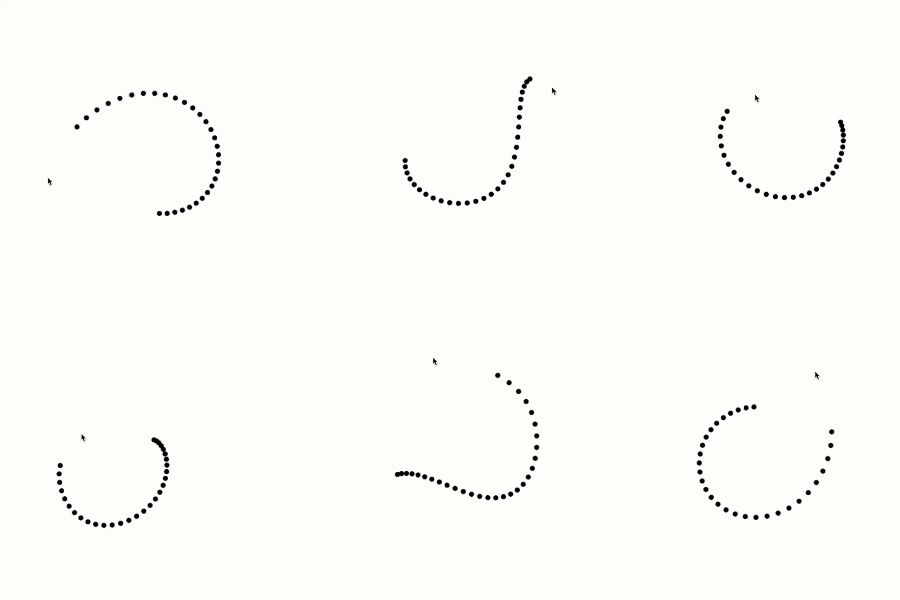
绘制折线比绘制点更容易。
trail.forEach((p, pIdx) => {
    const prev = pIdx === 0 ? pointer : trail[pIdx - 1];

    p.dx = (prev.x - p.x) * params.spring;
    p.dy = (prev.y - p.y) * params.spring;

    p.x += p.dx;
    p.y += p.dy;

    // ctx.beginPath();
    // ctx.arc(p.x, p.y, 5, 0, 2 * Math.PI);
    // ctx.fill();

    if (pIdx === 0) {
        // start the line on the first point
        ctx.beginPath();
        ctx.moveTo(p.x, p.y);
    } else {
        // continue with new line segment to the following one
        ctx.lineTo(p.x, p.y);
    }
});

// draw the thing
ctx.stroke();
步骤#5:积累速度
让光标动画看起来更美观的关键在于累积增量。让我们不仅使用dx/来表示到相邻位置的距离,还要累积这个距离。dy
为了防止增量值快速变得过大,我们还会在每一步中将dx/dy乘以新参数。friction
const params = {
    // ...
    friction: .5
};

...

// ...

// p.dx = (prev.x - p.x) * spring;
// p.dy = (prev.y - p.y) * spring;
p.dx += (prev.x - p.x) * spring;
p.dy += (prev.y - p.y) * spring;
p.dx *= params.friction;
p.dy *= params.friction;

// as before
p.x += p.dx;
p.y += p.dy;

// ...
步骤#6:平滑线条
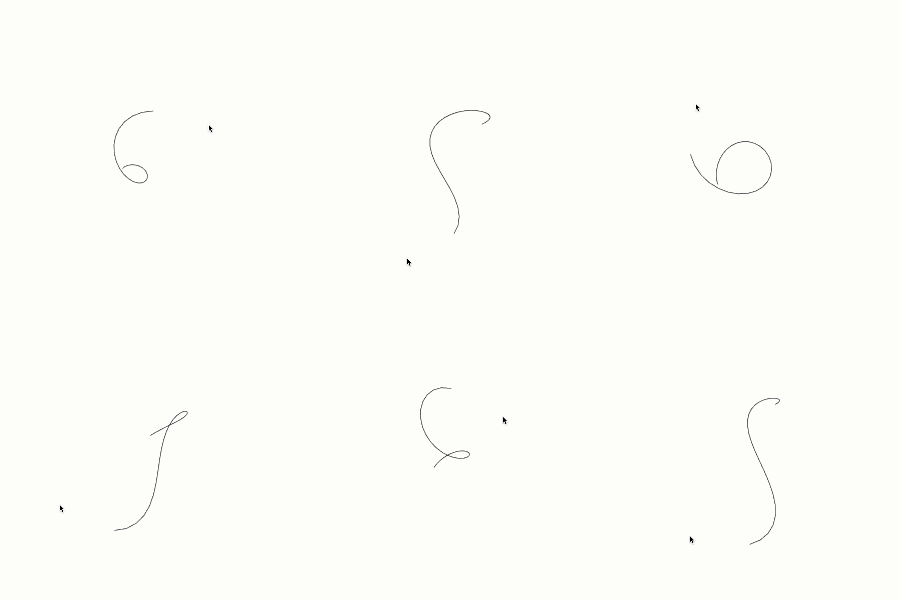
动作完成了!让我们让描边看起来更好一些,并用贝塞尔曲线替换每条线段。
trail.forEach((p, pIdx) => {
    // calc p.x and p.y

    if (pIdx === 0) {
        ctx.beginPath();
        ctx.moveTo(p.x, p.y);
    // } else {
    //     ctx.lineTo(p.x, p.y);
    }
});

for (let i = 1; i < trail.length - 1; i++) {
    const xc = .5 * (trail[i].x + trail[i + 1].x);
    const yc = .5 * (trail[i].y + trail[i + 1].y);
    ctx.quadraticCurveTo(trail[i].x, trail[i].y, xc, yc);
}

ctx.stroke();
光滑的!
步骤#7:调整线条宽度
对于此演示,最后一步是将默认值lineWidth1px 替换为每段越来越小的动态值。
const params = {
    baseWidth: .9,
};
...

for (let i = 1; i < trail.length - 1; i++) {
    // ...
    ctx.quadraticCurveTo(trail[i].x, trail[i].y, xc, yc);
    ctx.lineWidth = params.baseWidth * (params.pointsNumber - i);
}
请参阅codepen上的源代码。
文章来源:https://dev.to/uuuuuulala/coding-an-interactive-and-damn-satisfying-cursor-7-simple-steps-2kb-of-code-1c8b 后端开发教程 - Java、Spring Boot 实战 - msg200.com
