如何用 Golang 编写和运行数据库迁移
MySQL 数据库迁移器
在使用数据库时,模式迁移是我们在整个应用程序生命周期内经常要执行的一项重要任务,以适应新的业务需求。
在本讲座中,我们将学习如何使用golang-migrate库在 Golang 中编写和运行数据库模式迁移。
- YouTube 上完整系列播放列表的链接
- 以及它的Github 仓库
安装 golang-migrate
Golang-migrate 可与许多不同的数据库引擎配合使用,如 postgres、mysql、mongo、cockroach 等。
让我们打开这个 CLI 文档来看看如何安装它。我用的是 Mac,所以我会使用 Homebrew。
brew install golang-migrate
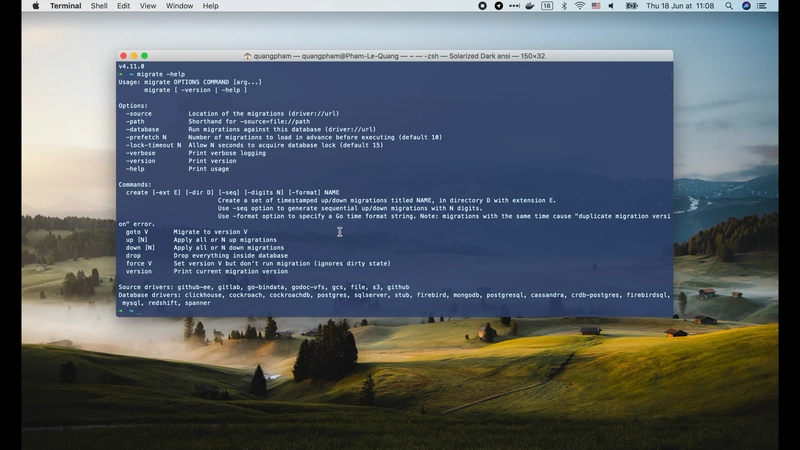
Migrate 为我们提供了几个命令:
- 第一个是
create,我们可以使用它来创建新的迁移文件。 - 第二个是
goto,它将模式迁移到特定版本。 - 然后使用
up或down命令应用所有或 N 个向上或向下迁移。
还有更多命令,但大多数时候,我们将使用create、up和down。
好了,migrate 安装成功了。我们可以运行一下migrate -help看看它的使用手册。
创建新的迁移
好的,现在我要为我们的 Simple Bank 项目创建一个新文件夹。在里面,我将创建一个新文件夹db/migration来存储我们所有的迁移文件。
cd ~/Projects/techschool
mkdir simple_bank
cd simple_bank
mkdir -p db/migration
然后让我们创建第一个迁移文件来初始化我们的简单银行的数据库模式。
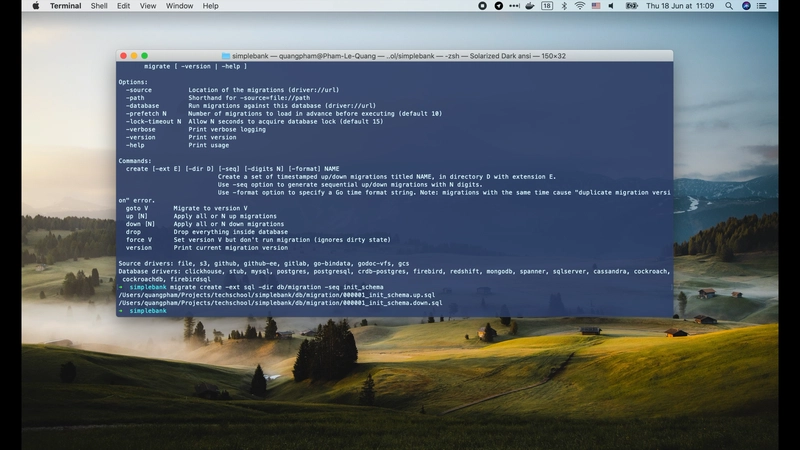
以 开头migrate create。那么文件的扩展名将是sql,存储它的目录是db/migration。
migrate create -ext sql -dir db/migration -seq init_schema
我们使用该-seq标志为迁移文件生成一个连续的版本号。最后是迁移的名称,init_schema在本例中就是。
可以看到,我们生成了两个迁移文件。它们的文件名前缀都是 version 1,但后缀不同:一个是up,另一个是down。这是为什么呢?
向上/向下迁移
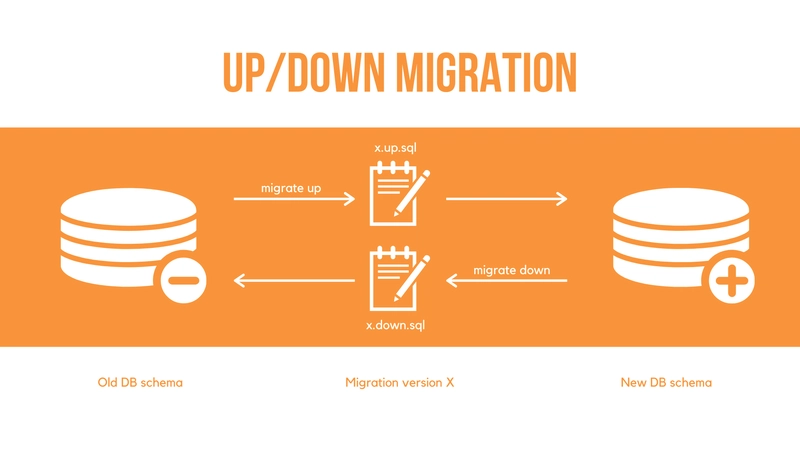
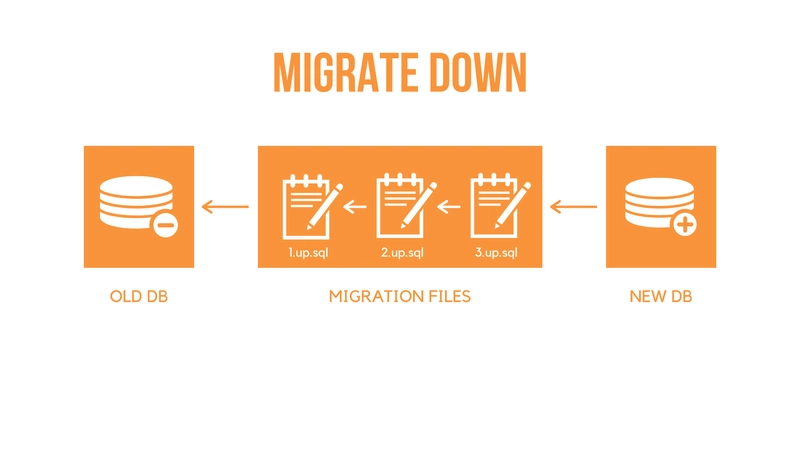
嗯,基本上,这是编写数据库迁移的最佳实践。up运行该脚本可以对架构进行正向更改。down如果我们想还原脚本所做的更改,也会运行该脚本up。
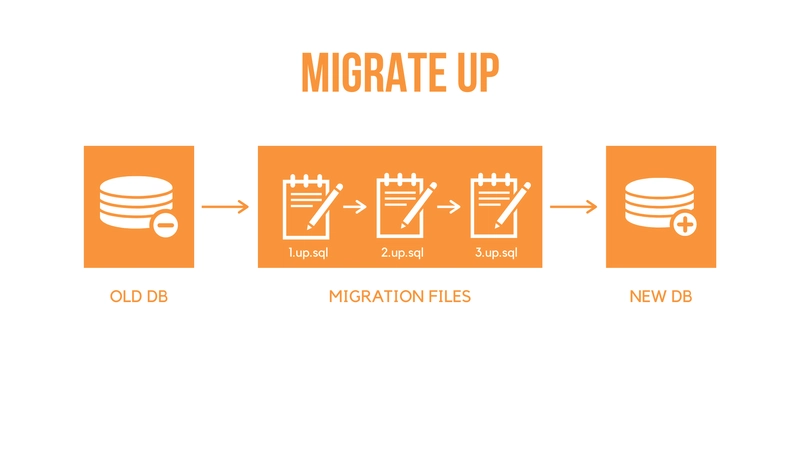
因此,当我们运行migrate up命令时,文件夹up中的脚本文件db/migration将按照其前缀版本的顺序依次运行。
相反,当我们运行migrate down命令时,文件夹内的下行脚本文件db/migration将按照其前缀版本的相反顺序依次运行。
好了,现在我们打开simple_bank.sql之前课程生成的文件。我要复制这个文件的所有内容并粘贴到init_schema.up.sql文件中。
CREATE TABLE "accounts" (
  "id" bigserial PRIMARY KEY,
  "owner" varchar NOT NULL,
  "balance" bigint NOT NULL,
  "currency" varchar NOT NULL,
  "created_at" timestamptz NOT NULL DEFAULT (now())
);

CREATE TABLE "entries" (
  "id" bigserial PRIMARY KEY,
  "account_id" bigint NOT NULL,
  "amount" bigint NOT NULL,
  "created_at" timestamptz NOT NULL DEFAULT (now())
);

CREATE TABLE "transfers" (
  "id" bigserial PRIMARY KEY,
  "from_account_id" bigint NOT NULL,
  "to_account_id" bigint NOT NULL,
  "amount" bigint NOT NULL,
  "created_at" timestamptz NOT NULL DEFAULT (now())
);

ALTER TABLE "entries" ADD FOREIGN KEY ("account_id") REFERENCES "accounts" ("id");

ALTER TABLE "transfers" ADD FOREIGN KEY ("from_account_id") REFERENCES "accounts" ("id");

ALTER TABLE "transfers" ADD FOREIGN KEY ("to_account_id") REFERENCES "accounts" ("id");

CREATE INDEX ON "accounts" ("owner");

CREATE INDEX ON "entries" ("account_id");

CREATE INDEX ON "transfers" ("from_account_id");

CREATE INDEX ON "transfers" ("to_account_id");

CREATE INDEX ON "transfers" ("from_account_id", "to_account_id");

COMMENT ON COLUMN "entries"."amount" IS 'can be negative or positive';

COMMENT ON COLUMN "transfers"."amount" IS 'must be positive';
对于该init_schema.down.sql文件,我们应该还原 up 脚本所做的更改。在本例中,up 脚本创建了 3 个表:accounts、transfers和entries。因此 down 脚本应该删除所有表。我们使用DROP TABLE查询来实现此目的。
DROP TABLE IF EXISTS entries;
DROP TABLE IF EXISTS transfers;
DROP TABLE IF EXISTS accounts;
这里我们在删除表之前先删除entries一个表,因为有一个引用记录的外键约束。transfersaccountsentriestransfersaccounts
好的,现在我们的迁移脚本已经准备好了。让我们尝试运行它们。
检查 postgres 容器状态
但在此之前,我们应该检查我们的postgres容器是否仍在运行:
docker ps
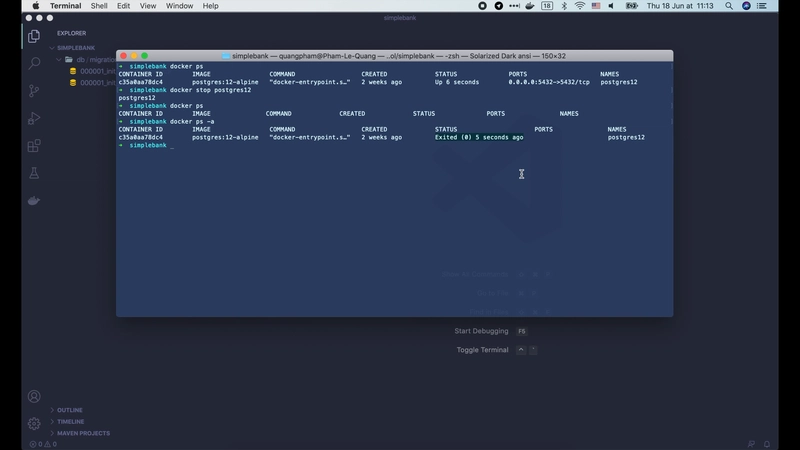
顺便说一下,我将向你展示更多用于容器的 Docker 命令。如果我们想停止正在运行的容器,可以使用docker stop容器名称或 ID。
docker stop postgres12
此后,如果我们运行docker ps,我们将不再看到 postgres 容器,因为它没有运行。要列出所有容器(无论其运行状态如何),我们可以运行:
docker ps -a
现在我们看到了postgres容器的状态exited。
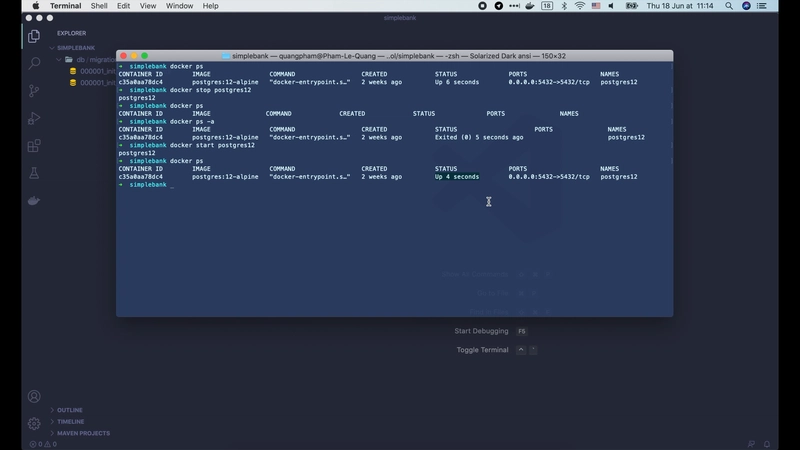
要重新打开它,我们只需要运行:docker start并传入容器名称或 ID。
docker start postgres12
现在,postgres12容器已启动并运行。
访问 postgres 容器 shell
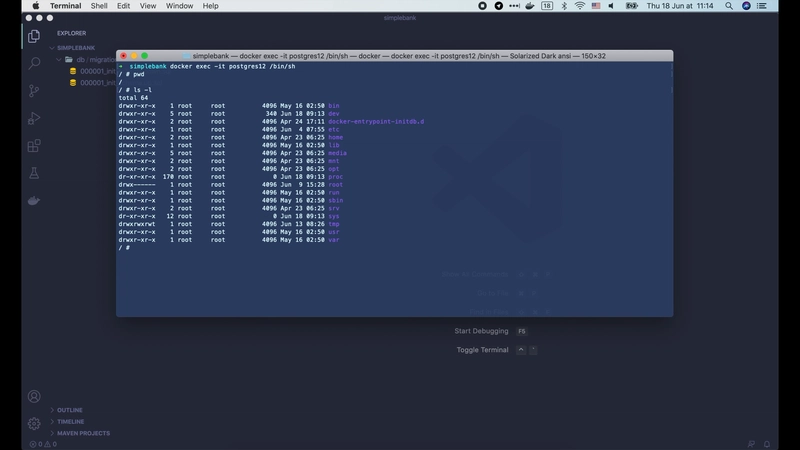
我们可以使用以下docker exec命令访问它的 shell。由于我们使用的是 Postgres Alpine 镜像,因此没有/bin/bash像 Ubuntu 那样的 shell,因此我们使用/bin/shshell:
docker exec -it postgres12 /bin/sh
在 shell 内部,我们可以访问所有标准的 linux 命令。
由于这是一个 postgres 容器,它还为我们提供了一些 CLI 命令,以便直接从 shell 与 postgres 服务器进行交互。
在 postgres 容器内创建/删除数据库
我们必须先创建数据库,然后才能运行第一次迁移。
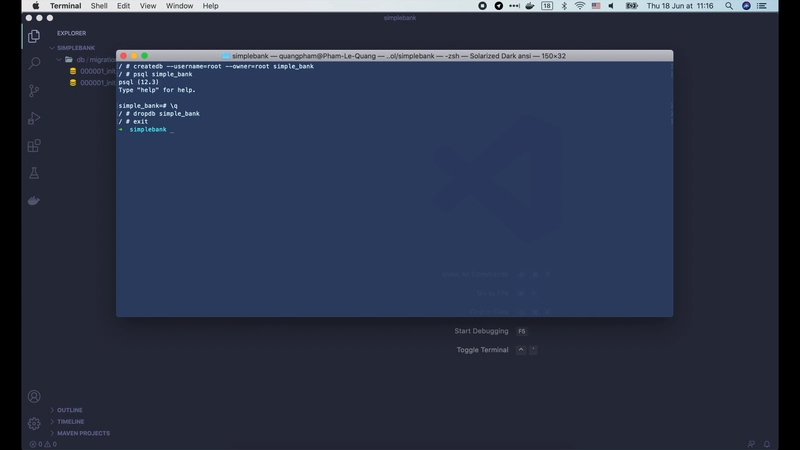
因此,让我们createdb在 postgres 容器的 shell 中运行命令来为我们的 Simple Bank 创建一个新的数据库:
createdb --username=root --owner=root simple_bank
- 我们使用该
--username选项来表示我们以root用户身份进行连接。 - 并且
--owner我们要创建的数据库root也将属于用户。 - 最后一个参数是数据库名称:
simple_bank。
好的,数据库已创建。我们可以使用以下psql命令访问其控制台。
我们还可以使用命令删除数据库dropdb并传入数据库的名称。
dropdb simple_bank
我们使用exit命令退出容器外壳。
在 postgres 容器外创建/删除数据库
现在从容器外部,我们也可以createdb直接使用docker exec命令运行。
docker exec -it postgres12 createdb --username=root --owner=root simple_bank
并且无需通过容器shell即可访问数据库控制台。
docker exec -it postgres12 psql -U root simple_bank
编写 Makefile
好的,现在我将Makefile在我们的项目中创建一个,然后添加一个createdb命令来创建简单的银行数据库,以及一个dropdb命令来删除它。
在团队中工作时,这些命令将有助于您的队友轻松地在本地机器上设置项目进行开发。
让我们将上一节课中用于启动 postgres 容器的命令也添加到 Makefile 中。
postgres:
    docker run --name postgres12 -p 5432:5432 -e POSTGRES_USER=root -e POSTGRES_PASSWORD=secret -d postgres:12-alpine

createdb:
    docker exec -it postgres12 createdb --username=root --owner=root simple_bank

dropdb:
    docker exec -it postgres12 dropdb simple_bank

.PHONY: postgres createdb dropdb
好的,现在让我们停止当前的 postgres 容器。
docker stop postgres12
容器已停止。我将使用docker rm命令将其彻底删除。
docker rm postgres12
现在当我们运行
make postgres
一个新的 Postgres 容器将会启动。我们可以运行
make createdb
创建simple_bank数据库。
使用 TablePlus 查看数据库
好的,数据库已创建。让我们使用TablePlus连接到它。
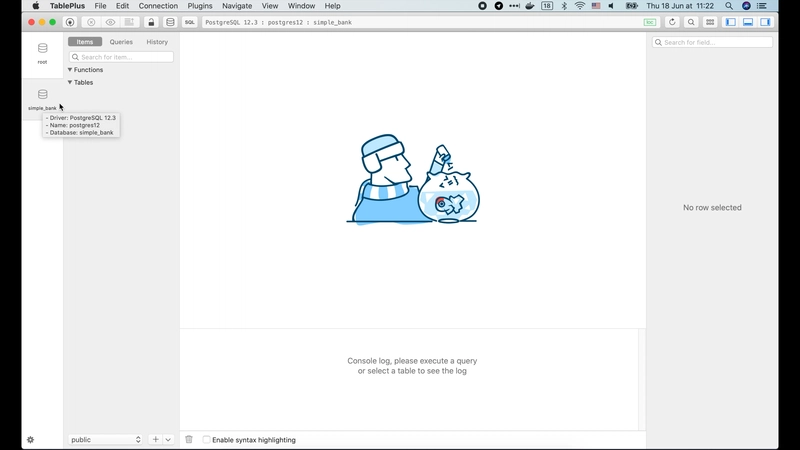
我们在上一节课中设置的连接将带我们进入根数据库。我们可以点击数据库图标来打开新的simple_bank数据库。
好了,现在您可以看到这里有两个数据库:root和simple_bank。目前simple_bank数据库是空的。所以让我们回到终端并运行第一个迁移。
运行迁移
从 开始migrate。然后我们使用-path选项指定包含我们的迁移文件的文件夹,即db/migration。
migrate -path db/migration -database "postgresql://root:secret@localhost:5432/simple_bank" -verbose up
该-database选项用于指定数据库服务器的 URL。
- 我们正在使用 postgres,因此驱动程序名称是
postgresql。 - 那么用户名是
root - 密码是
secret - 地址是
localhost,端口是5432。 - 数据库名称是
simple_bank。
我们使用-verbose选项来要求迁移打印详细日志。
最后我们使用up参数来告诉迁移运行migrate up命令。
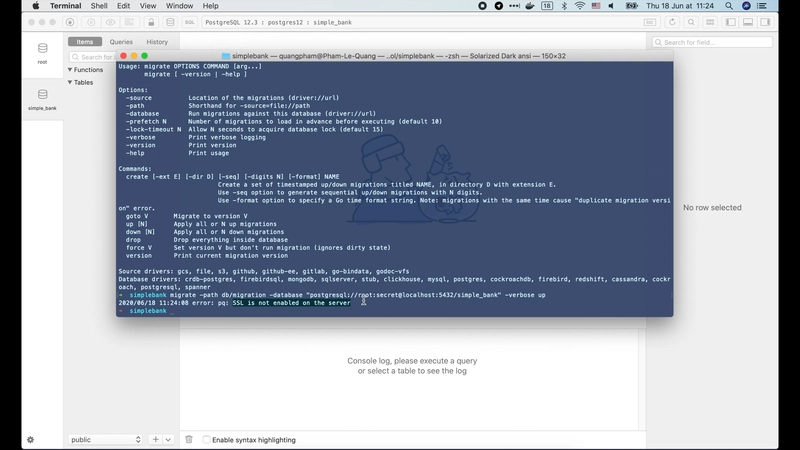
哦,我们收到一个错误:服务器上未启用 SSL。这是因为我们的 Postgres 容器默认未启用 SSL。
因此,我们应该sslmode=disable向数据库 URL 添加参数。现在运行以下命令:
migrate -path db/migration -database "postgresql://root:secret@localhost:5432/simple_bank?sslmode=disable" -verbose up
迁移成功!
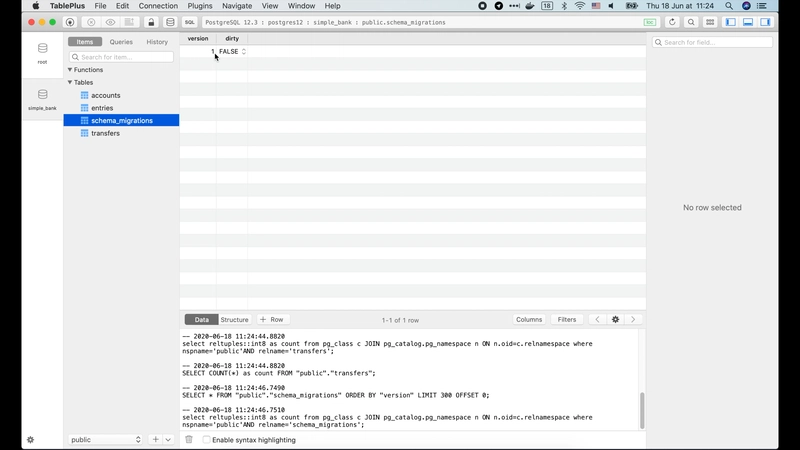
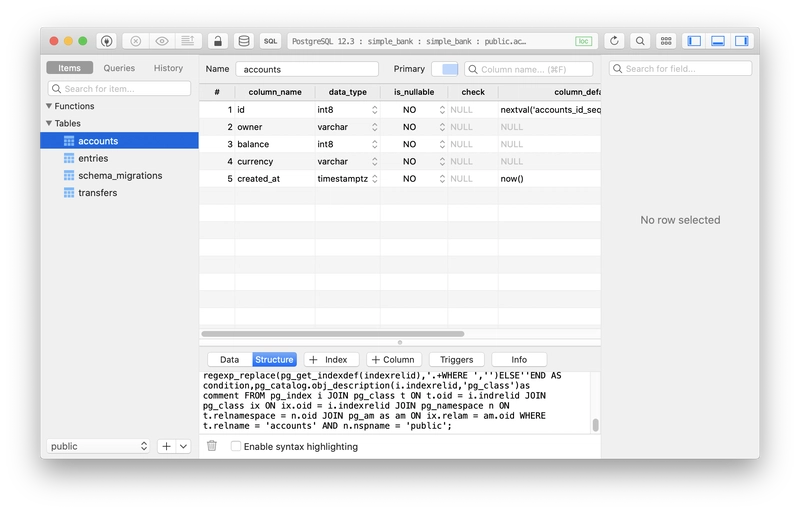
如果我们刷新 TablePlus 中的简单银行数据库,我们现在可以看到 4 个表:accounts、、和entries。transfersschema_migrations
该schema_migrations表存储最新应用的迁移版本,在我们的例子中是版本 1,因为我们只运行了 1 个迁移文件。
该dirty列告诉我们上次迁移是否失败。如果失败,我们必须手动修复问题,使数据库状态保持干净,然后才能尝试运行任何其他迁移版本。
将迁移上/下添加到 Makefile
好的,现在我要将migrate upandmigrate down命令添加到 Makefile 中:
postgres:
    docker run --name postgres12 -p 5432:5432 -e POSTGRES_USER=root -e POSTGRES_PASSWORD=secret -d postgres:12-alpine

createdb:
    docker exec -it postgres12 createdb --username=root --owner=root simple_bank

dropdb:
    docker exec -it postgres12 dropdb simple_bank

migrateup:
    migrate -path db/migration -database "postgresql://root:secret@localhost:5432/simple_bank?sslmode=disable" -verbose up

migratedown:
    migrate -path db/migration -database "postgresql://root:secret@localhost:5432/simple_bank?sslmode=disable" -verbose down

.PHONY: postgres createdb dropdb migrateup migratedown
现在让我们在终端里尝试一下!首先我会运行:
make migratedown
然后返回 TablePlus 并刷新。
除桌子外,所有桌子都没了schema_migrations。
好的,现在让我们运行:
make migrateup
然后刷新 TablePlus。
所有桌子都回来了。太棒了!
今天的数据库迁移讲座就到这里。感谢阅读,我们下节课再见!
如果您喜欢这篇文章,请订阅我们的 Youtube 频道并在 Twitter 上关注我们,以便将来获取更多教程。
如果你想加入我目前在 Voodoo 的优秀团队,请查看我们的职位空缺。你可以远程办公,也可以在巴黎/阿姆斯特丹/伦敦/柏林/巴塞罗那现场办公,但需获得签证担保。
文章来源:https://dev.to/techschoolguru/how-to-write-run-database-migration-in-golang-5h6g 后端开发教程 - Java、Spring Boot 实战 - msg200.com
