Next.js + 样式化组件简易指南 ▲ + 💅
我最近开始使用Next.js,老实说,我不得不说,它是一个非常棒的工具,你可以获得很多开箱即用的功能,虽然有些方面我不一定同意,但总的来说,它使得创建静态和服务器渲染的应用程序非常简单。
接下来捆绑了styled-jsx,它是对 JSX(在服务器或客户端上呈现)的完整、范围和组件友好的 CSS 支持,虽然这很棒,但我更喜欢使用样式化组件,这只是我的偏好。
本指南将介绍如何使用与 styled-jsx不同的 、同样支持通用样式的样式解决方案。这意味着我们可以在 HTML 中为首次渲染提供所需的样式,然后在客户端加载其余样式。
Next.js 有一个示例 repo,其中已经带有样式化组件,但您需要克隆它,然后尝试了解其内部发生的事情,我决定制作这个快速且非常简单的指南,说明使样式化组件与 next.js 一起工作的过程。
让我们开始吧!
1.创建项目目录并安装next和react依赖
mkdir my-next-app && cd my-next-app && yarn add next react react-dom
Next.js 仅支持 React 16。
由于 React 16 的工作方式以及我们的使用方式,我们不得不放弃对 React 15 的支持。
2. 将脚本添加到您的package.json
{
  "scripts": {
    "dev": "next",
    "build": "next build",
    "start": "next start"
  },
  "dependencies": {
    "next": "^...",
    "react": "^...",
    "react-dom": "^..."
  }
}
此后,文件系统成为主要的 API。每个 .js 文件都成为一个被自动处理和渲染的路由。
3. 创建 /pages 目录和您的第一页。
从您的项目根目录:
mkdir pages && touch pages/index.js
填充./pages/index.js:
export default () => (
   <div>
       <h1>My First Next.js Page</h1>
   </div>
)
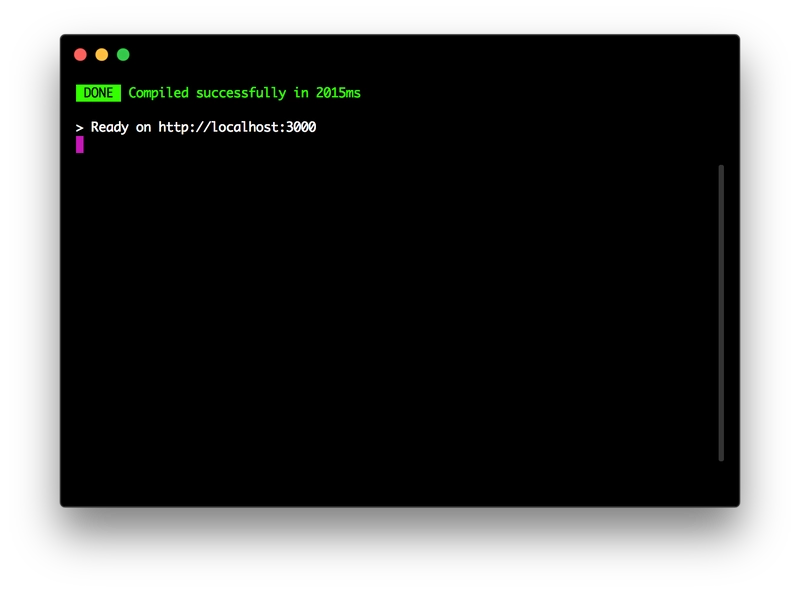
然后运行并 yarn dev 转到 http://localhost:3000。
到目前为止,我们得到:
- 自动转译和打包(使用 webpack 和 babel)
- 热代码重新加载
- 服务器渲染和索引
./pages
4. 添加样式组件
yarn add styled-components
现在让我们编辑./pages/index.js:
import styled from 'styled-components';

export default () => (
  <div>
    <Title>My First Next.js Page</Title>
  </div>
);

const Title = styled.h1`
  color: red;
`;
如果您重新加载页面,您将收到错误,这是因为我们尚未设置正确的配置,不用担心,我们接下来会这样做。
5.添加babel插件和自定义.bablerc文件
首先,让我们安装 styled components babel 插件作为开发依赖项:
yarn add -D babel-plugin-styled-components
.babelrc然后在项目的根目录中创建一个文件。
touch .babelrc
- 添加 babel/preset
- 添加一个 styled-components 插件,将
ssr标志设置为true、displayName和true为preprocessfalse。
最终.babelrc文件应如下所示:
{
  "presets": [
    "next/babel"
  ],
  "plugins": [
    [
      "styled-components",
      {
        "ssr": true,
        "displayName": true,
        "preprocess": false
      }
    ]
  ]
}
注意: displayName将生成更易于调试的类名(还将包含组件名称而不仅仅是哈希值);preprocess——实验功能明确关闭。
6.创建自定义_document.js文件
如果您以前使用过create-react-app,您习惯于知道您的主文档在哪里,那么,next.js 不会公开此文件,但您可以通过_document.js在页面文件夹中添加文件来覆盖默认文档。
touch pages/_document.js
我们将扩展<Document />并将服务器端渲染的样式注入到其中<head>。
要覆盖该默认行为,您必须在 创建一个文件
./pages/_document.js,您可以在其中扩展 Document 类。https
://github.com/zeit/next.js/#custom-document
_document.js如果我们只渲染页面而不做任何其他事情,那么自定义看起来会是这样的:
import Document, { Head, Main, NextScript } from 'next/document'

export default class MyDocument extends Document {
  static getInitialProps ({ renderPage }) {
    // Returns an object like: { html, head, errorHtml, chunks, styles }
    return renderPage();
  }

  render () {
    return (
      <html>
        <Head>
          <title>My page</title>
        </Head>
        <body>
          <Main />
          <NextScript />
        </body>
      </html>
    )
  }
}
一旦我们添加了 SSR 风格的组件,它看起来就会像这样。
import Document, { Head, Main, NextScript } from 'next/document';
// Import styled components ServerStyleSheet
import { ServerStyleSheet } from 'styled-components';

export default class MyDocument extends Document {
  static getInitialProps({ renderPage }) {
    // Step 1: Create an instance of ServerStyleSheet
    const sheet = new ServerStyleSheet();

    // Step 2: Retrieve styles from components in the page
    const page = renderPage((App) => (props) =>
      sheet.collectStyles(<App {...props} />),
    );

    // Step 3: Extract the styles as <style> tags
    const styleTags = sheet.getStyleElement();

    // Step 4: Pass styleTags as a prop
    return { ...page, styleTags };
  }

  render() {
    return (
      <html>
        <Head>
          <title>My page</title>
          {/* Step 5: Output the styles in the head  */}
          {this.props.styleTags}
        </Head>
        <body>
          <Main />
          <NextScript />
        </body>
      </html>
    );
  }
}
完成后,重新启动服务器,错误就会消失,<h1>标签应该变成红色,并且 SSR 样式的组件应该可以工作。
就是这样,所以概括一下:
- 创建项目并安装依赖项
- 添加脚本
- 创建页面文件夹和第一页
- 添加样式组件
- 添加 babel 插件和自定义
.babelrc文件 - 创建自定义
_document.js文件
可以看到,如果你已经有了现有的next.js项目,那么只需要实现第4步到第6步即可。
还有一种方法可以使用.cssnext.js 中的纯文件,我将很快编写有关如何设置的指南。
资源
这篇文章最初于 2018 年 6 月 26 日发布在我的网站上。
文章来源:https://dev.to/aprietof/nextjs--styled-components-the-really-simple-guide----101c 后端开发教程 - Java、Spring Boot 实战 - msg200.com
