9 款用于构建下一代 AI 应用的尖端开源工具🔮💡
9. ONNX Runtime——生产级 AI 引擎,加速训练
我从事 AI 应用程序的开发和使用已有多年。在构建任何 AI 应用程序时,我都会使用多种第三方工具和库来简化整个开发流程。
在这篇博客中,我精选了 9 种超级方便但鲜为人知的工具,我用它们来减轻工作负担。
请随意探索并在您的项目中尝试这些工具。
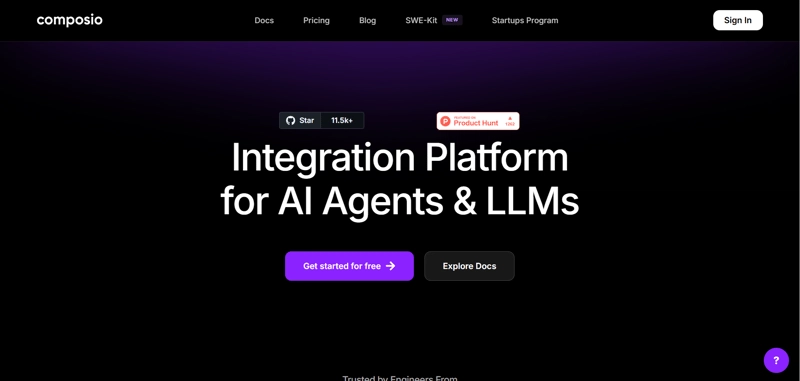
1. Composio 👑- AI 集成和工具平台
想象一下,您可以构建自己的 AI 代理,并将其无缝集成到 Discord、Trello、Jira 或 Slack 等工具中。这就是 Composio!
Composio 是一个开源平台,让您能够轻松便捷地为您的应用程序添加 AI 功能。无论您是想自定义 AI 代理,还是将其嵌入到您常用的工具中,Composio 都能满足您的需求。
Composio 的一些用例:
- 构建编码代理来优化 Github 存储库中的代码
- 为您的 Slack 频道和 Discord 服务器构建 AI 机器人,它们可以自主与用户交互并响应他们的查询。
- AI代理提供报告或文件摘要
开始使用 Composio。
pip install composio-core
添加 GitHub 集成。
composio add github
Composio 为您管理用户身份验证和授权。
以下是使用 Composio 的 GitHub 集成自动为 GitHub 存储库加注星标的示例:
from openai import OpenAI
from composio_openai import ComposioToolSet, App

openai_client = OpenAI(api_key=OPENAI_API_KEY)

# Initialise the Composio Tool Set
composio_toolset = ComposioToolSet(api_key=COMPOSIO_API_KEY)

## Step 4
# Get GitHub tools that are pre-configured
actions = composio_toolset.get_actions(actions=[Action.GITHUB_ACTIVITY_STAR_REPO_FOR_AUTHENTICATED_USER])

## Step 5
my_task = "Star a repo ComposioHQ/composio on GitHub"

# Create a chat completion request to decide on the action
response = openai_client.chat.completions.create(
model="gpt-4-turbo",
tools=actions, # Passing actions we fetched earlier.
messages=[
    {"role": "system", "content": "You are a helpful assistant."},
    {"role": "user", "content": my_task}
  ]
)
使用此 Python 代码创建一个自动为 GitHub 存储库加注星标的 AI 代理。
查看 Composio 文档 了解更多信息。探索更多 使用 Composio 构建的高级示例。
2. Letta - 构建有状态的 LLM 应用程序
Letta 是您构建基于大型语言模型 (LLM) 的智能、有状态应用程序的首选平台。它就像赋予 AI 系统内存,使其能够提供长期、个性化且情境感知的结果。
此外,它是开源且与模型无关的,这意味着您可以集成任何 LLM,并使用自定义工具、长期记忆和外部数据源对其进行增强。这就像为您的 AI 赋予一个记忆力强的大脑!
您可以构建:
- 需要长期记忆的个性化聊天机器人
- 连接到任何自定义工具的 AI 代理
- AI代理可以自动化工作流程,例如管理电子邮件等
开始使用 Letta
安装 Letta 库。
pip install letta
您可以使用 Letta CLI 创建代理。
letta run
它将开始创建一个 AI 代理。
运行 letta 服务器来访问这个新创建的 AI 代理。
letta server
让我们向该代理发送一条消息。
from letta import create_client

# connect to the server
client = create_client(base_url="http://localhost:8283")

# send a message to the agent
response = client.send_message(
    agent_id="agent-09950586-6313-421c-bf7e-2bba03c30826",
    role="user",
    message="hey!! how are you?"
)
通过letta server,可以创建代理开发环境(ADE)来创建和管理代理。
查看 Letta文档以了解更多信息。
3. Rasa——构建对话式人工智能体验
Rasa 是一个开源平台,可以轻松构建高级对话式 AI 应用程序。借助 Rasa,您可以创建真正理解自然语言的智能聊天机器人和虚拟助手。
它为您提供开发、训练和部署真正具有人类感觉的智能、情境感知 AI 助手所需的所有工具和基础设施。
开始使用 Rasa 非常简单。
使用此repo创建代码空间。
添加您的 API 密钥。
RASA_PRO_LICENSE='your_rasa_pro_license_key_here'
OPENAI_API_KEY='your_openai_api_key_here'
从您的文件中加载这些环境变量。
source .env
激活你的python环境。
source .venv/bin/activate
代码空间已准备就绪;您现在可以使用 Rasa 了。要构建您的第一个 CALM 助手,请查看教程。
查看 Rasa文档了解更多信息。
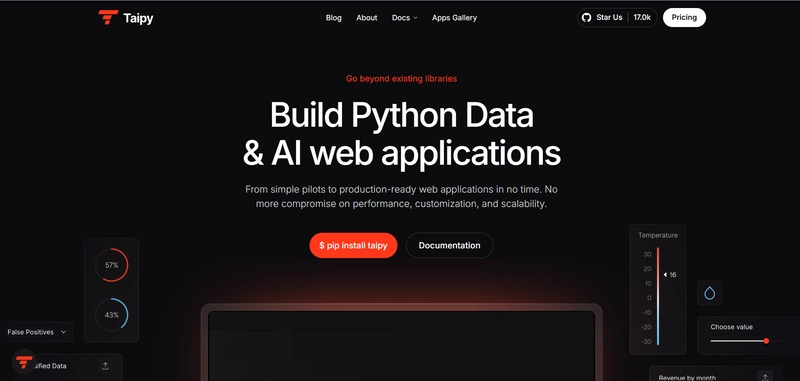
4. Taipy——构建 AI Web 应用程序
Taipy 是一个开源 Python 库,旨在简化开发流程并保持用户友好性。Taipy 提供构建数据驱动 Web 应用程序的工具。
它提供工具来简化工作流、仪表板和其他数据驱动应用程序的开发。Taipy 主要用于创建涉及机器学习模型和交互式用户界面的端到端解决方案,从而更轻松地部署 AI 应用程序。
您可以按照以下方式开始使用 Taipy。
安装 Taipy 库。
pip install taipy
现在,使用 Taipy 创建图形用户界面 (GUI)。
导入 Taipy 库以及其他必要的库。
from taipy.gui import Gui
import taipy.gui.builder as tgb
from math import cos, exp
创建实用函数
value = 10

def compute_data(decay:int)->list:
    return [cos(i/6) * exp(-i*decay/600) for i in range(100)]

def slider_moved(state):
    state.data = compute_data(state.value)
使用 Taipy 方法构建 GUI。
with tgb.Page() as page:
    tgb.text(value="# Taipy Getting Started", mode="md")
    tgb.text(value="Value: {value}")
    tgb.slider(value="{value}", on_change=slider_moved)
    tgb.chart(data="{data}")

data = compute_data(value)

if __name__ == "__main__":
    Gui(page=page).run(title="Dynamic chart")
最后,使用以下命令运行此文件。
taipy run main.py
查看 Taipy文档了解更多信息。还可以访问 Taipy 的其他教程。
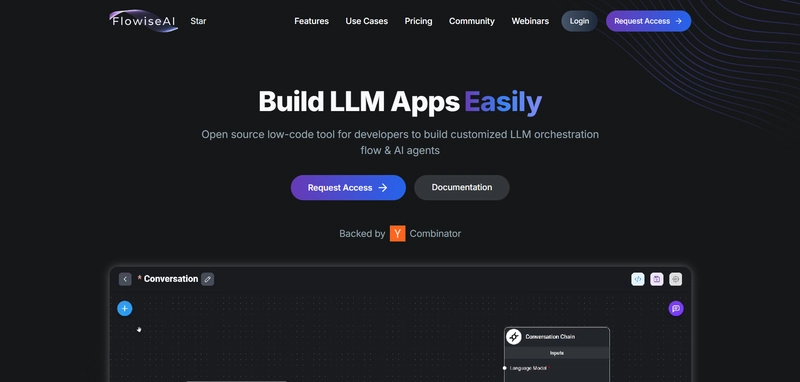
5. Flowise——简化AI驱动工作流程的创建
FlowiseAI 是一个开源平台,它使创建和部署 AI 驱动的工作流变得非常简单。它专为数据科学家和开发人员打造,可帮助您管理机器学习模型、实现流程自动化,并将 AI 无缝集成到业务应用程序中。从设计到扩展工作流,FlowiseAI 都能满足您的需求。
它允许用户轻松地自动化和管理涉及模型训练、部署和推理的工作流程。
开始使用 Flowise。
克隆Flowise存储库
git clone https://github.com/FlowiseAI/Flowise.git
导航到Flowise目录。
cd Flowise
安装必要的依赖项。
pnpm install
构建代码。
pnpm build
最后,运行该应用程序。
pnpm start
要了解有关 Flowise 的更多信息,请访问其文档。
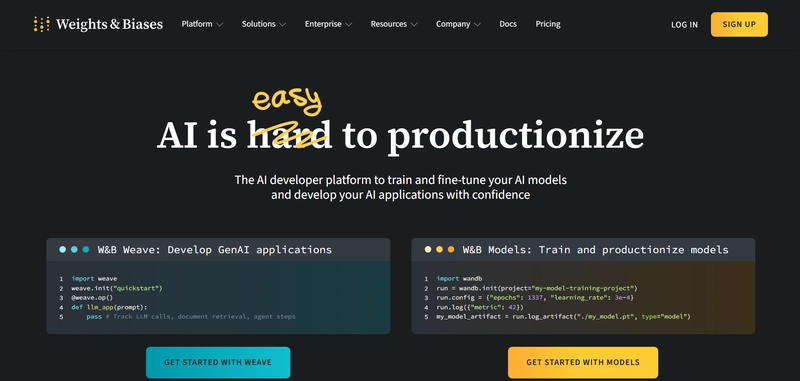
6. WandB——微调你的AI模型
了解 Weights & Biases (WandB),它是您追踪和管理机器学习实验的首选工具。它让您能够轻松监控模型、比较版本并分析性能。使用 WandB,您可以创建报告、与团队共享结果,并在一个地方组织您的工作。
它非常适合更快地构建更好的 AI 模型并更有效地协作。
以下是如何在项目中使用 WandB。
安装 WandB 库。
!pip install wandb
登录 Wandb。
wandb.login()
您需要提供 API 密钥才能成功登录。点击此处生成 API 密钥。
在 Python 脚本中初始化 WandB 对象。
run = wandb.init(
    # Set the project where this run will be logged
    project="my-awesome-project",
    # Track hyperparameters and run metadata
    config={
        "learning_rate": 0.01,
        "epochs": 10,
    },
)
以下是整个代码:
# train.py
import wandb
import random  # for demo script

wandb.login()

epochs = 10
lr = 0.01

run = wandb.init(
    # Set the project where this run will be logged
    project="my-awesome-project",
    # Track hyperparameters and run metadata
    config={
        "learning_rate": lr,
        "epochs": epochs,
    },
)

offset = random.random() / 5
print(f"lr: {lr}")

# simulating a training run
for epoch in range(2, epochs):
    acc = 1 - 2**-epoch - random.random() / epoch - offset
    loss = 2**-epoch + random.random() / epoch + offset
    print(f"epoch={epoch}, accuracy={acc}, loss={loss}")
    wandb.log({"accuracy": acc, "loss": loss})

# run.log_code()
现在,您可以导航到 WandB 仪表板并查看指标。
请参阅其文档了解有关 WandB 的更多信息。
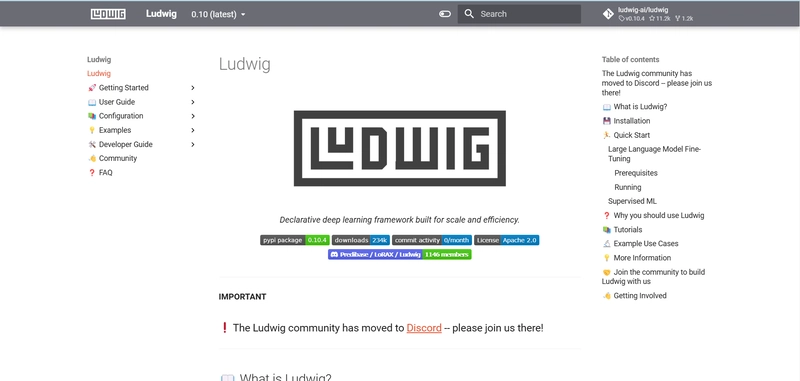
7. Ludwig — 构建自定义 AI 模型
Ludwig 是一款基于 Python 构建的开源深度学习工具,旨在让每个人都能轻松上手机器学习,即使您并非编程专家。Ludwig 界面简洁,您可以轻松构建、训练和部署模型,专注于结果,无需担心复杂的底层细节。
从 Ludwig 开始。
安装 Ludwig 库。
pip install ludwig
导入必要的库。
config = {
    "input_features": [
        {
            "name": "sepal_length_cm",
            "type": "number"
        },
        {
            "name": "sepal_width_cm",
            "type": "number"
        },
        {
            "name": "petal_length_cm",
            "type": "number"
        },
        {
            "name": "petal_width_cm",
            "type": "number"
        }
    ],
    "output_features": [
        {
            "name": "class",
            "type": "category"
        }
    ]
}
model = LudwigModel(config)
data = pd.read_csv("data.csv")
train_stats, _, model_dir = model.train(data)
加载模型。
model = LudwigModel.load(model_dir)
捕捉预测。
predictions = model.predict(data)
您的 LLM 模型已成功创建。
想了解更多?查看 Ludwig文档。
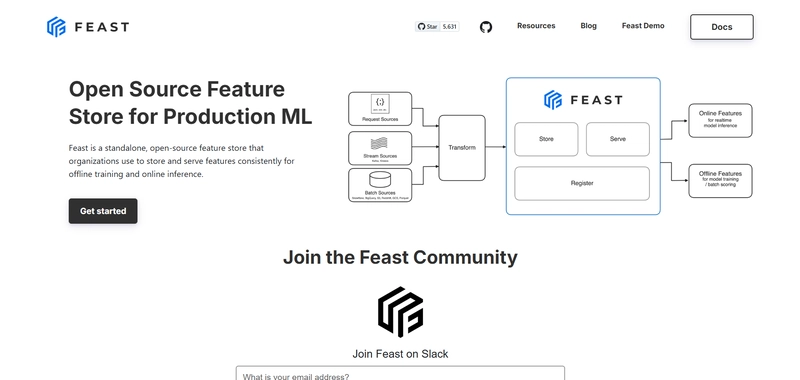
8. Feast——生产机器学习的特征存储
Feast 是专为机器学习应用构建的开源特征存储。它充当一个平台,用于存储、管理和提供机器学习模型的特征(数据属性)。无论您是在训练模型还是在服务模型,Feast 都能让您高效地访问数据。
它可以无缝集成到 ML 工作流程中,允许数据科学家和工程师在训练和生产环境中访问功能。
开始使用 Feast。
pip install feast
为您的项目创建一个 Feast 存储库。
feast init my_project
cd my_project/feature_repo
生成用于训练项目的训练数据。
from datetime import datetime
import pandas as pd

from feast import FeatureStore

# Note: see https://docs.feast.dev/getting-started/concepts/feature-retrieval for
# more details on how to retrieve for all entities in the offline store instead
entity_df = pd.DataFrame.from_dict(
    {
        # entity's join key -> entity values
        "driver_id": [1001, 1002, 1003],
        # "event_timestamp" (reserved key) -> timestamps
        "event_timestamp": [
            datetime(2021, 4, 12, 10, 59, 42),
            datetime(2021, 4, 12, 8, 12, 10),
            datetime(2021, 4, 12, 16, 40, 26),
        ],
        # (optional) label name -> label values. Feast does not process these
        "label_driver_reported_satisfaction": [1, 5, 3],
        # values we're using for an on-demand transformation
        "val_to_add": [1, 2, 3],
        "val_to_add_2": [10, 20, 30],
    }
)

store = FeatureStore(repo_path=".")

training_df = store.get_historical_features(
    entity_df=entity_df,
    features=[
        "driver_hourly_stats:conv_rate",
        "driver_hourly_stats:acc_rate",
        "driver_hourly_stats:avg_daily_trips",
        "transformed_conv_rate:conv_rate_plus_val1",
        "transformed_conv_rate:conv_rate_plus_val2",
    ],
).to_df()

print("----- Feature schema -----\n")
print(training_df.info())

print()
print("----- Example features -----\n")
print(training_df.head())
将批量功能引入您的在线商店。
CURRENT_TIME=$(date -u +"%Y-%m-%dT%H:%M:%S")
# For mac
LAST_YEAR=$(date -u -v -1y +"%Y-%m-%dT%H:%M:%S")
# For Linux
# LAST_YEAR=$(date -u -d "last year" +"%Y-%m-%dT%H:%M:%S")

feast materialize-incremental $LAST_YEAR $CURRENT_TIME
获取特征向量进行推理。
from pprint import pprint
from feast import FeatureStore

store = FeatureStore(repo_path=".")

feature_vector = store.get_online_features(
    features=[
        "driver_hourly_stats:conv_rate",
        "driver_hourly_stats:acc_rate",
        "driver_hourly_stats:avg_daily_trips",
    ],
    entity_rows=[
        # {join_key: entity_value}
        {"driver_id": 1004},
        {"driver_id": 1005},
    ],
).to_dict()

pprint(feature_vector)
使用要素服务来获取在线要素。
from feast import FeatureService
driver_stats_fs = FeatureService(
    name="driver_activity_v1", features=[driver_stats_fv]
)
您的项目已准备就绪。
Feast 还有很多功能。查看他们的文档了解更多信息。
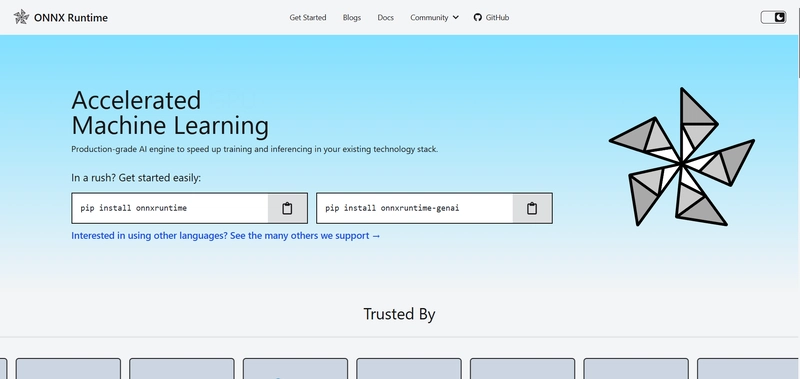
9. ONNX Runtime——生产级 AI 引擎,加速训练
了解 ONNX Runtime,这是一款开源的高性能引擎,旨在增强开放神经网络交换 (ONNX)格式的机器学习模型。它由微软开发,是您在不同平台上高效快速部署机器学习模型的首选工具。
ONNX Runtime 可在多个平台上运行,包括 Windows、Linux 和 macOS,以及边缘设备和移动平台。
要使用 ONNX,您只需安装它的库。
pip install onnxruntime
ONNX 得到了 PyTroch、TensorFlow 和 SciKit Learn 的支持。
让我们使用 PyTorch 进行演示。
使用 导出模型torch.onnx.report。
torch.onnx.export(model,                                # model being run
                  torch.randn(1, 28, 28).to(device),    # model input (or a tuple for multiple inputs)
                  "fashion_mnist_model.onnx",           # where to save the model (can be a file or file-like object)
                  input_names = ['input'],              # the model's input names
                  output_names = ['output'])            # the model's output names
使用 加载 onnx 模型 onnx.load。
import onnx
onnx_model = onnx.load("fashion_mnist_model.onnx")
onnx.checker.check_model(onnx_model)
使用创建推理会话 ort.InferenceSession。
import onnxruntime as ort
import numpy as np
x, y = test_data[0][0], test_data[0][1]
ort_sess = ort.InferenceSession('fashion_mnist_model.onnx')
outputs = ort_sess.run(None, {'input': x.numpy()})

# Print Result
predicted, actual = classes[outputs[0][0].argmax(0)], classes[y]
print(f'Predicted: "{predicted}", Actual: "{actual}"')
类似地,您可以使用 TensorFlow 或 Scikit Learn。
查看快速入门指南以了解更多信息。
感谢您的阅读。您还知道其他有用的工具吗?请在评论区留言告诉我们。

 后端开发教程 - Java、Spring Boot 实战 - msg200.com

