React 中的页面转换
流畅炫酷的页面过渡效果是我们在Dribbble上浏览时最喜欢看到的。我一直对此很着迷,并不断问自己如何在我的网站上实现这样的效果。
有一次,我在一个用Next.js搭建的网站中,用一个名为next-page-transitions的库实现了这个功能。它允许我用 CSS 创建我想要的过渡效果。然而,我遇到了一个问题。
由于它是基于 CSS 类实现的,因此限制非常多,灵活性也很差。如果不使用大量的类并处理重新渲染,我就无法在每个页面上创建自定义体验。幸好,Framer Motion 的 Animate Presence API 让我能够轻松地在任何 React 框架中创建流畅的自定义页面过渡效果,而无需担心这些问题。
动画存在
在我之前的文章中,我介绍了这个<AnimatePresence/>组件。exit当所有子组件从 React 渲染树中移除时,它会触发它们的 prop 动画。简单来说,它会检测组件何时卸载,并为此过程制作动画。
最近,Framer Motion 引入了一个名为 的 prop exitBeforeEnter。如果将其设置为true,它将一次只渲染一个组件。它会等待现有组件完成动画后再渲染新组件。这非常适合处理页面过渡,因为我们可以保证一次只渲染一个组件或页面。
一个小例子
让我们测试一下我们学到的知识<AnimatePresence/>。首先,我们将exitBeforeEnter通过一个简单的转换来测试它,看看它的表现如何。
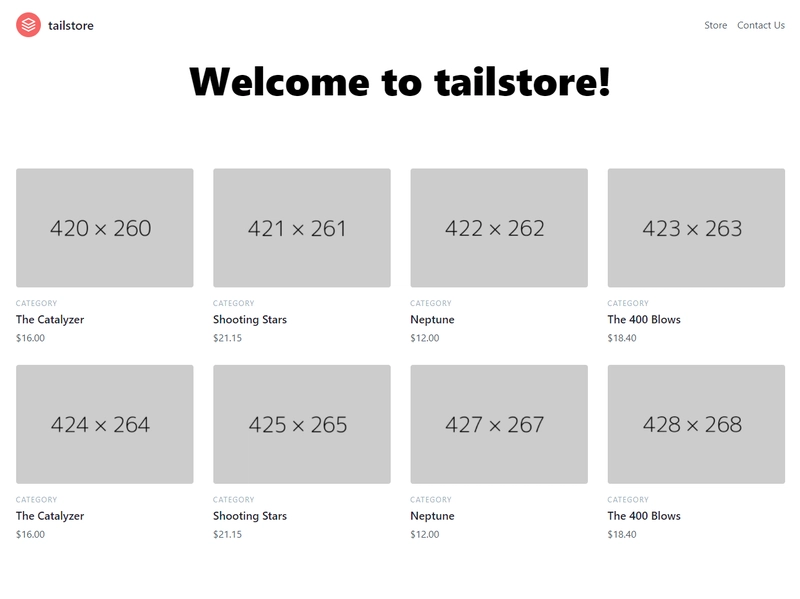
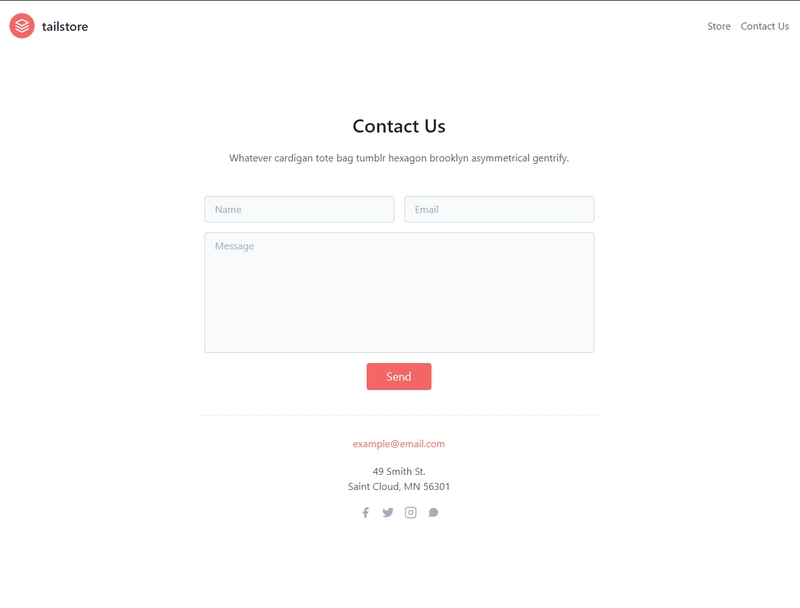
该网站将模仿电子商务模式。它将包含两个页面:商店和联系我们。它们的布局非常简单。如下所示:
我们的第一步是将页面包装在一个 中<AnimatePresence/>。包装的位置取决于路由器渲染页面的位置。请记住,每个子组件都需要一个唯一的keyprop,以便路由器能够追踪它们在树中的存在。
在 Next.js 中,我们将转到该_app.js文件,并<Component>用包装它<AnimatePresence/>。
// pages/_app.js

import { AnimatePresence } from "framer-motion";
import "../styles/index.css";

function MyApp({ Component, pageProps, router }) {
  return (
    <AnimatePresence>
      <Component key={router.route} {...pageProps} />
    </AnimatePresence>
  );
}

export default MyApp;
对于 Create React App,我们会在路由器渲染页面的任何地方使用它。
import React from "react";
import { Switch, Route, useLocation, useHistory } from "react-router-dom";
import { AnimatePresence } from "framer-motion";

const App = () => {
  const location = useLocation();

  return (
    <AnimatePresence>
      <Switch location={location} key={location.pathname}>
        <Route path="/contact" component={IndexPage} />
        <Route path="/contact" component={ContactPage} />
      </Switch>
    </AnimatePresence>
  );
};
💡 查看此GitHub 存储库中每个框架的网站代码。
现在我们已经将所有页面包装在 中<AnimationPresence>,如果我们尝试更改路线,您会注意到当前组件永远不会卸载。
发生这种情况是因为 Framer Motion 正在为每个页面寻找退出动画,但由于我们尚未定义任何motion组件,因此未找到。
让我们为每个页面添加一些简单的淡出动画。像这样:
import { motion } from "framer-motion"

<motion.div exit={{ opacity: 0 }}>
    ... content
</motion.div>
现在可以卸载组件了!
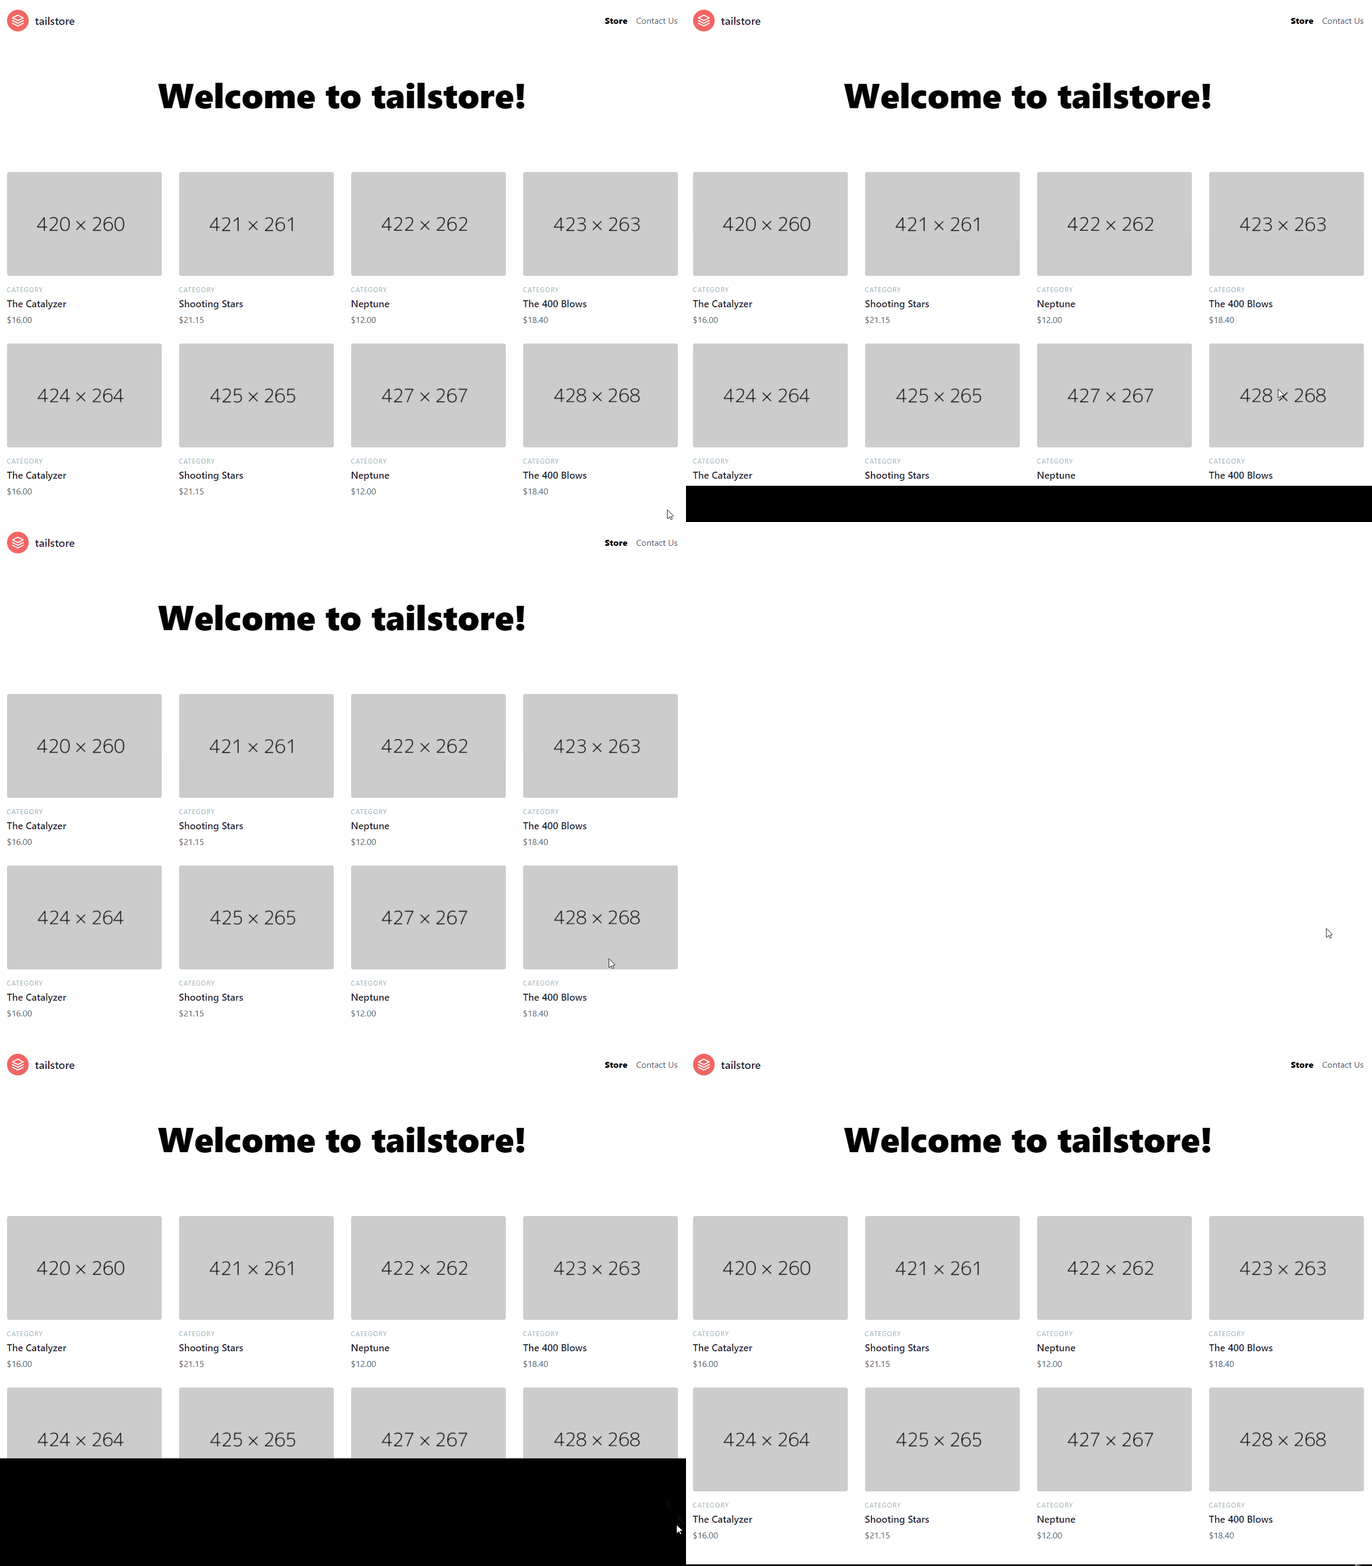
如果你仔细观察就会发现,在联系表单消失之前,首页会突然出现在底部,这会分散注意力,破坏动画的流畅性。如果我们在首页上添加挂载动画,那就糟糕了。
这时exitBeforeEnterprop 就派上用场了。它确保我们的组件在允许新组件加载之前已经卸载。如果我们在 中添加 prop <AnimatePresence/>,你会发现问题不再存在,我们的过渡会更加流畅,并且按预期运行。
<AnimatePresence exitBeforeEnter/>
这就是使用 Framer Motion 创建过渡所需的全部内容。现在,我们能做的事情简直无止境!
从 Dribbble 到完美过渡
你有没有想过创作像 Dribbble 那样惊艳的过渡效果?我一直都想。幸好,Framer Motion 能让我们轻松地重现这些效果。来看看Franchesco Zagami的这个设计:
让我们尝试重新创造这个令人惊叹的转变。
翻译过渡原型时,最好保留原始文件,以便了解动画的缓动和细节。但是,由于我们采用的是 Dribble 设计,因此我们将通过估算其值来重新创建它。
初始过渡
我们首先看到的元素之一是向屏幕末端移动的黑色背景。由于 Framer 的抽象,这很容易重新创建。
首先,我们将创建一个组件来容纳我们所有的初始转换逻辑,以便于维护和开发。
const InitialTransition = () => {};
其次,添加与屏幕大小相同的黑色方块。
const blackBox = {
  initial: {
    height: "100vh",
  },
};

const InitialTransition = () => {
  return (
    <div className="absolute inset-0 flex items-center justify-center">
      <motion.div
        className="relative z-50 w-full bg-black"
        initial="initial"
        animate="animate"
          variants={blackBox}
      />
    </div>
  );
};
我们将使用变体而不是motion道具,因为接下来我们将必须处理更多元素。
💡 如果您想了解如何使用 Framer Motion 变体,可以查看我的初学者教程!
到目前为止,我们的屏幕中间有一个黑色方块。我们将使用bottomandheight属性来创建向下的运动。该bottom属性将使其向下折叠。
const blackBox = {
  initial: {
    height: "100vh",
    bottom: 0,
  },
  animate: {
    height: 0,
  },
};

const InitialTransition = () => {
  return (
    <div className="absolute inset-0 flex items-center justify-center">
      <motion.div
        className="relative z-50 w-full bg-black"
        initial="initial"
        animate="animate"
          variants={blackBox}
      />
    </div>
  );
};
这就是我们现在所拥有的:
如果将此动画与我们的参考动画进行比较,您会注意到动画发生得非常快,而且不够流畅。我们可以用transition属性来解决这个问题。我们将修改duration,使动画速度更慢,ease更流畅。
const blackBox = {
  initial: {
    height: "100vh",
    bottom: 0,
  },
  animate: {
    height: 0,
    transition: {
      duration: 1.5,
      ease: [0.87, 0, 0.13, 1],
    },
  },
};
它看起来会更相似:
现在,我们必须重新创建文本。不过,我们会做一些不同的事情。由于我们的文本不在导航栏的中间,所以我们会让它淡出。
文本比黑色方块稍微硬一点,因为如果我们仔细观察,它有一个类似蒙版的动画层。我们可以通过 SVG 元素(特别是<text/>和<pattern/>)来实现这种效果。它看起来会像这样:
<motion.div
  className="absolute z-50 flex items-center justify-center w-full bg-black"
  initial="initial"
  animate="animate"
  variants={blackBox}
>
    <motion.svg className="absolute z-50 flex">
      <pattern
        id="pattern"
        patternUnits="userSpaceOnUse"
        width={750}
        height={800}
        className="text-white"
      >
        <rect className="w-full h-full fill-current" />
        <motion.rect className="w-full h-full text-gray-600 fill-current" />
      </pattern>
      <text
        className="text-4xl font-bold"
        text-anchor="middle"
        x="50%"
        y="50%"
        style={{ fill: "url(#pattern)" }}
      >
        tailstore
      </text>
    </svg>
</motion.svg>
此功能通过设置自定义文本填充来实现<pattern/>。它将包含两个属性<rect/>。一个用于文本颜色,另一个用于动画元素motion。基本上,后者将隐藏并保留白色。
让我们继续制作动画。
首先,让我们介绍一个transition名为 的新属性when。它定义了元素何时执行动画。我们希望黑框在所有子元素渲染完成后消失,因此afterChildren:
const blackBox = {
  initial: {
    height: "100vh",
    bottom: 0,
  },
  animate: {
    height: 0,
    transition: {
      when: "afterChildren",
      duration: 1.5,
      ease: [0.87, 0, 0.13, 1],
    },
  },
};
现在,当我们的文本完成渲染时,我们的黑框将会进行动画。
其次,我们将为 制作动画<svg/>。这是它的变体:
const textContainer = {
  initial: {
    opacity: 1,
  },
  animate: {
    opacity: 0,
    transition: {
      duration: 0.25,
      when: "afterChildren",
    },
  },
};

<motion.svg variants={textContainer} className="absolute z-50 flex"></motion.svg>
最后,<rect/>:
const text = {
  initial: {
    y: 40,
  },
  animate: {
    y: 80,
    transition: {
      duration: 1.5,
      ease: [0.87, 0, 0.13, 1],
    },
  },
};

<motion.rect
  variants={text}
  className="w-full h-full text-gray-600 fill-current"
/>
💡 你可能会问自己,这些动画值大部分是从哪里获取的。除了 之外,其他值都是
ease通过估算微调的。为了简化动画,我使用了这份速查表,特别是easeInOutExpo那些值。
将所有这些连接起来后,您应该会看到以下内容:
太棒了!看起来和我们的设计很接近。
你可能注意到了,即使屏幕本应忙于显示过渡效果,我们仍然可以滚动。幸运的是,这个问题很容易解决。我们只需要overflow: hidden在body动画进行时应用它,并在动画结束后移除它即可。
值得庆幸的是,motion组件针对这种情况有事件监听器:onAnimationStart, 和onAnimationComplete。前者在 中定义的动画animate开始时触发,后者在 中定义的动画结束时触发。
在我们的InitialTransition添加以下内容:
<motion.div
  className="absolute z-50 flex items-center justify-center w-full bg-black"
  initial="initial"
  animate="animate"
  variants={blackBox}
  onAnimationStart={() => document.body.classList.add("overflow-hidden")}
  onAnimationComplete={() =>
    document.body.classList.remove("overflow-hidden")
  }
>
</motion.div>
动画内容
剩下的就是为我们的内容创建流畅的动画。我们不会照搬设计中的动画,因为那样与我们的网站不太匹配。我们会为子元素添加一个令人惊艳的淡入淡出效果。让我们来创建变体:
const content = {
  animate: {
    transition: { staggerChildren: 0.1, delayChildren: 2.8 },
  },
};

const title = {
  initial: { y: -20, opacity: 0 },
  animate: {
    y: 0,
    opacity: 1,
    transition: {
      duration: 0.7,
      ease: [0.6, -0.05, 0.01, 0.99],
    },
  },
};

const products = {
  initial: { y: -20, opacity: 0 },
  animate: {
    y: 0,
    opacity: 1,
    transition: {
      duration: 0.7,
      ease: [0.6, -0.05, 0.01, 0.99],
    },
  },
};

export default function IndexPage() {
  return (
    <motion.section exit={{ opacity: 0 }}>
      <InitialTransition />

      <motion.div
        initial="initial"
        animate="animate"
        variants={content}
        className="space-y-12"
      >
        <motion.h1 variants={title} className="text-6xl font-black text-center">
          Welcome to tailstore!
        </motion.h1>

        <motion.section variants={products} className="text-gray-700 body-font">
        </motion.section>
      </motion.div>
    </motion.section>
  );
}
除了 之外,你对大多数属性都很熟悉delayChildren。它对传播动画的所有子元素应用延迟。换句话说,它会在一段时间后显示这些子元素。
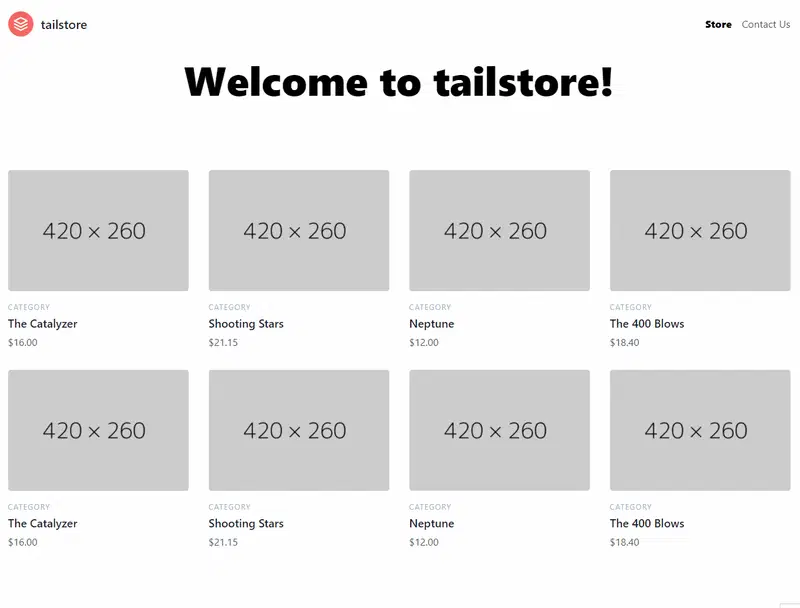
除此之外,我们只是让元素淡入淡出,添加 0.7 秒的持续时间,并使用缓和效果使其平滑。结果如下:
让我们对联系页面做同样的事情:
const content = {
  animate: {
    transition: { staggerChildren: 0.1 },
  },
};

const title = {
  initial: { y: -20, opacity: 0 },
  animate: {
    y: 0,
    opacity: 1,
    transition: {
      duration: 0.7,
      ease: [0.6, -0.05, 0.01, 0.99],
    },
  },
};

const inputs = {
  initial: { y: -20, opacity: 0 },
  animate: {
    y: 0,
    opacity: 1,
    transition: {
      duration: 0.7,
      ease: [0.6, -0.05, 0.01, 0.99],
    },
  },
};

<motion.section
  exit={{ opacity: 0 }}
  class="text-gray-700 body-font relative"
>
  <motion.div variants={content} animate="animate" initial="initial" class="container px-5 py-24 mx-auto">
    <motion.div variants={title} class="flex flex-col text-center w-full mb-12">
    </motion.div>
    <motion.div variants={inputs} class="lg:w-1/2 md:w-2/3 mx-auto">
    </motion.div>
  </motion.div>
</motion.section>
用户体验改进
在联系人和商店之间切换会花费很长时间,因为它会重复播放初始切换过程。每次都这样做会让用户感到厌烦。
我们可以通过仅在用户加载第一个页面时播放动画来解决这个问题。为此,我们将全局监听路由变化,并判断这是否是首次渲染。如果是,我们将显示初始过渡;否则,跳过它并移除子元素的延迟。
routeChangeStart在 Next.js 中,我们会通过事件检测路线变化_app.js。
💡 不同框架的解决方案会有所不同。为了尽量简化这篇博文,我将详细介绍 Next.js 的实现。不过,代码库中也会提供相应框架的解决方案。
在_app.js:
function MyApp({ Component, pageProps, router }) {
  const [isFirstMount, setIsFirstMount] = React.useState(true);

  React.useEffect(() => {
    const handleRouteChange = () => {
      isFirstMount && setIsFirstMount(false);
    };

    router.events.on("routeChangeStart", handleRouteChange);

    // If the component is unmounted, unsubscribe
    // from the event with the `off` method:
    return () => {
      router.events.off("routeChangeStart", handleRouteChange);
    };
  }, []);

  return (
    <Layout>
      <AnimatePresence exitBeforeEnter>
        <Component
          isFirstMount={isFirstMount}
          key={router.route}
          {...pageProps}
        />
      </AnimatePresence>
    </Layout>
  );
}
我们保持首次加载时的状态,该状态仅在用户首次更改路线时更新。并且,我们将此变量作为 prop 传递给当前渲染的页面。
在我们的index.js:
const content = (isFirstMount) => ({
  animate: {
    transition: { staggerChildren: 0.1, delayChildren: isFirstMount ? 2.8 : 0 },
  },
});

// ...

export default function IndexPage({ isFirstMount }) {
  return (
    <motion.section exit={{ opacity: 0 }}>
      {isFirstMount && <InitialTransition />}

      <motion.div
        initial="initial"
        animate="animate"
        variants={content(isFirstMount)}
        className="space-y-12"
      >
        <motion.h1 variants={title} className="text-6xl font-black text-center">
        </motion.h1>

        <motion.section variants={products} className="text-gray-700 body-font">
        </motion.section>
      </motion.div>
    </motion.section>
  );
}
就是这样!我们的页面拥有令人惊叹的过渡效果,用户不会因为一遍又一遍地重复播放相同的动画而感到烦恼。
结论
流畅的页面过渡效果对于打造出色的网页体验至关重要。使用 CSS 维护起来可能比较困难,因为需要处理大量的类,而且缺乏独立性。幸好,Framer Motion 通过 Animate Presence 解决了这个问题。配合exitBeforeEnter,它可以帮助开发者创建出精彩的页面过渡效果。它非常灵活且功能强大,只需几行代码,我们就能模拟出 Dribbble 上常见的复杂动画。
我希望这篇文章能够激励您创建出色的页面转换,以便给您未来的雇主或客户留下深刻印象。
想要了解更多最新的 Web 开发内容,请在Twitter和Dev.to上关注我!感谢阅读!😎
你知道我有一份新闻通讯吗?📬
如果您想在我发布新博客文章时收到通知并收到精彩的每周资源以保持网络开发领先地位,请访问https://jfelix.info/newsletter。
文章来源:https://dev.to/joserfelix/page-transitions-in-react-1c8g 后端开发教程 - Java、Spring Boot 实战 - msg200.com


