使用 Lighthouse CI 和 Github Actions 在 Nuxt 2 中进行持续性能检查
性能优化是软件开发中的一个领域,你在职业生涯中很可能会遇到,因为它与任何前端或后端框架都没有严格的关系。在本教程中,我不会讨论如何提升 Vue.js 或 Nuxt.js 应用程序的性能(Vue Storefront 的 CTO Filip Rakowski 在其系列教程中对此进行了很好的讲解,其中提供了许多关于如何提升网站性能的技巧和窍门:
https://vueschool.io/articles/series/vue-js-performance/)。
您还可以查看我最近撰写的有关以有用的清单形式提高 Vue.js 和 Nuxt.js 应用程序性能的文章:https://dev.to/baroshem/performance-checklist-for-vue-and-nuxt-cog
这些建议将提高您的应用程序的性能,但为了确保这些其他未来的站点功能将提高性能,您必须不断地对其进行测量。
您可以使用传统方法,即每次要更改网站时在浏览器中运行 Lighthouse,但这需要时间,而且测试结果可能差异很大(因为开发人员可能使用不同的设备进行审核)。更好的方法是实现某种持续集成脚本,来为我们执行这些 Lighthouse 审核。值得庆幸的是,现在已经有一些工具可以帮您实现这一点。
在本教程中,我将使用Nuxt.js, Lighthouse CI, and Github Actions它,但您可以根据自己的代码仓库工作流程进行调整。在本教程中,我不会讨论断言和预算,但我很快会创建单独的文章(哎呀,剧透了)。如果您对 Lighthouse 配置感兴趣,可以访问此页面 -> https://github.com/GoogleChrome/lighthouse/blob/master/docs/configuration.md
Nuxt.js
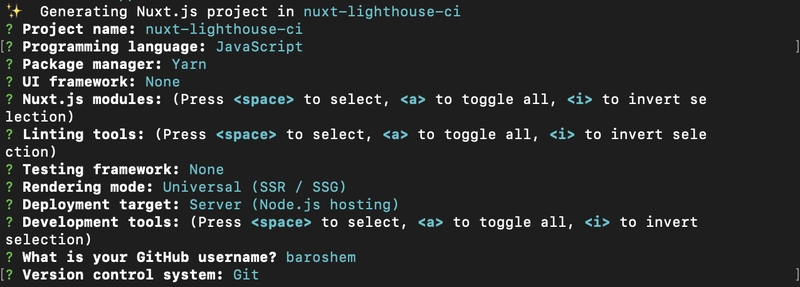
我们将使用以下命令创建一个简单的 Nuxt.js 项目:
yarn create nuxt-app <project-name>
为了本教程的目的,我们将生成一个仅包含主页的基本 Nuxt.js 项目。
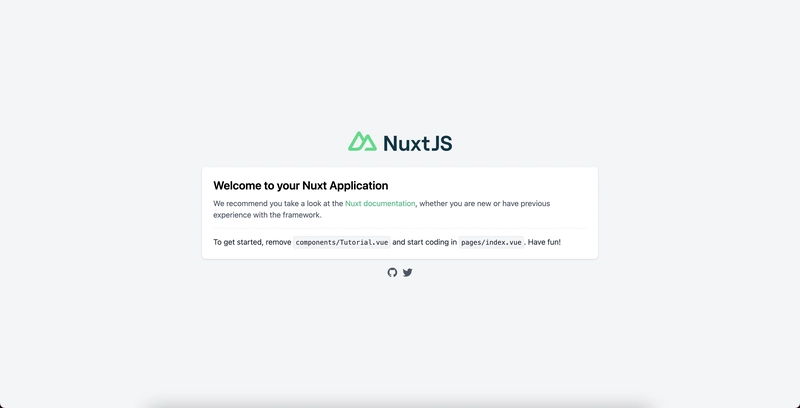
导航到您的项目,运行它,并检查一切是否按预期工作:
cd <project-name>
yarn dev
灯塔
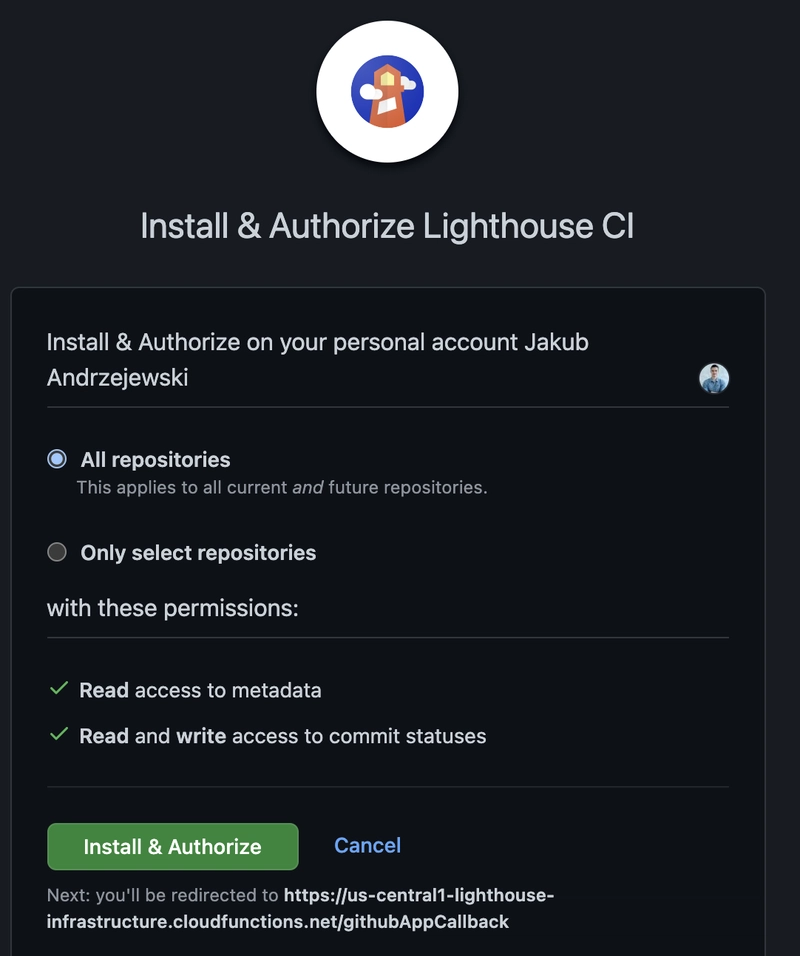
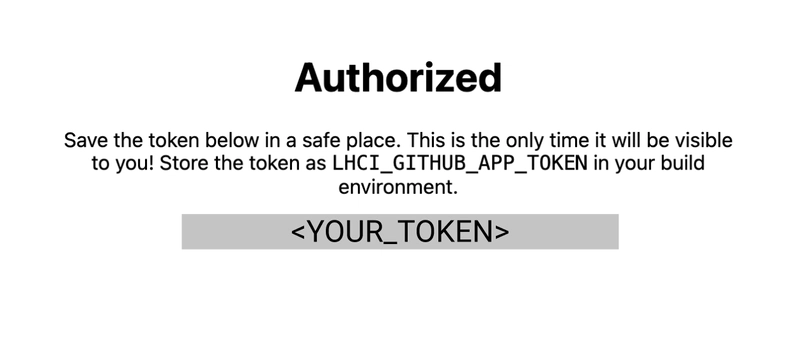
您需要安装并授权 Lighthouse CI 应用程序用于 Github。请务必复制生成的文件LHCI_GITHUB_APP_TOKEN,因为我们稍后会用到它。https
://github.com/apps/lighthouse-ci
授权后,您应该看到如下页面:
安装@lhci/cli 包
yarn add -D @lhci/cli
将 Lighthouse CI 命令添加到您的 package.json(用于 CI 和本地测试)
// package.json

...
  "scripts": {
    "dev": "nuxt",
    "build": "nuxt build",
    "start": "nuxt start",
    "generate": "nuxt generate",
    "lhci:mobile": "lhci autorun",
    "lhci:desktop": "lhci autorun --collect.settings.preset=desktop"
  },
lighthouserc.json使用 Lighthouse CI 的配置进行创建
// lighthouserc.json

{
  "ci": {
    "collect": {
      "startServerCommand": "yarn build && yarn start",
      "url": ["http://localhost:3000/"],
      "numberOfRuns": 3
    },
    "upload": {
      "target": "temporary-public-storage"
    }
  }
}
让我们在这里停下来解释一下如何配置灯塔来进行审计。
收集:
startServerCommand- 我们希望 Lighthouse 用来开始测试的命令。在本例中,我们将构建并启动 Nuxt 生产环境项目。url- 我们希望 Lighthouse 进行审核的 URL 地址。在本教程中,我们将http://localhost:3000/仅使用它来测试主页,但您也可以在此处设置其他路由,例如http://localhost:3000/categoriesnumberOfRuns- 一个数字,定义 Lighthouse 应该测试所选 URL 的次数,并根据这些结果创建中值。
上传:
target- 我们希望将 Lighthouse 审计报告的结果上传到哪里?默认设置为temporary- public-storage
测试 Lighthouse 审核是否按预期工作
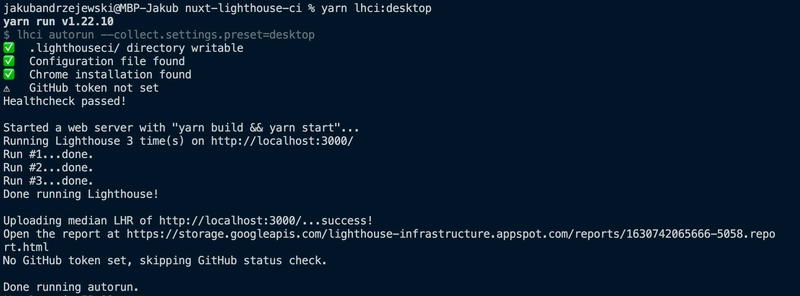
yarn lhci:desktop
该命令应记录以下结果:
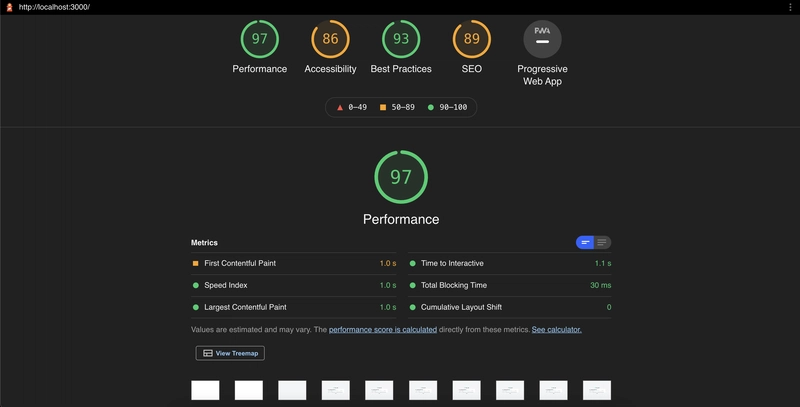
当我们在终端访问 Lighthouse 创建的链接时,我们应该看到如下内容:
干得好!现在您已成功在本地完成 Lighthouse 审计。最后一步,我们将创建一个 Github 工作流,在每个main分支的拉取请求上运行 Lighthouse CI。
name: CI
on:
  pull_request:
    branches:
      - main
jobs:
  lighthouse:
    name: Lighthouse CI
    runs-on: ubuntu-latest
    steps:
      - name: Checkout code
        uses: actions/checkout@v2
        with:
          ref: ${{ github.event.pull_request.head.sha }}

      - name: Install dependencies
        run: yarn

      - name: lighthouse mobile audit
        run: yarn lhci:mobile
        env:
          LHCI_GITHUB_APP_TOKEN: ${{ secrets.LHCI_GITHUB_APP_TOKEN }}

      - name: lighthouse desktop audit
        run: yarn lhci:desktop
        env:
          LHCI_GITHUB_APP_TOKEN: ${{ secrets.LHCI_GITHUB_APP_TOKEN }}
现在,每当我们创建一个main实施此工作流程的分支拉取请求时,我们都会自动触发一个将进行 Lighthouse 审核的 Github Action。
还记得授权 Lighthouse 应用程序访问 Github 的步骤吗?如果你的仓库中没有密钥,你仍然可以触发 Github Action,但你无法从 Lighthouse 获得包含所有指标的清晰状态检查。不用担心,你仍然可以看到报告,但你必须前往 Action 详情页面,直接点击链接。
当我们在存储库设置中添加令牌时,它应该像这样显示:
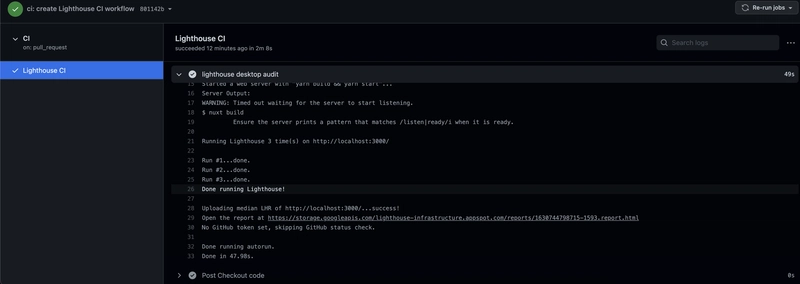
为了确认我们正确完成了所有步骤,我们应该在拉取请求的拉取 Github Actions 输出中直接看到来自 Lighthouse 的状态报告
** 请记住,即使我们进行了两次测试(分别针对桌面设备和移动设备),Lighthouse 应用程序在 Github 上的状态报告也只会提供一份,因此您需要手动检查第二份报告。如果您找到了显示多份状态报告的方法,请在评论区告诉我,我会相应地更新文章 :)
概括
您已成功实施 Lighthouse CI 审计,该审计可在本地触发,也可作为 Github Action 触发。
这种方法适用于大多数情况,但为了实现更准确的性能审核,您应该在专用服务器上进行 Lighthouse 测试,以避免结果受到机器性能的影响。换句话说,如果您在包含多个拉取请求/工作流/推送的仓库上运行 Lighthouse 审核,则审核结果可能不准确,而这正是我们想要避免的。为此,您需要一台单独的机器并安装Lighthouse 服务器。这样,在收到拉取请求时,您就可以触发这台机器进行性能审核并将响应返回到您的仓库。
在接下来的文章中,我将讨论设置性能预算和性能断言的主题。
您可以在下面看到包含本文代码的演示存储库:
https://github.com/Baroshem/nuxt-lighthouse-ci
福利:使用 Github Action 代替 npm 包
除了使用 npm 包,你也可以使用 Github Action,它本质上可以做同样的事情,但功能不同。这种方法的缺点是,你无法使用 Lighthouse 在本地测试你的项目(除非你使用本地 GitHub Actions 包,例如https://github.com/nektos/act)。
name: CI
on:
  pull_request:
    branches:
      - main
jobs:
  lighthouse:
    runs-on: ubuntu-latest
    needs: deploy
    steps:
      - name: Checkout code
        uses: actions/checkout@v2
        with:
          ref: ${{ github.event.pull_request.head.sha }}

      - name: Install dependencies
        run: yarn

      - name: Build and start the project
        run: yarn build && yarn start

      - uses: actions/checkout@v2
      - name: Audit URLs using Lighthouse
        uses: treosh/lighthouse-ci-action@v7
        with:
          urls: http://localhost:3000
          uploadArtifacts: true # save results as an action artifacts
          temporaryPublicStorage: true # upload lighthouse audits to google temporary storage
 后端开发教程 - Java、Spring Boot 实战 - msg200.com
