使用 ASS(Anchor、Solana 和 Svelte)的全栈 Web3 加速指南 🍑
在本教程中,您将学习如何使用 ASS 堆栈(最热门的Solana技术堆栈)从头开始构建全栈 Web3 dApp!
您不需要任何 Rust 经验即可遵循本指南,但至少从用户的角度(所有连接钱包、批准交易之类的东西)对 dApp 的工作原理有一个大致的了解会很有帮助。
您可以在此 repo中找到完成的项目。如有任何疑问,请在 Twitter 上联系我:@0xMuse。
我就不多说为什么 ASS 堆栈这么厚了,因为这不言而喻。我们直接开始吧!
我们的应用程序预览
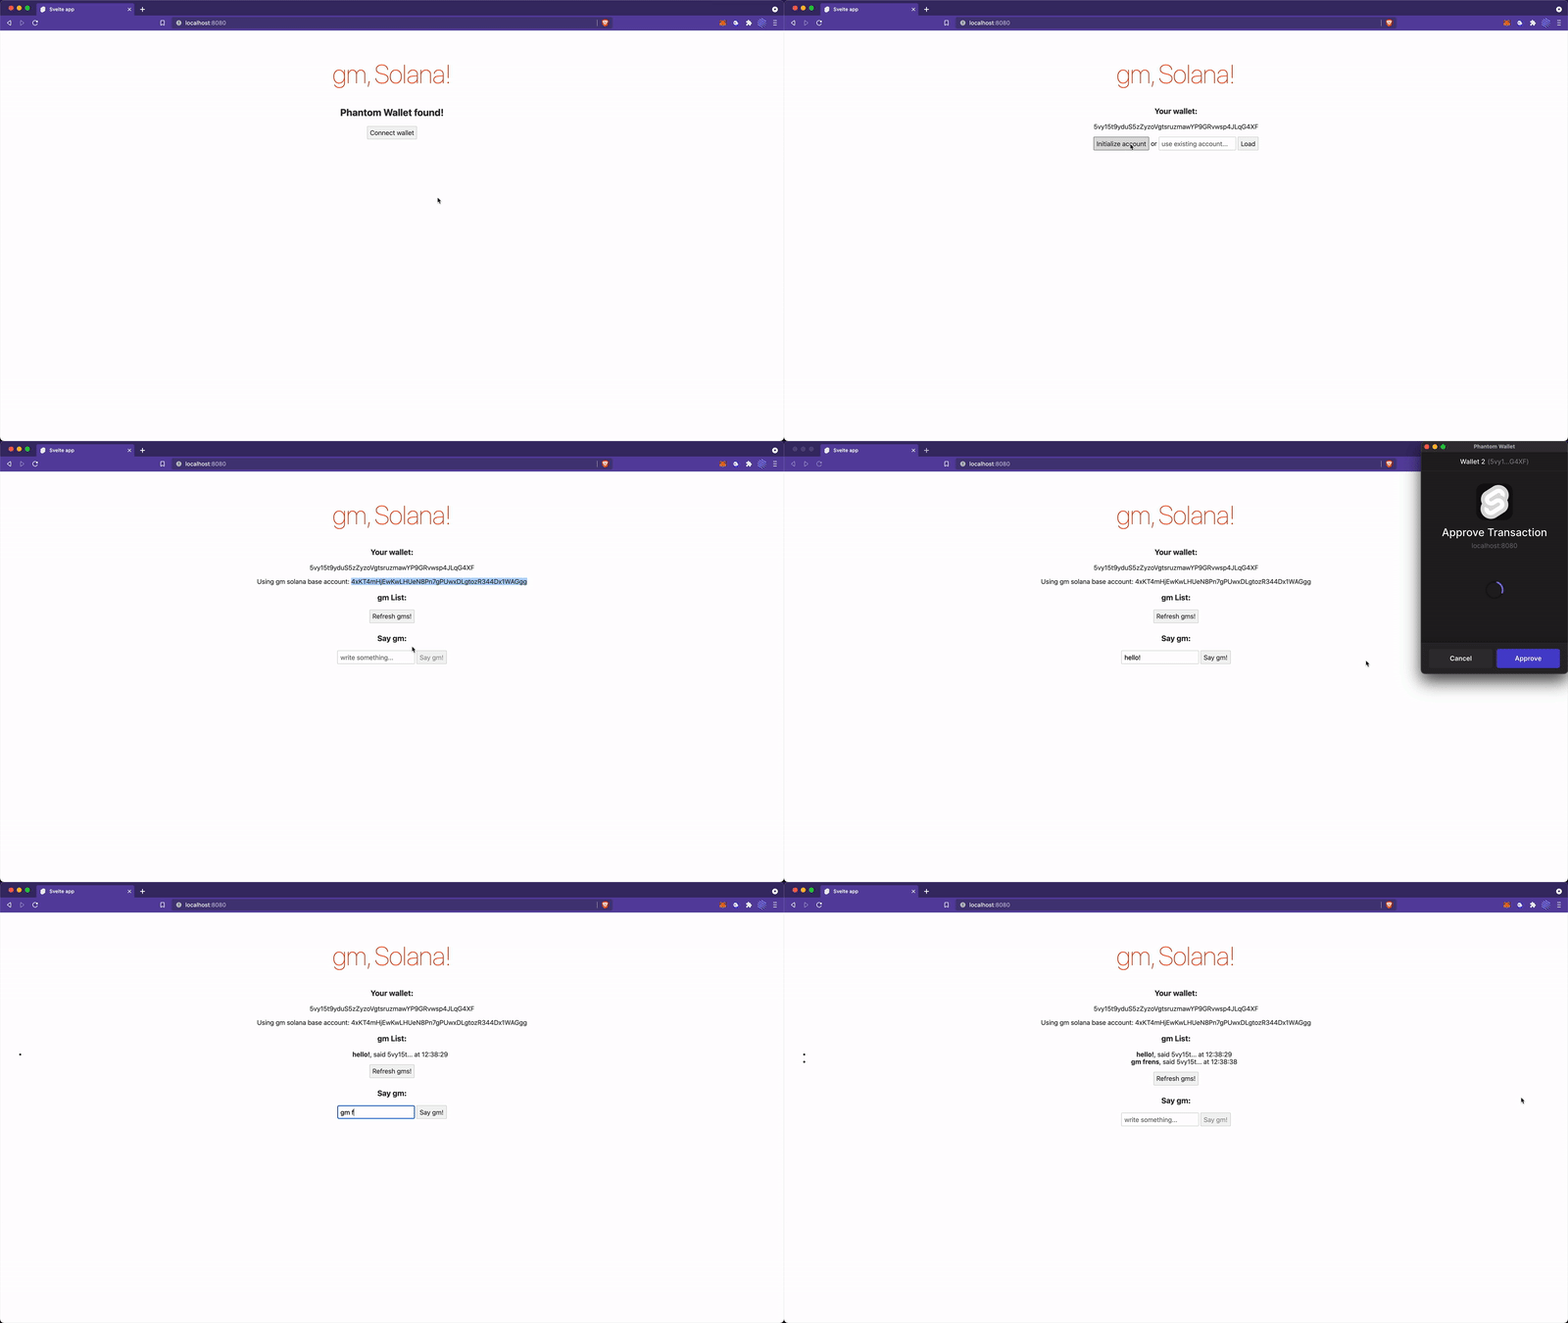
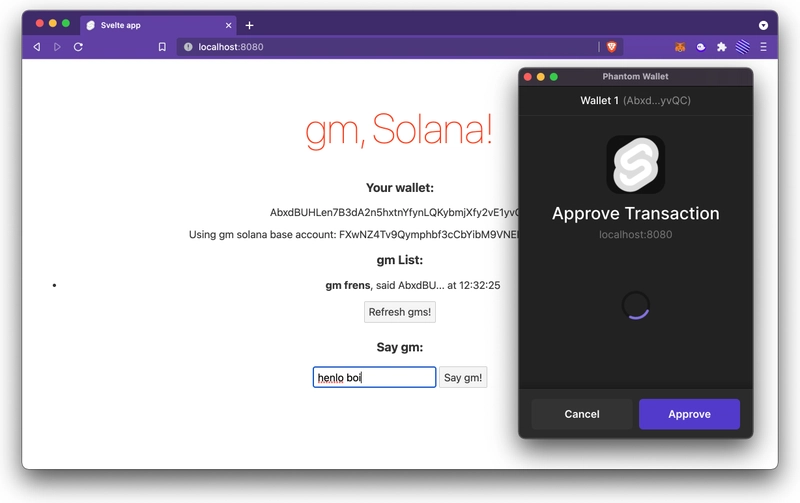
我们正在构建一款名为“gm Solana”的应用程序——一款留言簿应用程序,用户可以使用他们的 Solana 钱包登录并向他们的朋友发送“ gm ” 。
尽管该应用程序很简单,但您将能够直观地了解 Solana 应用程序的工作原理,并获得开发全栈 Solana dApp 的最重要技能和概念的实践经验 - 典型的工作流程、读取和写入区块链数据、将区块链与您的前端应用程序连接、身份验证等。
我们的技术栈
首先,让我们看一下 ASS 堆栈涵盖的内容:
- Anchor ——Solana 的实际高级框架
- Solana - 你读这篇文章的原因
- Svelte - 一个超快的前端框架(实际上它是一个编译器),React 的替代品
- 🍑 - 桃子表情符号,通常与“屁股”一词相关
此外,我们还将把我们的应用程序与以下设备集成:
- Phantom - 一款出色的 Solana 浏览器钱包
- @solana/web3.js - 连接客户端和 Solana 网络的 Javascript 库
- TypeScript - 坦白说,我就是不会用 Javascript……此外,目前大多数 Solana 教程都是用 JS 编写的,要让所有内容都能用 TS 工作有时需要付出一些额外的努力,所以我希望本教程能有所帮助
我还将使用VS Code。如果您还没有安装,则需要安装Svelte和Rust扩展才能继续本教程。
步骤 0. 安装并设置 Solana
在开始之前,您需要安装必要的工具。M1 Mac 以前在设置 Solana 工具套件时会遇到一些问题,但现在有了针对 M1 架构的官方二进制版本,因此安装过程变得非常简单。
安装 Rust
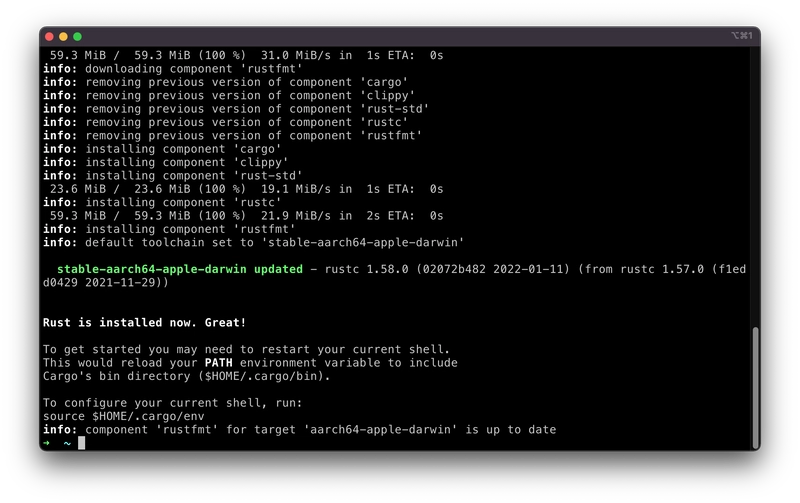
首先,您需要安装 Rust 工具链。
curl https://sh.rustup.rs -sSf | sh
source $HOME/.cargo/env
rustup component add rustfmt
安装 Solana 工具套件
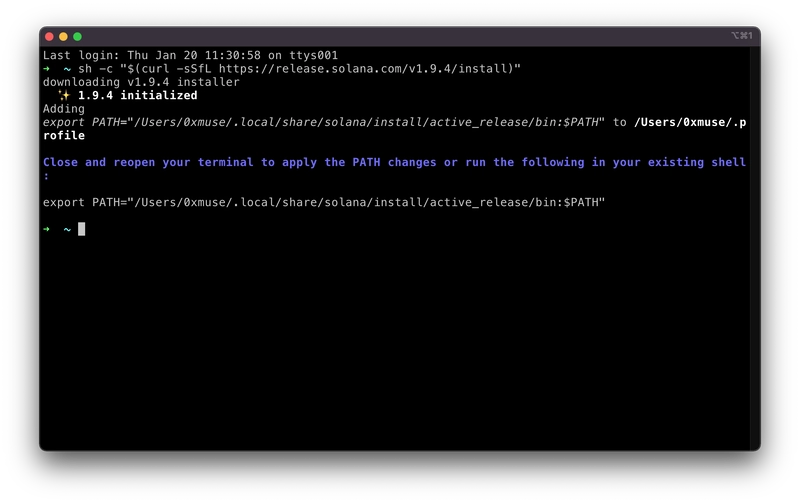
要安装 Solana,只需运行安装脚本即可。我指定安装v1.9.4:
sh -c "$(curl -sSfL https://release.solana.com/v1.9.4/install)"
请注意,如果您使用 zsh,则需要更新您的 PATH。
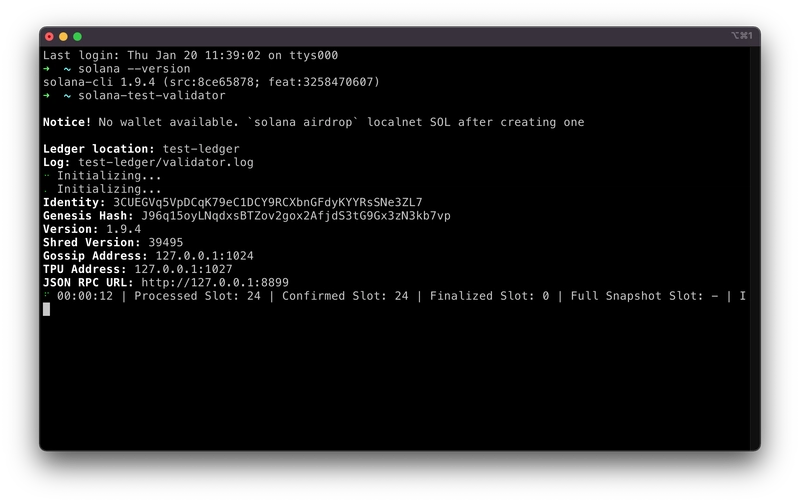
完成后,您可以使用以下命令验证安装是否成功。
solana --version
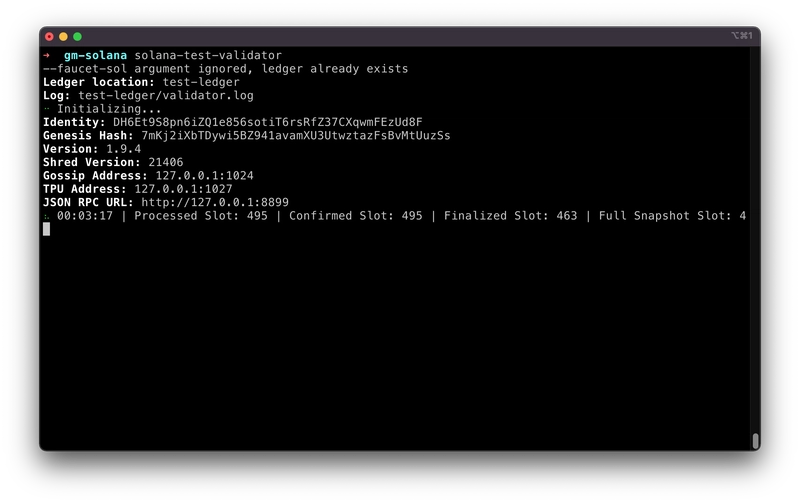
现在,您可以运行测试验证器(本地测试网络)来查看命令是否一切正常solana-test-validator。
让我们暂时停止测试验证器并继续前进!
安装锚点
Anchor 是 Solana 程序的推荐框架。
请注意,Anchor 使用Yarn v1来管理项目中的 Javascript 依赖项,因此请确保您的计算机上已安装它。
让我们从源代码构建 Rust 代码,这非常简单:
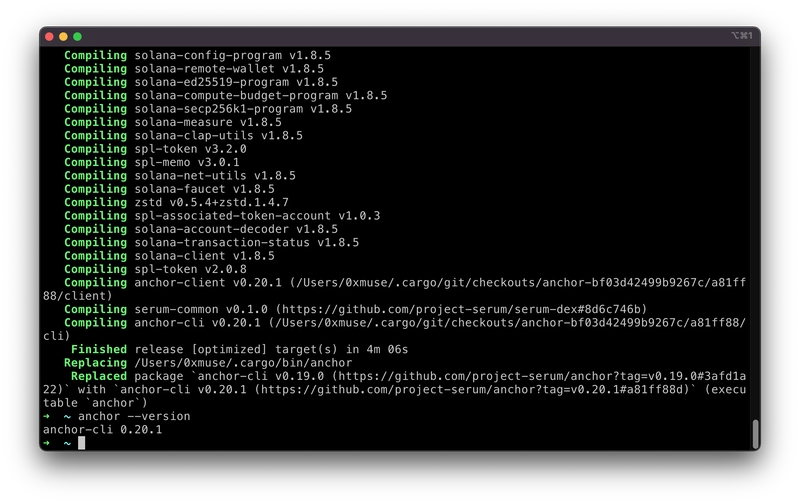
cargo install --git https://github.com/project-serum/anchor --tag v0.20.1 anchor-cli --locked
然后,您可以使用以下命令验证安装是否成功:
anchor --version
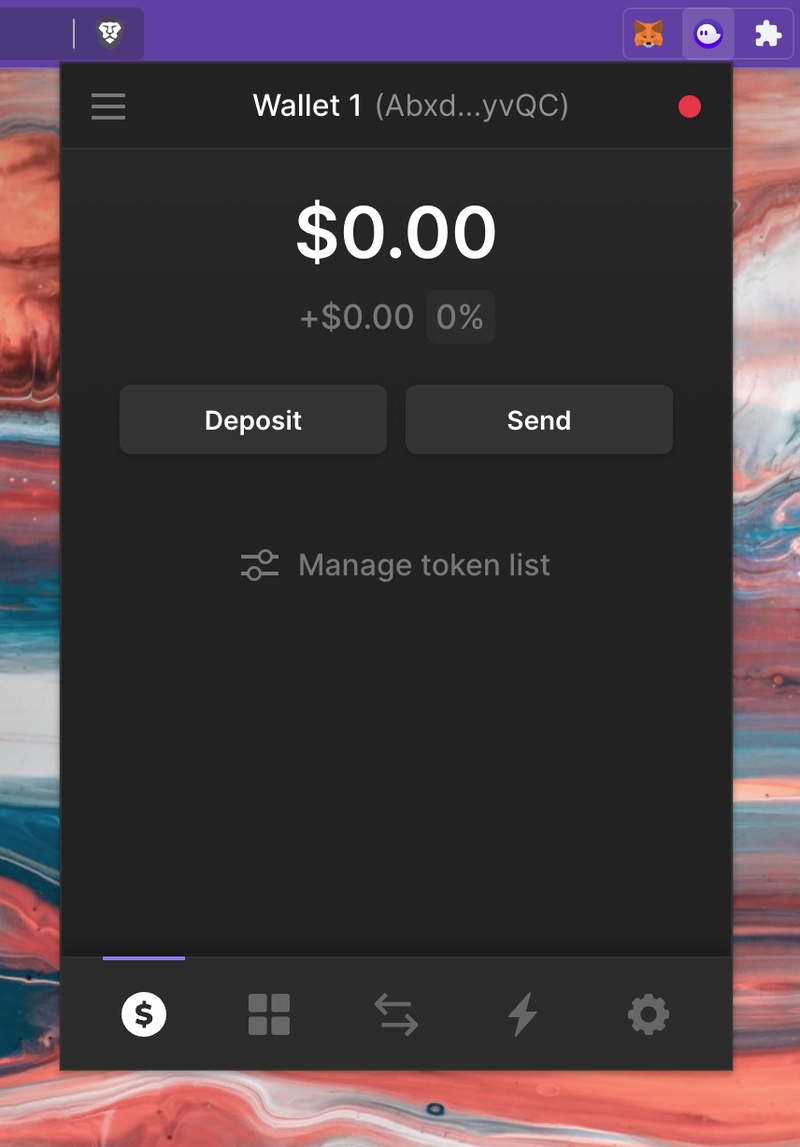
安装 Phantom Wallet
Phantom Wallet 是一款浏览器扩展程序,负责连接你的 Solana 钱包、你正在访问的 dApp 以及 Solana 区块链。你可以从他们的官方网站下载并按照说明进行设置。
如果您之前曾使用过与 EVM 兼容网络的 MetaMask,那么您已经熟悉它的工作原理。
就这样吧。让我们尽情享受吧!
步骤 1. 创建一个 Anchor 项目 - gm Solana!
转基因茄子
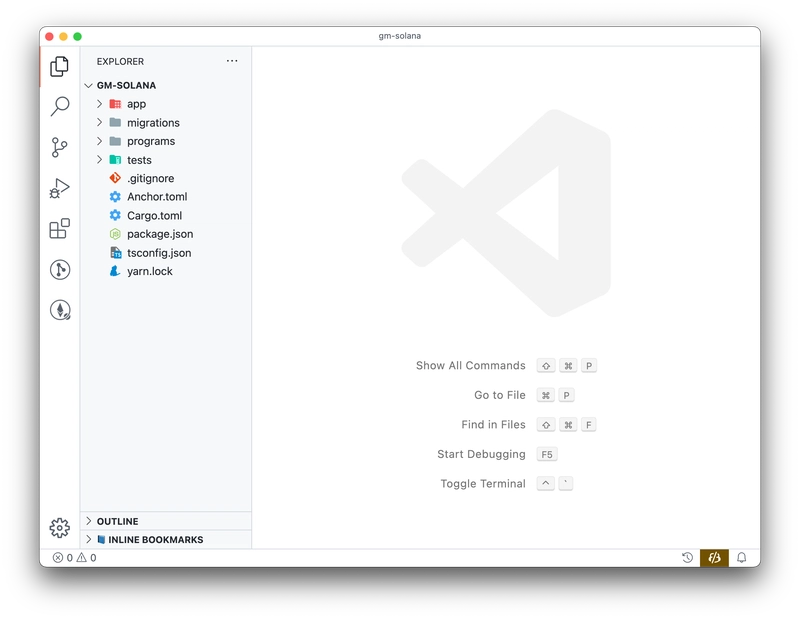
首先,使用 Anchor 初始化一个项目并在 VS Code 中打开它:
anchor init gm-solana
cd gm-solana
code .
我们这里有一些配置文件和一些子目录:
- app - 我们的客户端 Svelte 应用所在的位置
- 迁移 - 部署脚本
- 程序——智能合约
- 测试 - 名字说明了一切;)
设置密钥
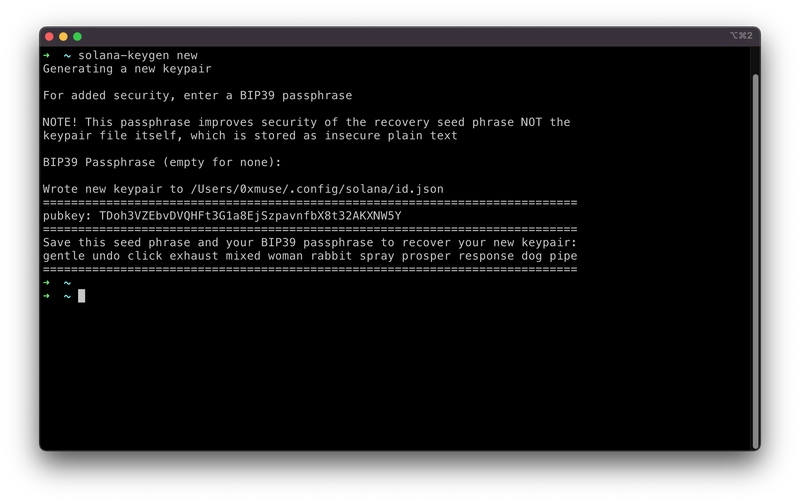
如果您尚未在此机器上使用过 Solana,则需要运行以下命令solana-keygen new来生成新密钥。密码可以为空。
新密钥保存在~/.config/solana/id.json。
您也可以使用从 Phantom 钱包生成的密钥,但为了清楚起见,我将在本教程中使用单独的密钥。
配置 Solana 以使用 localhost
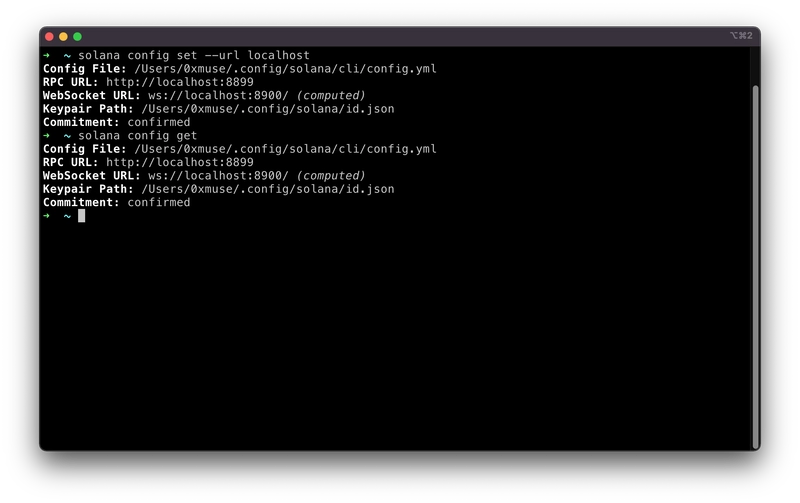
接下来,运行以下命令将网络设置为localhost,并检查当前设置:
solana config set --url localhost
solana config get
稍后我们将看到如何将您的应用推送到开发网或主网。
测试并验证项目设置
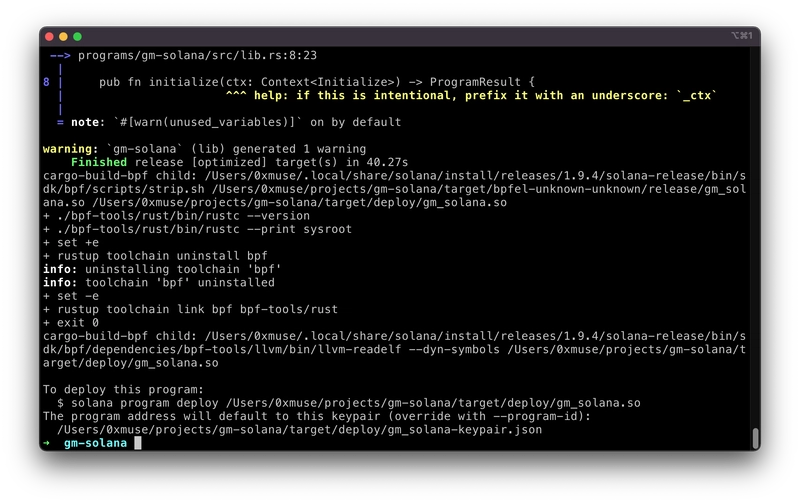
现在,您可以运行anchor build测试构建 Anchor 创建的默认示例项目。
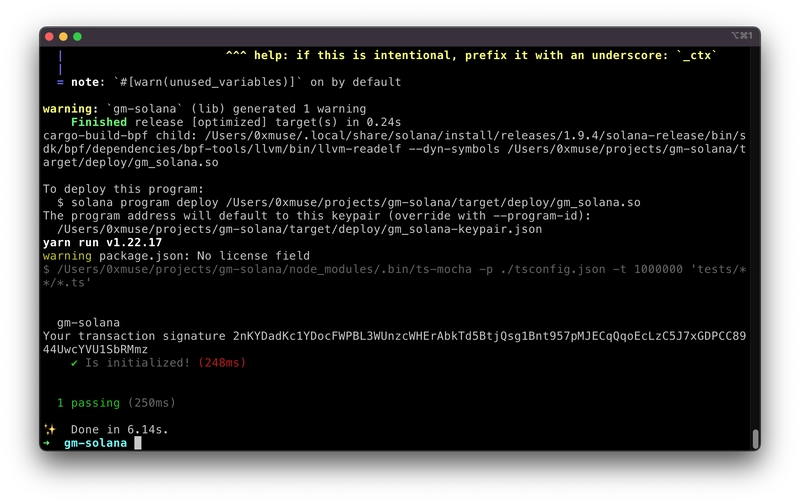
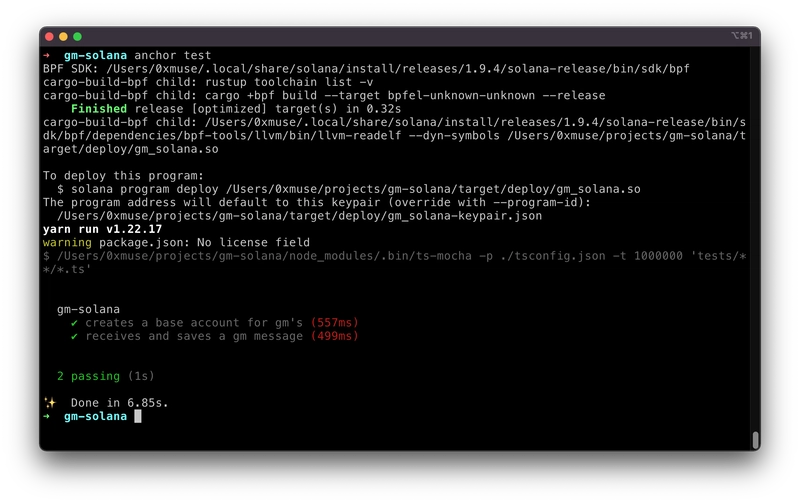
构建成功!现在运行anchor test看看测试是否也通过了。
该anchor test命令一次性完成多项任务——启动测试验证器、部署构建,并针对部署运行测试用例。非常方便!
步骤 2. 锚点计划剖析
程序和帐户
在 Solana 中,逻辑(程序)和状态(账户)有明确的分离。这与以太坊截然不同,在以太坊中,合约本身就持有状态。
用户将数据存储在账户中,Solana 程序将数据存储在账户中,代码指令本身也存储在账户中。如果你的程序需要存储某些状态,它必须访问外部的账户,所有内容都是通过引用传递的。
“hello world”示例概述
Anchor 就像 Solana 的后端 Web 框架,类似于 Ruby on Rails、Express 或 Flask。它实际上抽象了很多底层的东西,这样你就可以专注于设计逻辑和数据结构。
在我们删除 Anchor 为我们生成的“hello world”应用程序之前,让我们先看一下它。
一切神奇的事情都发生在programs/gm-solana/src/lib.rs文件中,那是我们程序的入口。
use anchor_lang::prelude::*;

declare_id!("Fg6PaFpoGXkYsidMpWTK6W2BeZ7FEfcYkg476zPFsLnS");

#[program]
pub mod gm_solana {
    use super::*;
    pub fn initialize(ctx: Context<Initialize>) -> ProgramResult {
        Ok(())
    }
}

#[derive(Accounts)]
pub struct Initialize {}
让我们分解一下:
前言
use anchor_lang::prelude::*;

declare_id!("Fg6PaFpoGXkYsidMpWTK6W2BeZ7FEfcYkg476zPFsLnS");
这两行基本上导入了这里需要的 Rust 库,并对程序将部署到的地址进行了硬编码(出于安全原因需要预先定义)。
程序和指令处理程序
#[program]
pub mod gm_solana {
    use super::*;
    pub fn initialize(ctx: Context<Initialize>) -> ProgramResult {
        Ok(())
    }
}
本节是定义我们的逻辑的地方。
这#[program]是一个Rust 宏,它抽象出了使 Rust 程序成为 Anchor 程序所需的样板和额外代码。
这里的函数与服务器端 Web 框架中的请求处理程序非常相似。而这正是所有这些 Web3 的意义所在——它们取代了传统中心化 Web 中的 Web 服务器!
我们可以看到,initialize指令处理程序接受一个 context ctx,其类型为Contextstruct Initialize。真是拗口!
还记得我们说过,如果程序想要访问和操作状态,所有内容都会通过引用传递到程序中吗?这是因为 Solana 执行的并行特性,以及所有程序都是无状态的。
当我们想要在程序上调用某个函数时,我们需要提前提供所有账户(即函数执行某些任务可能需要的所有数据)。
这个ctx东西基本上包含了所有这些引用,并且它使用了一些 Rust 魔法来限制可以传入的帐户类型,如下面帐户约束部分所示。
帐户限制
#[derive(Accounts)]
pub struct Initialize {}
在这个“hello world”程序中,我们并没有进行太多操作,但我们会在下面的“gm Solana”应用中看到更多内容。本节的作用是确保传递给指令处理程序的上下文具有正确的帐户。
我们的“gm Solana”程序更加复杂,让我们深入研究它!
步骤3. 实施“gm Solana”
了解我们需要做什么
现在我们知道了 Solana 中的帐户和程序是什么,以及 Anchor 应用是什么样子的。让我们看看我们的“gm Solana”留言簿应用究竟需要什么才能正常工作:
- 一些状态来存储所有这些 gm(具体来说 - 消息内容、发件人和时间戳)
- 一个程序来访问该状态并在需要时添加新的 gm
- 程序中的一组函数,也就是指令处理程序,用于执行实际工作
听起来不错,我们走吧!
定义数据结构
让我们先从数据结构开始,然后再讨论逻辑部分。
首先,我们需要将程序状态存储在某个地方。让我们定义一个 ,BaseAccount它包含我们想要存储的内容——gm_count一个无符号 64 位整数和gm_list一个对象向量(可增长数组)GmMessage,其中包含消息和一些元数据。
#[account]
pub struct BaseAccount {
    pub gm_count: u64,
    pub gm_list: Vec<GmMessage>,
}

// define a struct called GmMessage that contains a message, sender, and timestamp
#[derive(Clone, Debug, AnchorSerialize, AnchorDeserialize)]
pub struct GmMessage {
    pub message: String,
    pub user: Pubkey,
    pub timestamp: i64,
}
BaseAccount在宏下标记,#[account]并且由于 Solana 使用特定类型的数据结构,因此我们必须在此处使用宏#[derive(Clone, Debug, AnchorSerialize, AnchorDeserialize)]。
程序和指令处理程序
现在,我们来编写程序逻辑。我们需要两个函数——第一个函数用于初始化base_account,并将初始值设置为 0;另一个函数用于处理客户端对 的请求say_gm。
我们将立即声明上下文结构/帐户约束。
#[program]
pub mod gm_solana {
    use super::*;

    pub fn initialize(ctx: Context<Initialize>) -> ProgramResult {
        // &mut means we are letting the compiler know that we are mutating this value
        let base_account = &mut ctx.accounts.base_account;

        base_account.gm_count = 0;

        Ok(())
    }

    // receive a message and store it into gm_list with some metadata
    pub fn say_gm(ctx: Context<SayGm>, message: String) -> ProgramResult {
        let base_account = &mut ctx.accounts.base_account;

        // grab a copy of the input data
        let message = message.clone();
        // get the current Solana network time
        let timestamp = Clock::get().unwrap().unix_timestamp;
        // grab the public key of the transaction sender
        // * dereferences the pointer
        let user = *ctx.accounts.user.to_account_info().key;

        let gm = GmMessage {
            user,
            message,
            timestamp,
        };

        base_account.gm_list.push(gm);
        base_account.gm_count += 1;

        Ok(())
    }
}
帐户限制
正如我们前面提到的,程序代码本身无法访问任何数据,除非客户端将存储该数据的帐户传递到上下文中的处理程序中。
上下文结构Initialize如下所示:
#[derive(Accounts)]
pub struct Initialize<'info> {
    #[account(init, payer = user, space = 64 + 1024)]
    pub base_account: Account<'info, BaseAccount>,
    #[account(mut)]
    pub user: Signer<'info>,
    pub system_program: Program<'info, System>,
}
这个宏的#[account(init, payer = user, space = 64 + 1024)]基本意思是,我们要init实现以下账户(base_account),费用将由user下方支付,我们将为其分配 64B + 1024B 的空间。分配的空间将限制程序可以存储的 gm 大小。
这个宏#[account(mut)]意味着user这里将会被改变,因为它将要支付费用。这个user字段代表交易的签名者,也就是调用此函数的钱包。
最后一行指的是根系统程序,这是 Solana 上处理帐户创建的特殊程序。如果省略它,您将无法初始化base_account上述内容。
好的,让我们继续讨论SayGm结构:
#[derive(Accounts)]
pub struct SayGm<'info> {
    #[account(mut)]
    pub base_account: Account<'info, BaseAccount>,
    pub user: Signer<'info>,
}
因为我们将改变保存的数据base_account,所以我们将再次使用#[account(mut)]宏。
但这里最重要的是pub user: Signer<'info>。这本质上就是我们如何进行身份验证,验证这个地址确实是签署交易的地址。
AccountInfo<'info>也可以代表一个用户,但是没有任何验证可以证明任何人只要传入一个随机帐户就可以成为冒名顶替者。
我们刚才做的是完全通过编写一些 Rust 类型来实现一些简单的身份验证例程——这非常酷,如果没有 Anchor 的抽象,这是不可能的!这样,我们就可以在程序逻辑中简单地使用这些帐户,并保证它们已经过检查。
总而言之,您的应用程序应该如下所示:
use anchor_lang::prelude::*;

declare_id!("Fg6PaFpoGXkYsidMpWTK6W2BeZ7FEfcYkg476zPFsLnS");

#[program]
pub mod gm_solana {
    use super::*;

    pub fn initialize(ctx: Context<Initialize>) -> ProgramResult {
        // &mut means we are letting the compiler know that we are mutating this value
        let base_account = &mut ctx.accounts.base_account;

        base_account.gm_count = 0;

        Ok(())
    }

    pub fn say_gm(ctx: Context<SayGm>, message: String) -> ProgramResult {
        let base_account = &mut ctx.accounts.base_account;
        // grab a copy of the input data
        let message = message.clone();
        // get the current Solana network time
        let timestamp = Clock::get().unwrap().unix_timestamp;
        // grab the public key of the user account. We need to use * to dereference the pointer
        let user = *ctx.accounts.user.to_account_info().key;

        let gm = GmMessage {
            user,
            message,
            timestamp,
        };

        base_account.gm_list.push(gm);
        base_account.gm_count += 1;

        Ok(())
    }
}

#[derive(Accounts)]
pub struct Initialize<'info> {
    #[account(init, payer = user, space = 64 + 1024)]
    pub base_account: Account<'info, BaseAccount>,
    #[account(mut)]
    pub user: Signer<'info>,
    pub system_program: Program<'info, System>,
}

#[derive(Accounts)]
pub struct SayGm<'info> {
    #[account(mut)]
    pub base_account: Account<'info, BaseAccount>,
    pub user: Signer<'info>,
}

#[account]
pub struct BaseAccount {
    pub gm_count: u64,
    pub gm_list: Vec<GmMessage>,
}

// define a struct called GmMessage that contains a message, sender, and timestamp
#[derive(Clone, Debug, AnchorSerialize, AnchorDeserialize)]
pub struct GmMessage {
    pub message: String,
    pub user: Pubkey,
    pub timestamp: i64,
}
完毕!
不要忘记编译!
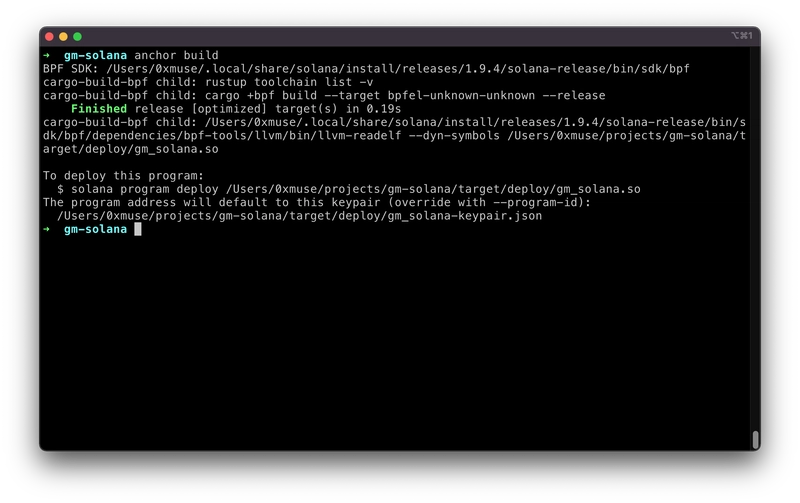
“gm Solana” 程序已完成,我们需要重建二进制文件。同时,为了让我们的客户端代码(无论是测试代码还是前端应用程序)能够与其交互,我们需要让 Anchor 为我们生成IDL(类似于 EVM 中的 ABI)和 TypeScript 类型。
我们可以通过运行来完成这一切anchor build。
就是这样!
步骤 4. 为“gm Solana”编写测试
我们已经运行了默认的“hello world”程序的测试,现在让我们更新“gm Solana”的测试。
进去tests/gm-solana.ts输入以下内容,我会在代码里注释解释:
import * as anchor from "@project-serum/anchor";
import { Program } from "@project-serum/anchor";
import { GmSolana } from "../target/types/gm_solana";
import assert from "assert";

// we need to access SystemProgram so that we can create the base_account
const { SystemProgram } = anchor.web3;

describe("gm-solana", () => {
  // configure the client to use the local cluster.
  const provider = anchor.Provider.env();
  anchor.setProvider(provider);

  const program = anchor.workspace.GmSolana as Program<GmSolana>;

  let _baseAccount: anchor.web3.Keypair;

  it("creates a base account for gm's", async () => {
    const baseAccount = anchor.web3.Keypair.generate();
    // call the initialize function via RPC
    const tx = await program.rpc.initialize({
      accounts: {
        baseAccount: baseAccount.publicKey,
        user: provider.wallet.publicKey,
        systemProgram: SystemProgram.programId,
      },
      signers: [baseAccount],
    });
    // fetch the base account
    const account = await program.account.baseAccount.fetch(
      baseAccount.publicKey
    );

    // gmCount is a "big number" type, so we need to convert it to a string
    assert.equal(account.gmCount.toString(), "0");

    _baseAccount = baseAccount;
  });

  it("receives and saves a gm message", async () => {
    const message = "gm wagmi";
    const user = provider.wallet.publicKey;

    // fetch the base account and cache how many messages are there
    const accountBefore = await program.account.baseAccount.fetch(
      _baseAccount.publicKey
    );
    const gmCountBefore = accountBefore.gmCount;

    // call the sayGm function with message
    const tx = await program.rpc.sayGm(message, {
      accounts: {
        baseAccount: _baseAccount.publicKey,
        user,
      },
    });

    // fetch the base account again and check that the gmCount has increased
    const accountAfter = await program.account.baseAccount.fetch(
      _baseAccount.publicKey
    );
    const gmCountAfter = accountAfter.gmCount;
    assert.equal(gmCountAfter.sub(gmCountBefore).toString(), "1");

    // fetch the gmList and check the value of the first message
    const gmList = accountAfter.gmList;
    assert.equal(gmList[0].message, message);
    assert.equal(gmList[0].user.equals(user), true); // user is an object, we can't just compare objects in JS
    assert.equal(gmList[0].timestamp.gt(new anchor.BN(0)), true); // just a loose check to see if the timestamp is greater than 0
  });
});
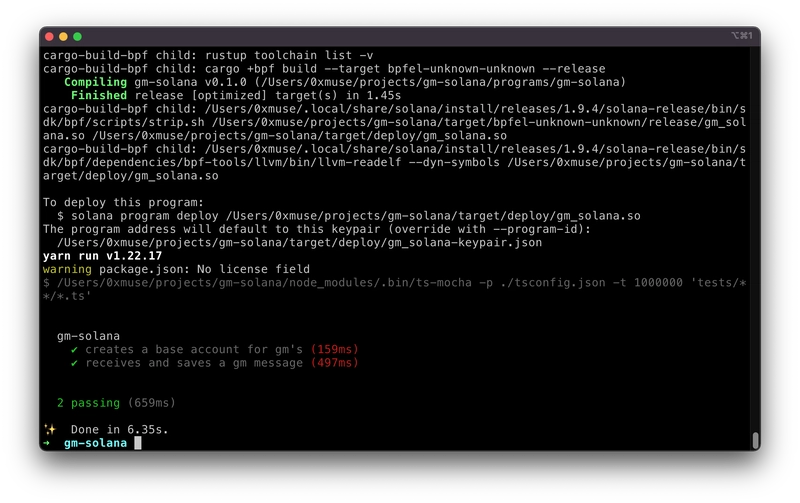
完成后,运行anchor test。
两项测试均已通过!
步骤 5. 将应用部署到本地网络
设置新程序 ID
请记住,在我们的代码开头有这样一行declare_id!("Fg6PaFpoGXkYsidMpWTK6W2BeZ7FEfcYkg476zPFsLnS");
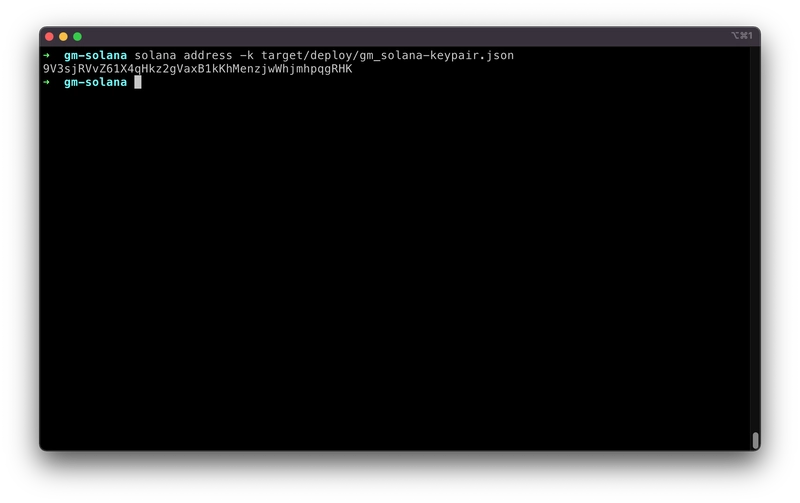
现在,随着我们越来越接近生产环境,我们需要用 生成的唯一程序 ID 来替换它anchor build。我们可以使用以下命令获取它:
solana address -k target/deploy/gm_solana-keypair.json
然后,将此密钥复制回lib.rs文件(请使用您自己的公钥!):
declare_id!("9V3sjRVvZ61X4qHkz2gVaxB1kKhMenzjwWhjmhpqgRHK");
我们还需要进行相应的更新Anchor.toml:
# Anchor.toml
[programs.localnet]
gm-solana = "9V3sjRVvZ61X4qHkz2gVaxB1kKhMenzjwWhjmhpqgRHK"

[provider]
cluster = "localnet"
再次运行anchor test,一切仍然有效。;)
启动本地网络并部署
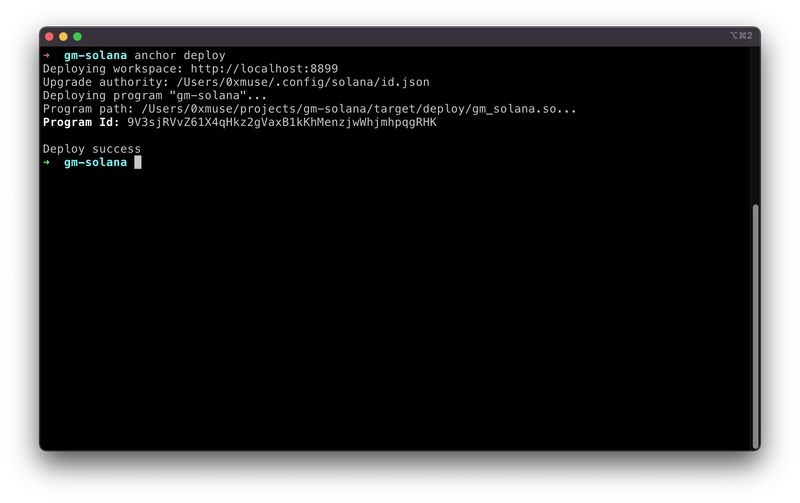
要部署,我们需要在一个终端中启动solana-test-validator,然后anchor deploy在新终端中运行。
现在我们已经进行了实时部署,让我们继续SASS 中的最后一个部分 - Svelte!
步骤 6. 设置前端
Svelte 是一个非常简单的框架/编译器 - 它只是 HTML + JavaScript + 内置的反应状态管理!
如果你对 Svelte 一无所知,我强烈建议你查看官方的交互式教程,只需花费 15 分钟。
设置 Svelte
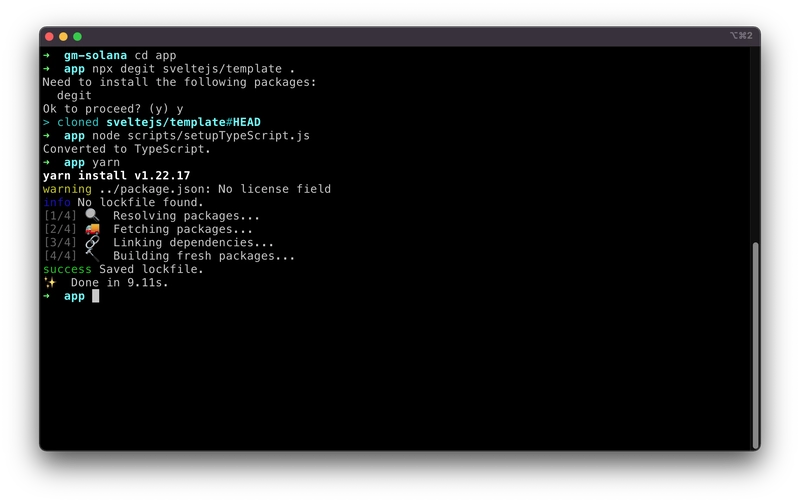
Anchor 为我们生成的工作区是一个 monorepo,所以我们将在该目录内初始化前端app。从现在开始,除非另有通知,所有操作都将在此目录内完成。
cd app
npx degit sveltejs/template .
node scripts/setupTypeScript.js

yarn
正如一开始提到的,我们需要安装一堆客户端 JavaScript 库来与区块链交互:
yarn add @project-serum/anchor @solana/web3.js
配置汇总
我们需要一些额外的步骤来让 Rollup 捆绑器正确完成其工作。
就像我们的测试工作一样,我们需要 Svelte 应用程序的 IDL 文件,以便它知道我们的 Solana 程序中存在哪些指令处理程序,以及所有内容的数据类型。
IDL 文件和类型位于targetAnchor 项目根目录下的 目录下。只需将整个target/idl和target/types目录复制到app/src/idl和 目录中app/src/types即可。在本例中,我们只有一个gm_solana.json和 一个gm_solana.ts文件。
我们还需要启用 JSON 模块解析app/tsconfig.json。它看起来会像这样:
{
  "extends": "@tsconfig/svelte/tsconfig.json",
  "compilerOptions": {
    "resolveJsonModule": true
  },

  "include": ["src/**/*"],
  "exclude": ["node_modules/*", "__sapper__/*", "public/*"]
}
现在我们需要安装一些插件。这些插件负责 JSON 导入,以及填充浏览器中不可用的内置 Node.js 模块。
yarn add -D @rollup/plugin-json rollup-plugin-node-builtins rollup-plugin-node-globals
然后在以下位置启用它们rollup.config.js:
// ... other imports
import json from "@rollup/plugin-json";
import builtins from "rollup-plugin-node-builtins";
import globals from "rollup-plugin-node-globals";

export default {
  // ... other configs
  plugins: [
    // ... other rollup plugins
    resolve({
      browser: true,
      dedupe: ["svelte"],
      preferBuiltins: false, // set this to false
    }),
    // ... more rollup plugins
    json(),
    globals(),
    builtins(),
  ]
};
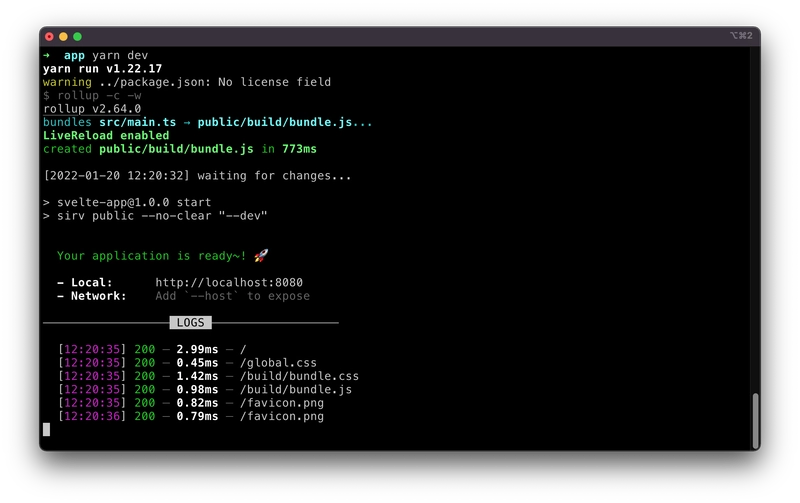
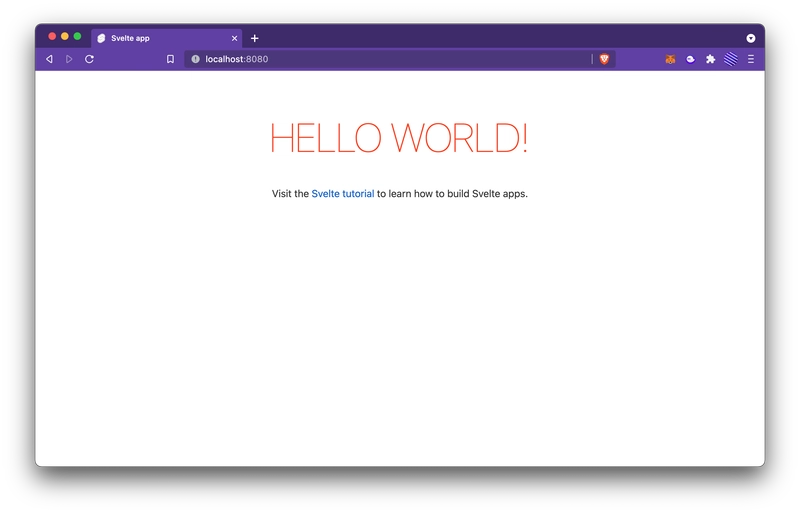
现在我们可以用以下命令启动开发服务器:
yarn dev
创建“连接钱包”按钮
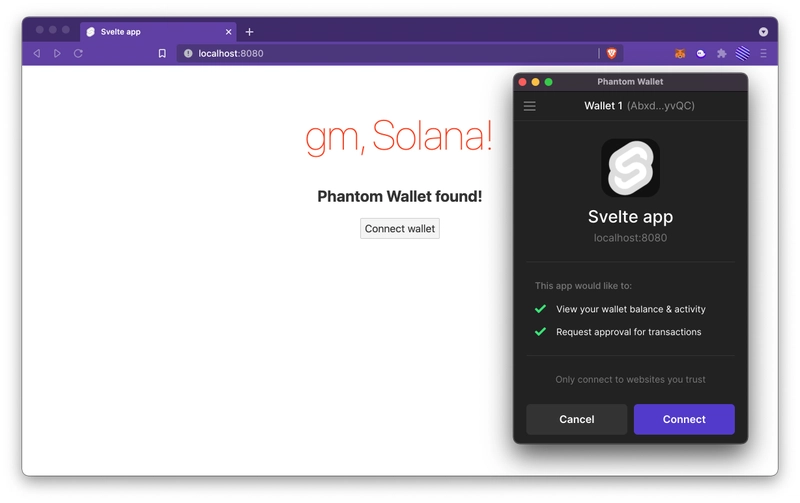
当用户访问我们的 dApp 时,他们首先需要做的就是将他们的 Phantom Wallet 连接到我们的应用。具体来说,浏览器扩展程序会在我们的页面中注入一个“提供者”,我们的应用可以使用它代表用户与区块链进行交互(当然,用户需要批准并签署任何交易)。我们会为他们制作一个“连接钱包”按钮。
这与您已经登录 Google 或 Github,现在想要使用“使用 Google 登录”按钮连接到第三方服务本质上相同。
让我们清理 Svelte 为我们生成的默认页面并实现这个功能,我添加了注释来突出显示重要的几行:
<script lang="ts">
  import { onMount } from "svelte";

  // ======== APPLICATION STATE ========

  let wallet: any;
  let account = "";

  // reactively log the wallet connection when account state changes,
  // if you don't know what this is, check out https://svelte.dev/tutorial/reactive-declarations
  $: account && console.log(`Connected to wallet: ${account}`);

  // ======== PAGE LOAD CHECKS ========

  const onLoad = async () => {
    const { solana } = window as any;
    wallet = solana;

    // set up handlers for wallet events
    wallet.on("connect", () => (account = wallet.publicKey.toString()));
    wallet.on("disconnect", () => (account = ""));

    // eagerly connect wallet if the user already has connected before, otherwise do nothing
    const resp = await wallet.connect({ onlyIfTrusted: true });
  };

  // life cycle hook for when the component is mounted
  onMount(() => {
    // run the onLoad function when the page completes loading
    window.addEventListener("load", onLoad);

    // return a cleanup function to remove the event listener to avoid memory leaks when the page unloads
    return () => window.removeEventListener("load", onLoad);
  });

  // ======== CONNECT WALLET ========
  const handleConnectWallet = async () => {
    const resp = await wallet.connect();
  };
</script>

<main>
  <h1>gm, Solana!</h1>

  <!-- Conditionally render the user account, connect button, or just a warning -->
  {#if account}
  <h3>Your wallet:</h3>
  <p>{account}</p>
  {:else if wallet} {#if wallet.isPhantom}
  <h2>Phantom Wallet found!</h2>
  <button on:click="{handleConnectWallet}">Connect wallet</button>
  {:else}
  <h2>Solana wallet found but not supported.</h2>
  {/if} {:else}
  <h2>Solana wallet not found.</h2>
  {/if}
</main>

<style>
  main {
    text-align: center;
    padding: 1em;
    max-width: 240px;
    margin: 0 auto;
  }

  h1 {
    color: #ff3e00;
    font-size: 4em;
    font-weight: 100;
  }

  @media (min-width: 640px) {
    main {
      max-width: none;
    }
  }
</style>
让我们在浏览器中再次打开该应用程序,瞧!
切换到本地网络
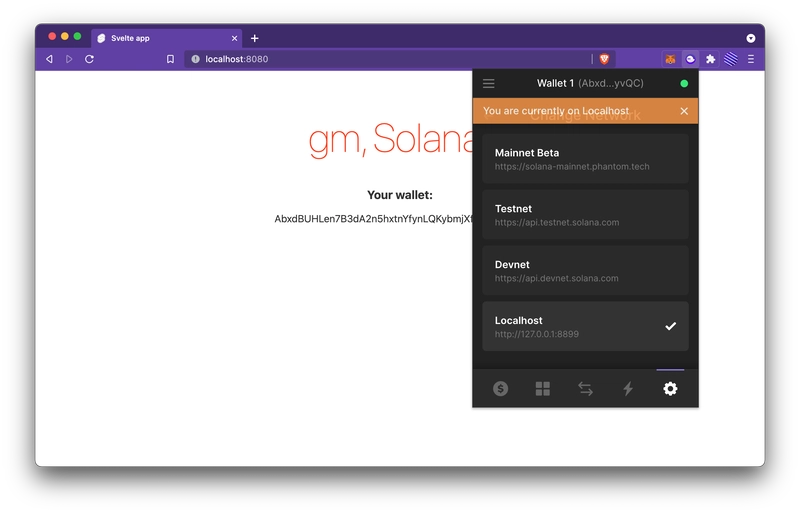
默认情况下,Phantom Wallet 连接到 Solana 的主网。由于我们所有的测试都在本地网络上进行,因此您需要前往“设置”,然后将“网络”更改为localhost。
步骤 7. 实现留言簿前端
现在让我们编写应用程序的核心功能。应用程序应该显示“gm”消息的列表,并标记其时间戳和发送者的钱包地址。
我们之前已经在测试中与 Solana 网络进行过交互!现在我们只需要做一些类似的事情。
Solana 网络连接助手
首先,我们需要准备好一些参数,也就是我们正在programID交互network的,以及connection一些方便的上下文提供程序的设置。
将其添加到现有代码中App.svelte:
<script lang="ts">
  // ...
  import * as idl from "./idl/gm_solana.json";
  import type { GmSolana } from "./types/gm_solana";
  import { Connection, PublicKey, clusterApiUrl } from "@solana/web3.js";
  import { Idl, Program, Provider, web3 } from "@project-serum/anchor";
  const { SystemProgram, Keypair } = web3;

  //...

  // ======== CONNECT TO NETWORK ========

  // get program id from IDL, the metadata is only available after a deployment
  const programID = new PublicKey(idl.metadata.address);

  // we are using local network endpoint for now
  const network = "http://127.0.0.1:8899";

  // set up connection with "preflight commitment" set to "confirmed" level, which basically means that our app
  // will treat the transaction as done only when the block is voted on by supermajority.
  // this is similar to waiting for how many confirmations like in Ethereum.
  // you can also set it to "finalized" (even more secure) or "processed" (changes might be rolled back)
  const connection = new Connection(network, "confirmed");

  // create a network and wallet context provider
  const getProvider = () => {
    const provider = new Provider(connection, wallet, {
      preflightCommitment: "confirmed",
    });
    return provider;
  };

  // helper function to get the program
  const getProgram = () => {
    const program = new Program(
      idl as Idl,
      programID,
      getProvider()
    ) as Program<GmSolana>;
    return program;
  };
</script>
初始化基础账户
现在到了最有趣的部分。还记得我们的应用需要一个基础账户来存储所有 gm 消息吗?
嗯,每个人都可以创建自己的基础账户,而且这些账户都是完全有效的——就像每个人都可以搭建一个私人的 Minecraft 服务器一样。如果你坚持要为基础账户设计单例,则需要在程序中硬编码允许创建这些账户的用户账户。
因此,在我们的“gm Solana”应用中,访问者将有两个选择:初始化一个新的基础账户或使用现有的账户。如果您想托管“终极、规范、官方的 gm Solana”应用,您可以将基础账户嵌入到 Svelte 代码中。
这很酷不是吗?;)
<script lang="ts">
  // ...
  // ======== INITIATE BASE ACCOUNT ========

  // the base account that will hold the gm messages,
  // if we want to share the same "gm Solana" instance then we need to provide the same base account
  let baseAccountPublicKey: PublicKey;
  let baseAccountPublicKeyInput = ""; // UI state used for the input field

  // because state in Solana is not tied with programs, users can create their own "baseAccount" for the gm app,
  // the way to share and establish our baseAccount as the "official" one is to provide users with ours up front
  // in the app client. otherwise we can also hardcode a "deployer account" in the program so only it can do it.
  // the initializeAccount() here is a naive implementation that creates a new baseAccount on demand.
  const initializeAccount = async () => {
    const provider = getProvider();
    const program = getProgram();
    const _baseAccount = Keypair.generate();
    Keypair;

    await program.rpc.initialize({
      accounts: {
        baseAccount: _baseAccount.publicKey,
        user: provider.wallet.publicKey,
        systemProgram: SystemProgram.programId,
      },
      signers: [_baseAccount],
    });
    baseAccountPublicKey = _baseAccount.publicKey;
    console.log("New BaseAccount:", baseAccountPublicKey.toString());
    await getGmList(); // first fetch
  };

  // alternative to initializeAccount(), loadAccount() allows you to pick up a previously created baseAccount
  // so we can share the same "gm Solana" instance!
  const loadAccount = async () => {
    baseAccountPublicKey = new PublicKey(baseAccountPublicKeyInput);
    console.log("Loaded BaseAccount:", baseAccountPublicKey.toString());
    await getGmList(); // first fetch
  };
</script>
<main>
  <!-- other stuff... -->
  {#if account}
    {#if !baseAccountPublicKey}
      <button on:click={initializeAccount}>Initialize account</button>
      or
      <input
        type="text"
        placeholder="use existing account..."
        bind:value={baseAccountPublicKeyInput}
      />
      <button on:click={loadAccount}>Load</button>
    {:else}
      Using gm solana base account: {baseAccountPublicKey.toString()}
    {/if}
  {/if}
</main>
与程序交互
现在我们已经准备好与区块链交互并连接本地状态了!我们将设置一些额外的 UI 状态变量,并将所有 gm 整齐地渲染在一个列表中。当然,还有一个提交按钮。
<script lang="ts">
  // ...
  // ======== APPLICATION STATE ========
  // ... other state
  let gmList = [];
  let gmMessage = "";

  // ======== PROGRAM INTERACTION ========

  // interacts with our program and updates local the gm list
  const getGmList = async () => {
    const program = getProgram();
    const account = await program.account.baseAccount.fetch(
      baseAccountPublicKey
    );

    console.log("Got the account", account);
    gmList = account.gmList as any[];
  };

  // interacts with our program and submits a new gm message
  const sayGm = async () => {
    const provider = getProvider();
    const program = getProgram();

    await program.rpc.sayGm(gmMessage, {
      accounts: {
        baseAccount: baseAccountPublicKey,
        user: provider.wallet.publicKey,
      },
      // if we don't supply a signer, it will try to use the connected wallet by default
    });
    console.log("gm successfully sent", gmMessage);
    gmMessage = ""; // clears the input field

    await getGmList(); // updates the local gm list
  };

  $: console.log("gmList:", gmList); // just some extra logging when the gm list changes
</script>
<main>
  <!-- other stuff... -->
  {#if baseAccountPublicKey}
    <div>
      <h3>gm List:</h3>
      <ul>
        {#each gmList as gm}
          <li>
            <b>{gm.message}</b>, said {gm.user.toString().slice(0, 6)}... at {new Date(
              gm.timestamp.toNumber() * 1000
            ).toLocaleTimeString()}
          </li>
        {/each}
      </ul>
      <button on:click={getGmList}>Refresh gms!</button>
    </div>

    <div>
      <h3>Say gm:</h3>
      <input
        type="text"
        placeholder="write something..."
        bind:value={gmMessage}
      />
      <button on:click={sayGm} disabled={!gmMessage}>Say gm!</button>
    </div>
  {/if}
</main>
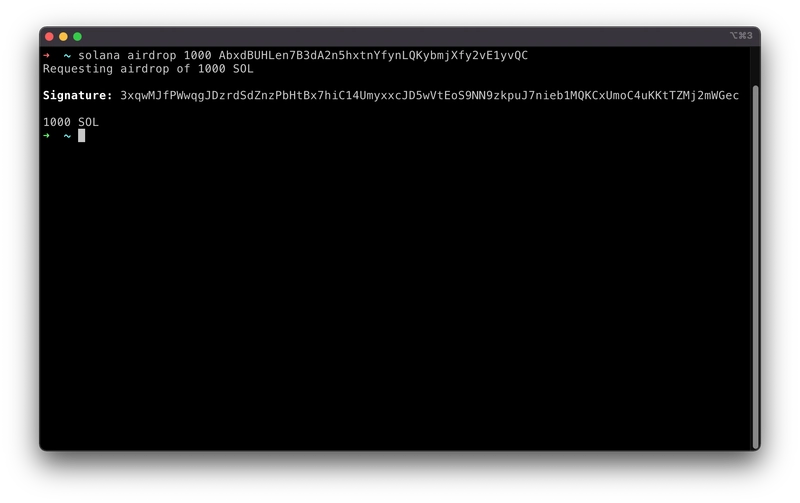
如果您的浏览器钱包没有本地网络 SOL 代币,您可以随时给自己空投一堆:
solana airdrop 1000 mmmmyyyyywwwwwaaaalllleeeetttt
就这样,我们完成了“gm Solana” dApp 的开发!祝您在浏览器中玩得愉快!
步骤 8. 在公共开发网(或主网)上部署
到目前为止,我们仅部署到运行测试验证器的本地主机。要将其部署到开发网(或主网-beta),您需要执行一些额外的步骤。
更新工具配置
首先,您需要将 Solana CLI 切换到 devnet。
solana config set --url devnet
solana config get
然后,打开Anchor.toml项目根目录中的文件来更新cluster和[programs.localnet]:
# Anchor.toml
[programs.devnet]
gm-solana = "foooooooobaaaaaaar"

[provider]
cluster = "devnet"
如果您没有 devnet SOL,您可以一次空投 5 个。
solana airdrop 5 mmmmyyyyywwwwwaaaalllleeeetttt
然后,您可以再次运行构建和部署!
anchor build
anchor deploy
更新应用程序中的参数
由于我们正在部署到公共开发网络,因此您当然需要将 Phantom Wallet 中的网络切换到开发网络。
然后,您只需要在应用程序中更改一件事:
<script lang=ts>
  // ...
  // // we are using local network endpoint for now
  // const network = "http://127.0.0.1:8899";

  // we are using devnet endpoint
  const network = clusterApiUrl('devnet');
</script>
再次在目录中运行yarn dev或,一切就完成了!yarn buildapp
太糟糕了!
现在您已经掌握了 ASS 鉴赏的艺术,您就是 ASS 堆栈鉴赏家了!
还在用 Web3 开发吗?快来 Twitter 上联系我吧👋 @0xMuse
鏂囩珷鏉ユ簮锛�https://dev.to/0xmuse/accelerated-guide-to-fullstack-web3-with-ass-anchor-solana-and-svelte-1mg 后端开发教程 - Java、Spring Boot 实战 - msg200.com
