使用 Node 和 Express 创建 REST 服务以与 Unity 配合使用 - 第 1 部分
用 Unity 制作游戏真的很酷。但是像保存用户信息、进度、物品、敌人等数据到数据库之类的在线功能怎么办呢?你可能熟悉 Node 和 REST API,但从 Unity 发送请求并处理接收到的数据还是有点棘手。
所以,我们来用 Unity 和 Node 写一个博客系列吧。之后我们会把它放到 Heroku 上!
在这一部分中,我们将创建我们的“Hello World”项目。
这是github上的项目链接。
如果您从未听说过 rest api,我建议您先查看本教程以了解它的含义。
然后,让我写一些代码。
首先打开一个终端并启动我们的节点项目文件。
npm init
第二、安装express。
npm install express
创建我们的入口点。我们将其命名为 app.js。
touch app.js
使用您最喜欢的代码编辑器(在本例中我的是 vscode)打开新创建的文件并导入 express。
const express = require('express');
const app = express();
我们的应用程序应该监听端口 3000。第二个参数是回调,向控制台写入一条消息。
app.listen(3000, () => console.log('started and listening.'));
运行前还有最后一步。当您向我们的应用发出请求时,我们应该回复用户。在 Express 中,此过程简化如下。当我们localhost:3000使用 Postman 进行操作或调用时,我们的应用将在某些端点上响应。对于 hello world 项目,我们假设在主目录“/”上响应。
如果您不清楚端点的含义或 api、http 回调协议,我再次建议您先查看本教程。
app.get('/', (req, res) => {
    res.send('Hello Unity Developers!');
})
在运行之前我们先看一下我们的代码。
const express = require('express');
const app = express();

app.get('/', (req, res) => {
    res.send('Hello Unity Developers');
})

app.listen(3000, () => console.log('started and listening.'));
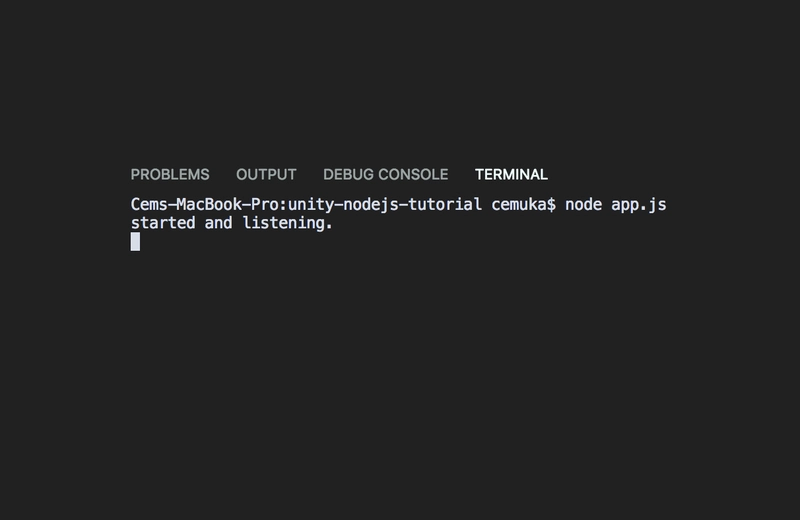
打开终端并运行代码。
node app.js
如果没有发生错误,我们应该在终端上看到我们的 console.log。
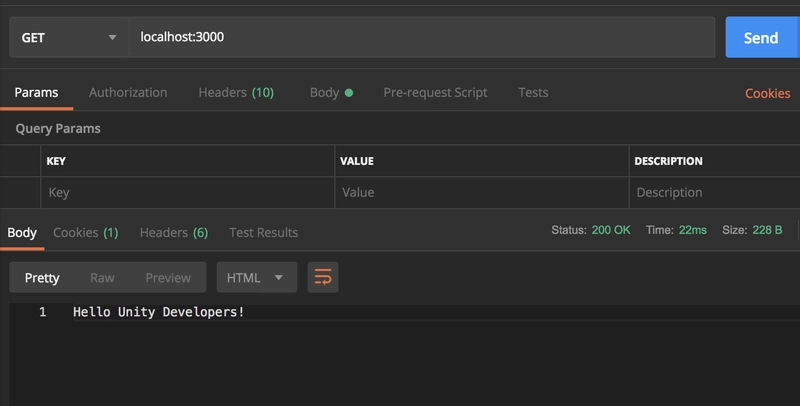
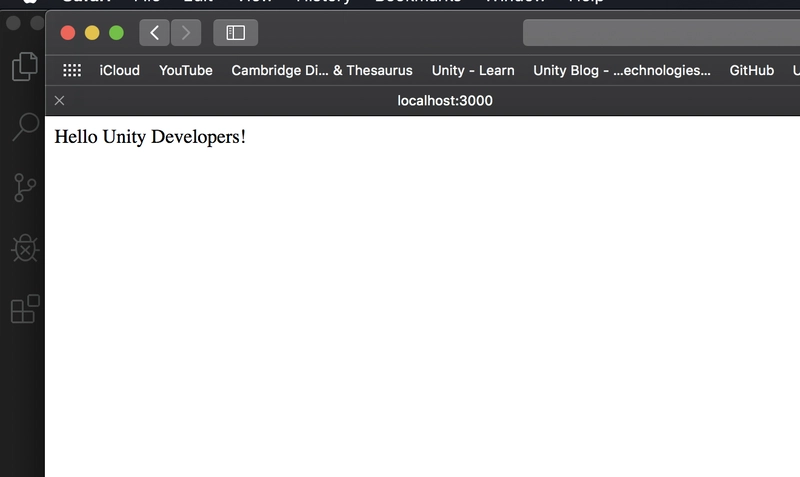
现在,在切换到 Unity 之前,我们来测试一下。
使用浏览器或 Postman 测试一下我们的地址localhost:3000。
看起来运行正常!
所以我们创建了一个可以正常工作的服务,它会在我们请求时回复。在 Unity 中我们做得怎么样?
幸运的是,Unity 有一些 http 回调包装器。
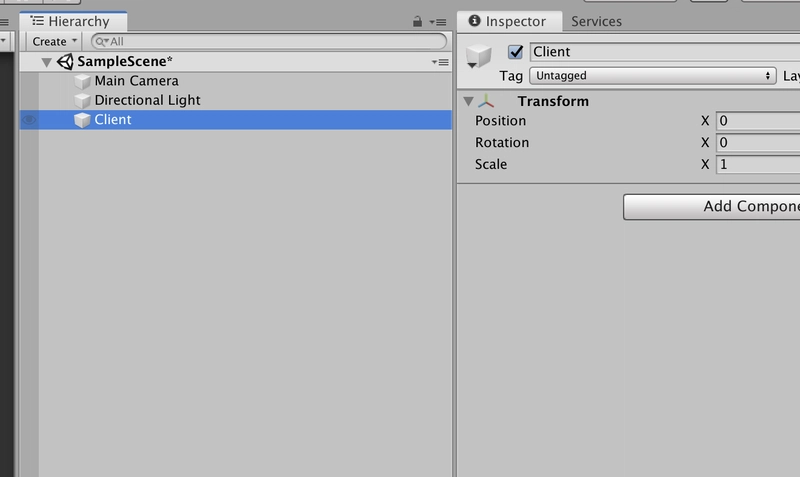
让我们打开一个新的空的 Unity 项目并在我们的场景中创建一个空的游戏对象,将其重命名为“客户端”。
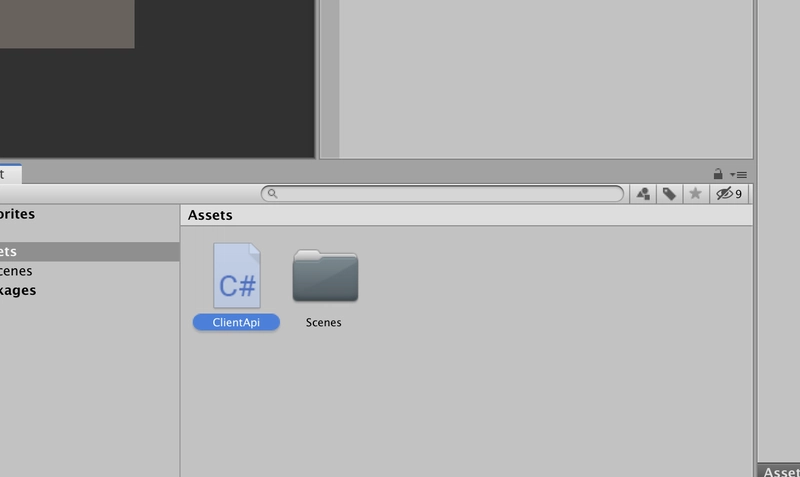
现在在项目文件夹中创建 c# 脚本,我将其命名为 ClientAPI。
在该脚本中,我们应该在编写任何代码之前添加一个新的命名空间。
using UnityEngine.Networking;
然后,我们将定义一个返回方法,该IEnumerator方法在 Unity 中启用类似异步的功能。如果您不确定如何使用 Unity 协程,此资源可能是一个不错的起点。
public IEnumerator Get(string url)
{

}
为了发出 Web 请求,我们定义一个新的UnityWebRequest
public IEnumerator Get(string url)
{
    using(UnityWebRequest www = UnityWebRequest.Get(url))
    {

    }
}
我会在这里放一个链接来解释为什么我们需要 using 语句。您也可以查看Unity 文档来了解更多信息。
这部分就是协程的魔力所在。我们应该yield return keyword在发送请求时使用它,它会确保整个过程完成,直到请求完成。
public IEnumerator Get(string url)
{
    using(UnityWebRequest www = UnityWebRequest.Get(url))
    {
        yield return www.SendWebRequest();
    }
}
之后,检查错误。
public IEnumerator Get(string url)
{
    using(UnityWebRequest www = UnityWebRequest.Get(url))
    {
        yield return www.SendWebRequest();

        if (www.isNetworkError)
        {
            Debug.Log(www.error);
        }
        else
        {

        }
    }
}
如果没有错误,则表示成功完成。
我们已经从 http 连接中收到了一些数据,但为了进一步处理,我们需要将其解析为字符串。我们将从www.downloadHandler.dataAPI 中提供这些数据。将解析后的数据以字符串形式返回。
public IEnumerator Get(string url)
{
    using(UnityWebRequest www = UnityWebRequest.Get(url))
    {
        yield return www.SendWebRequest();

        if (www.isNetworkError)
        {
            Debug.Log(www.error);
        }
        else
        {
            if (www.isDone)
            {
                // handle the result
                var result = System.Text.Encoding.UTF8.GetString(www.downloadHandler.data);
                Debug.Log(result);
            }
            else
            {
                //handle the problem
                Debug.Log("Error! data couldn't get.");
            }
        }
    }
}
并定义一个公共变量来提供 URL。
现在我们来试试,在 上调用我们的方法Start。要使用协程,我们必须以 的形式调用它,StartCoroutine()否则它将无法正常工作。
查看完整脚本。
using System.Collections;
using System.Collections.Generic;
using UnityEngine;
using UnityEngine.Networking;

public class ClientApi : MonoBehaviour
{
    public string url;

    void Start()
    {
        StartCoroutine(Get(url));
    }

    public IEnumerator Get(string url)
    {
        using(UnityWebRequest www = UnityWebRequest.Get(url)){
            yield return www.SendWebRequest();

            if (www.isNetworkError)
            {
                Debug.Log(www.error);
            }
            else
            {
                if (www.isDone)
                {
                    // handle the result
                    var result = System.Text.Encoding.UTF8.GetString(www.downloadHandler.data);
                    Debug.Log(result);
                }
                else
                {
                    //handle the problem
                    Debug.Log("Error! data couldn't get.");
                }
            }
        }

    }
}
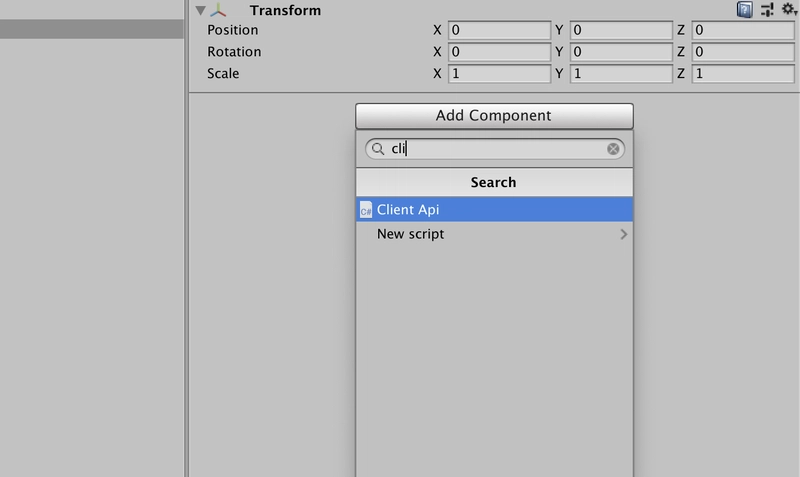
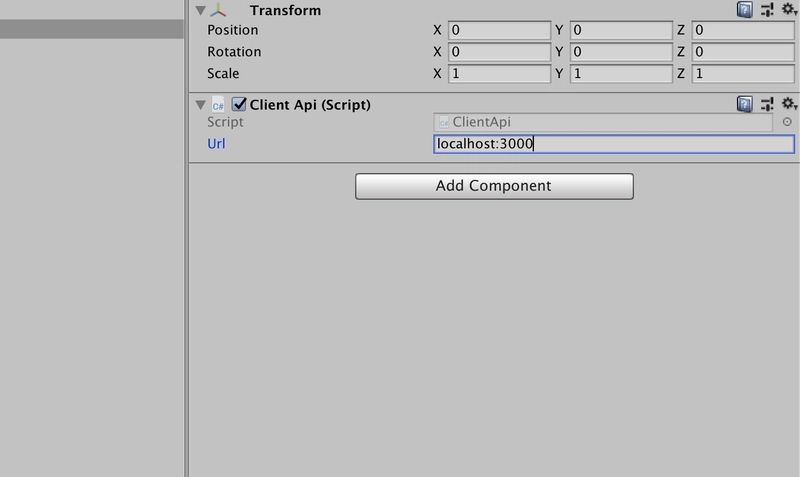
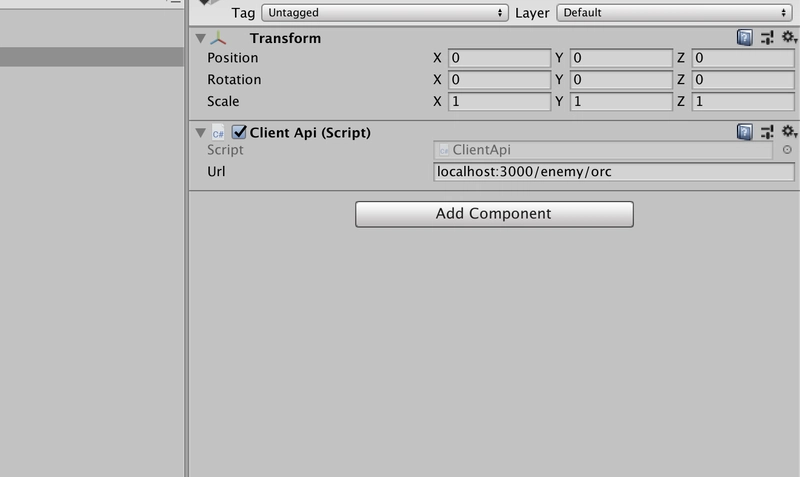
跳回到 Unity 编辑器并将脚本添加到客户端 GameObject。
接下来,输入我们的地址到url。
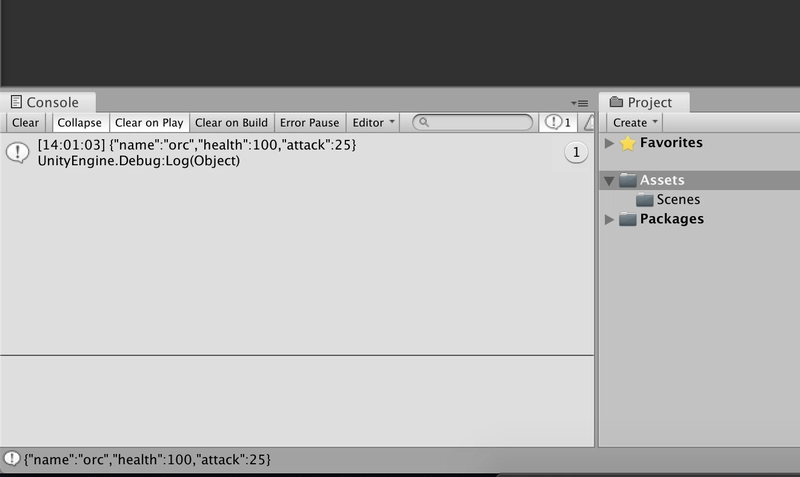
现在开始播放。
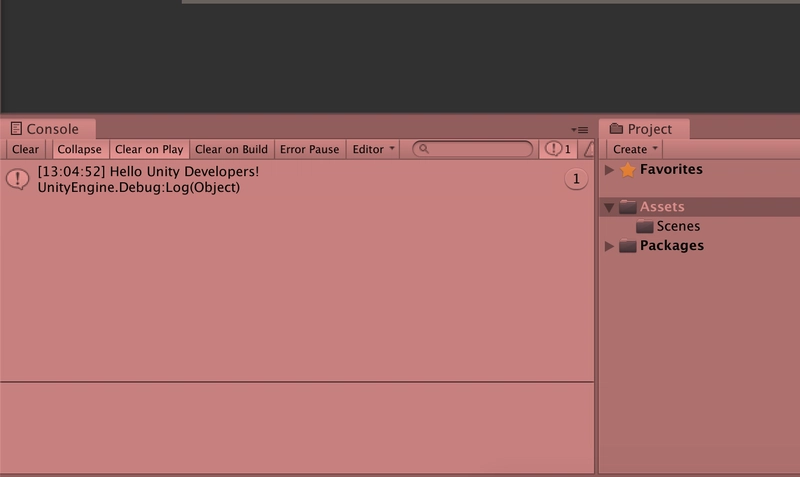
如果您成功了,我们应该会在控制台上看到该消息。
哇!这不是很酷吗?
我们的服务器和 Unity 客户端运行良好。恭喜!
这是github上的项目链接。
奖金
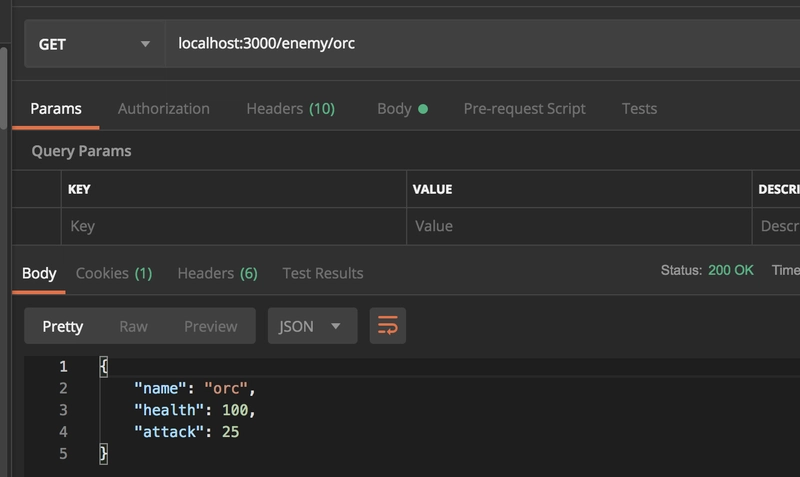
让我们添加一些预告片图片来为接下来的部分做些宣传 :)
链接:https://dev.to/cemuka/making-a-rest-service-using-node-and-express-to-use-with-unity-part-1-321n 后端开发教程 - Java、Spring Boot 实战 - msg200.com
