🦓 Zebras 在明暗模式下展示 Markdown 图片的指南 🚀
警告:所表达的观点可能并不适合所有观众!😂
TL;DR
阅读完本文后,您将了解并能够根据用户偏好( 暗色或亮色模式)展示您的 Markdown 图像。
-
我将介绍如何在 GitHub README.md 中添加两张图片 - 根据所选内容
theme,您的图片将做出正确响应。 -
我将指导您完成在 Markdown 中合并图像的过程,并演示如何使用 React 使它们具有响应性。😎
目录
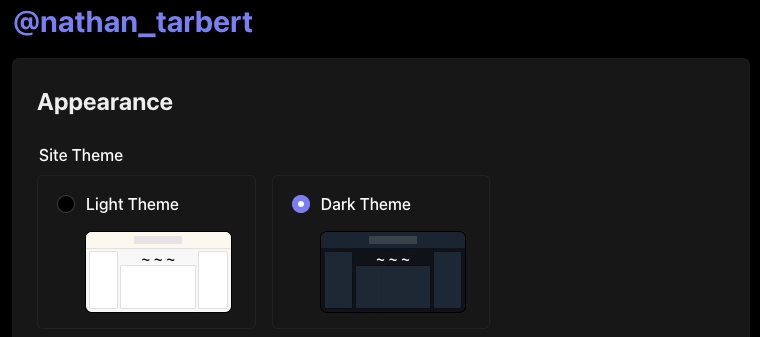
您使用浅色还是深色?
我不知道你是怎么想的,但无论平台如何,如果他们可以选择在明暗模式之间切换,那就没有争议了。
事实上,当我写这篇文章的时候,那个浅色主题正在切换为深色!
话虽如此,在快速的软件开发步伐中,创造无缝的用户体验至关重要。
这种体验的一部分涉及满足用户偏好,例如明暗模式。
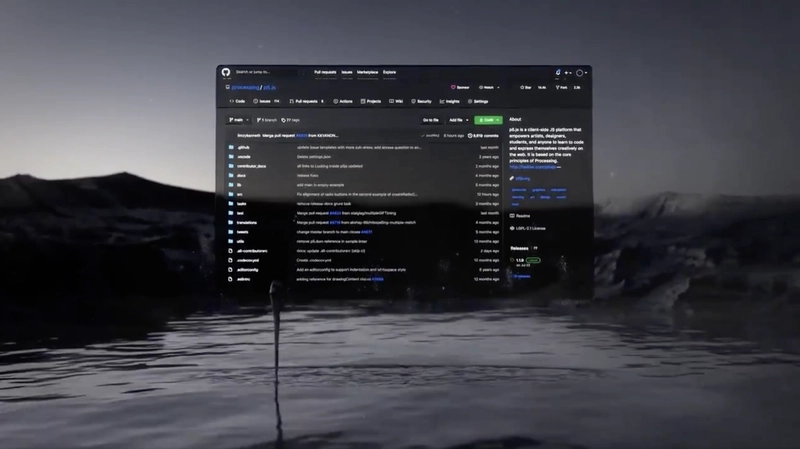
我记得几年前 Github 宣布为用户提供切换到“黑暗模式”的选项,这是一件大事。
2020年12月8日🎆
近年来,用户界面中暗色和亮色模式选项的出现已成为一种流行趋势。
我绝对不是唯一一个喜欢使用黑暗主题选项的人,根据 Android 用户的反馈,91.8% 的用户喜欢黑暗模式,所以我们可以猜测这个数字在所有操作系统中都相当高。
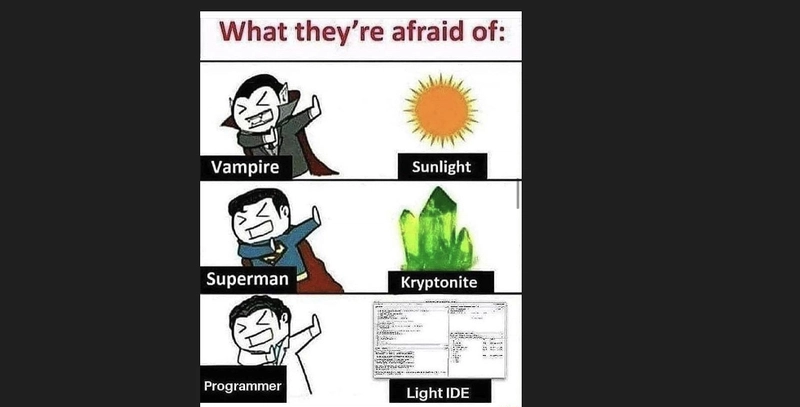
这当然可能会成为一场激烈的辩论,所以我会尽力减少我的意见。
改善用户体验
主要目标是通过在应用中提供选项来改善用户体验。
有几种方法可以创建每个图像的多个版本,在本教程中我们不会深入讨论细节。
只需确保您的图像在两个主题中都具有透明背景且引人注目,您就会成功。
让我们开始派对吧!
GitHub README 中的响应式图像
您是否有一个项目并希望让您的 GitHub 项目 README.md 真正流行起来?
无论用户使用什么浅色主题,我们都需要一种方法来指定图像在 Markdown 中应显示哪个主题(浅色或深色)。
当您想要根据用户选择的配色方案优化图像显示时,这特别有用,并且它涉及将HTML<picture>prefers-color-scheme元素与下面显示的媒体功能结合使用。
继续将您的图像文件直接拖入 GitHub 并放置在 之后srcset=。
<picture>
  <source media="(prefers-color-scheme: dark)" srcset="https://github.com/boxyhq/.github/assets/66887028/df1c9904-df2f-4515-b403-58b14a0e9093">
  <source media="(prefers-color-scheme: light)" srcset="https://github.com/boxyhq/.github/assets/66887028/e093a466-72ea-41c6-a292-4c39a150facd">
  <img alt="BoxyHQ Banner" src="https://github.com/boxyhq/jackson/assets/66887028/b40520b7-dbce-400b-88d3-400d1c215ea1">
</picture>
瞧!
太好了,您有 5 秒钟的时间吗?
使用 React 在 Markdown 中实现响应式图像
假设今天我要像平常一样用 Markdown 写一篇博客,然后将其发布到我的网站上。
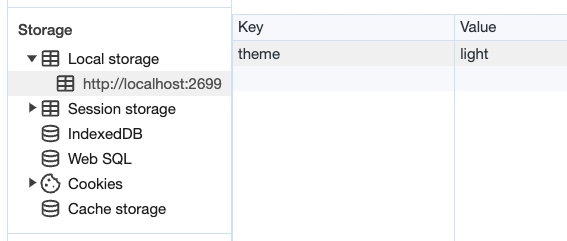
我使用的图像需要根据用户偏好做出响应,但在 Markdown 中无法监听theme本地存储和设置状态的变化。
好吧,幸运的是,如果我们将 React 导入我们的 Markdown 文件,就有办法解决这个难题,但首先让我们创建一个组件。
React 文件
src/components/LightDarkToggle.js

import React, { useEffect, useState } from 'react';

function ToggleImages() {

// Define a state variable to track the user's login status
const [currentTheme, setcurrentTheme] = useState(localStorage.getItem('theme'));

// Add an event listener for the 'storage' event inside a useEffect
useEffect(() => {
  const handleStorageChange = (event) => {
    console.log('Storage event detected:', event);

    // Check the changed key and update the state accordingly
    console.log("event", event.key)
    if (event.key === 'theme') {
      setcurrentTheme(event.newValue);
    }
  };

  window.addEventListener('storage', handleStorageChange);

  // Clean up the event listener when the component unmounts
  return () => {
    window.removeEventListener('storage', handleStorageChange);
  };
}, []); // The empty dependency array ensures that this effect runs once when the component mounts

  return (
    <div className="image-container">
      {currentTheme == 'light'? (
        <img
        id="light-mode-image"
        src="/img/blog/boxyhq-banner-light-bg.png"
        alt="Light Mode Image"
        ></img>
      ):(
        <img
        id="dark-mode-image"
        src="/img/blog/boxyhq-banner-dark-bg.png"
        alt="Dark Mode Image"
        ></img>
      )}
    </div>
  );
}

export default ToggleImages;
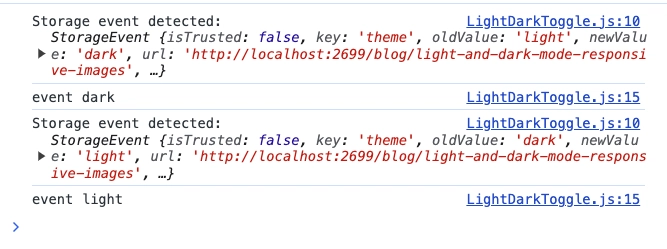
我在代码中添加了注释和几个控制台日志来帮助了解正在发生的事情,但让我们快速将其分解。
-
React useState 钩子管理的状态
currentTheme,它代表存储在本地存储中的用户选择的主题。 -
useEffect hook 用于为 'storage' 事件添加事件监听器。当 storage 事件发生时(表示本地存储发生更改),组件会检查更改的键是否已更改
theme,并相应地更新currentTheme状态。 -
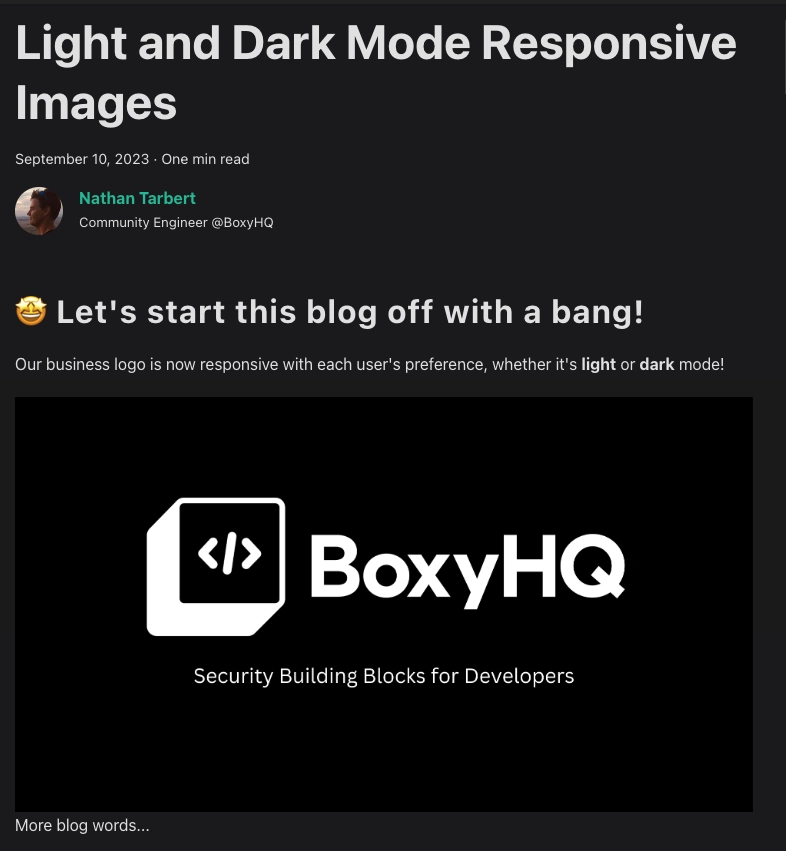
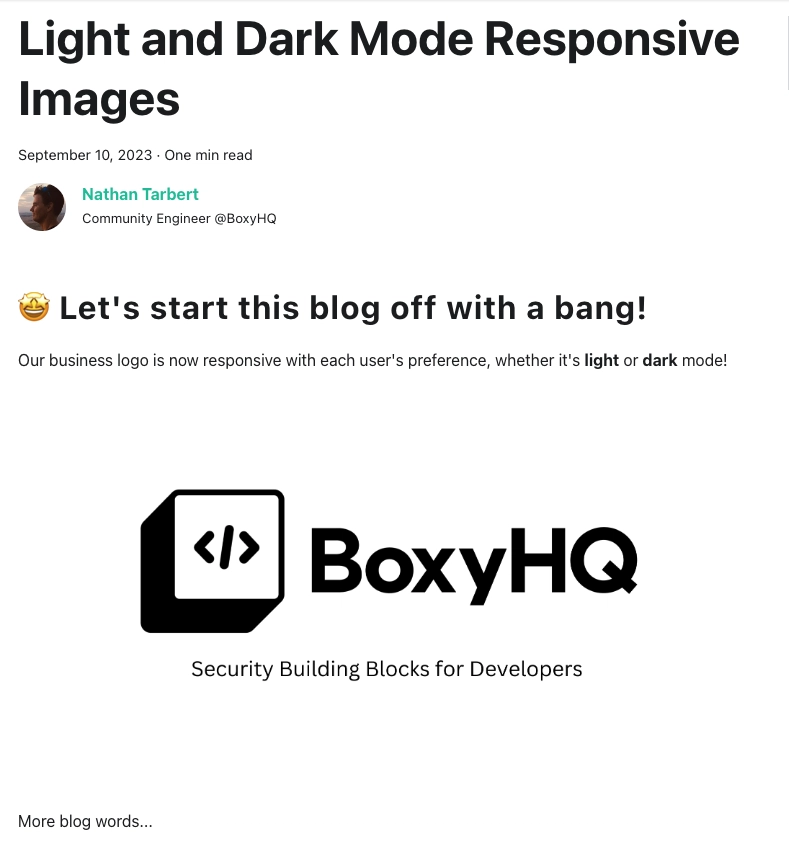
该组件根据用户选择的主题呈现不同的图像,如果主题是,则显示亮模式图像
light,如果主题是其他主题,则显示暗模式图像。
太棒了,我们继续吧!
Markdown 文件
让我们为我们的新博客创建一个.md 文件。
---
slug: light-and-dark-mode-responsive-images
title: 'Light and Dark Mode Responsive Images'
tags_disabled:
  [
    developer,
    react,
    javascript,
    open-source,
  ]
image: /img/blog/light-dark.png
author: Nathan Tarbert
author_title: "Community Engineer @BoxyHQ"
author_url: https://github.com/NathanTarbert
author_image_url: https://boxyhq.com/img/team/nathan.jpg
---

import ToggleImages from '../src/components/LightDarkToggle.js';

## 🤩 Let's start this blog off with a bang!

Our business logo is now responsive with each user's preference, whether it's **light** or **dark** mode!


<div>
  <ToggleImages />
</div>


More blog words...
此时,我们只需导入我们的 React 组件并将其呈现在我们的 Markdown 文件中。
由于这是一个 Next.js 应用程序,让我们启动服务器npm run dev并查看结果。

并切换到浅色主题
让我们打开控制台来查看我们的事件
就是这样!
这些是在 Markdown 中展示响应式图像的几种方法,其中一个示例使用 React 帮助我们在本地存储中设置状态。
我希望你喜欢这篇文章,如果你喜欢开发,请在X(Twitter)上关注我,下次再见!
文章来源:https://dev.to/nathan_tarbert/the-zebras-guide-to-showcase-your-images-in-light-dark-17f5 后端开发教程 - Java、Spring Boot 实战 - msg200.com
