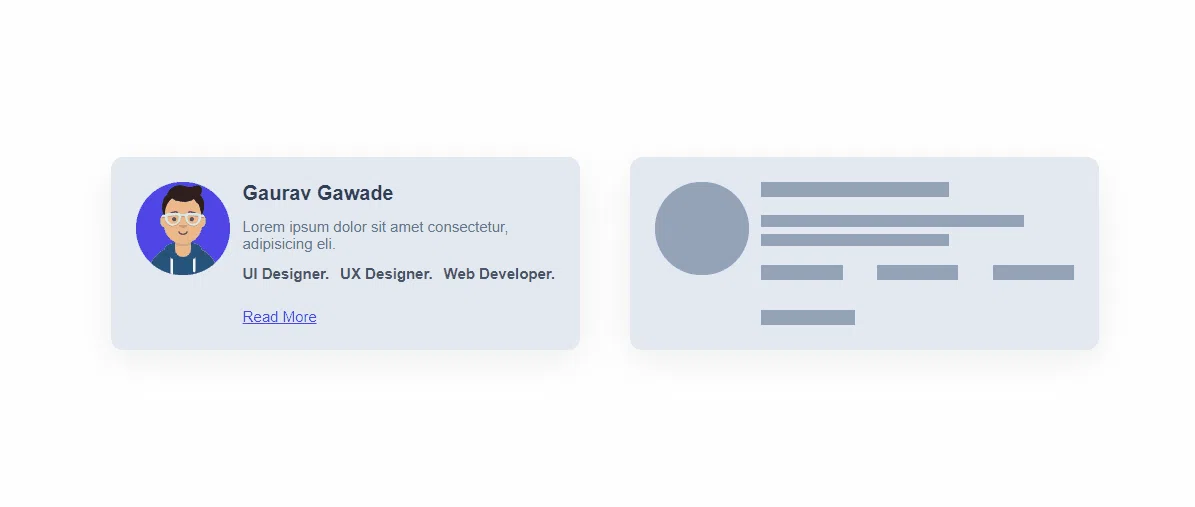
使用 HTML 和 CSS 构建一个简单的卡片骨架加载器组件。
步骤 1.- HTML
第 2 步 - 添加卡片和骨架的通用样式。
步骤 3——添加卡片特定的样式。
步骤 4 - 添加骨架特定样式
步骤 5 - 添加动画
大家好!在本教程中,我们将使用 HTML 和 CSS 构建一个简单的骨架加载器组件。您可以在您的网站/应用中使用此组件作为主内容加载前的后备选项。
步骤 1.- HTML
我们将创建一张卡片及其骨架加载器,因此让我们首先添加卡片和骨架的 HTML。
卡片的 HTML
<div class="card">
          <div>
              <img class="card-img" src='https://avataaars.io/?avatarStyle=Transparent&topType=ShortHairShortWaved&accessoriesType=Prescription01&hairColor=Black&facialHairType=Blank&clotheType=Hoodie&clotheColor=Blue03&eyeType=Default&eyebrowType=Default&mouthType=Twinkle&skinColor=Light'/>
          </div>
          <div class="card-text">
              <h2 class="card-title">Gaurav Gawade</h2>
              <p class="card-description">
                 <span>Lorem ipsum dolor sit amet consectetur, adipisicing eli.</span>
              </p>
              <ul class="card-skills">
                  <li class="skill">UI Designer.</li>
                  <li class="skill">UX Designer.</li>
                  <li class="skill">Web Developer.</li>
              </ul>
              <a href="#" class="card-link">Read More</a>
          </div>
 </div>
HTML 框架
(我们将保持卡片的基本结构相同,但我们将删除内容。此外,更改元素上的类)
<div class="skeleton">
          <div class="skeleton-img"></div>
          <div class="skeleton-text">
              <h2 class="skeleton-title"></h2>
              <p class="skeleton-description">
                <span></span>
                <span></span>
              </p>
              <ul class="skeleton-skills">
                  <li class="skill"></li>
                  <li class="skill"></li>
                  <li class="skill"></li>
              </ul>
              <a href="#" class="skeleton-link"></a>
          </div>
</div>
第 2 步 - 添加卡片和骨架的通用样式。
(为了保持一致的外观)
    .card,
    .skeleton {
      display: flex;
      justify-content: space-around;
      padding: 20px;
      max-width: 400px;
      height: 155px;
      margin: 20px;
      border-radius: 10px;
      background-color: #E2E8F0;
      box-shadow:
        0 9px 33px rgba(0, 0, 0, 0.07);
    }


    .card-text, .skeleton-text{
        display: flex;
        flex-direction: column;
        justify-content: space-between;
        width: 250px;
        margin-left: 10px;
    }


    .card-img, .skeleton-img{
        width: 75px;
        height: 75px;
        border-radius: 50%;
    }


    .card-description, .skeleton-description{
        margin: 10px 0;
    }


    .card-link, .skeleton-link{
        margin-top: 20px;
    }


    .card-skills , .skeleton-skills{
        display: flex;
        justify-content: space-between;
    }
步骤 3——添加卡片特定的样式。
(字体大小、颜色等)
    .card-img{
        background-color: #4F46E5;
    }

    .card-title{
        font-size: 16px;
        color: #334155;
    }

    .card-description{
        font-size: 12px;
        color: #64748B;
    }

    .card-skills .skill {
        font-size: 12px;
        font-weight: 600;
        color: #475569;
    }

    .card-link{
        font-size: 12px;
        color: #4F46E5;
    }
步骤 4 - 添加骨架特定样式
(在这里,我们将指定骨架的高度、宽度和背景颜色。)
.skeleton-img{
        animation: pulse 2s infinite ease-in-out;
    }

    .skeleton-description span:nth-child(1){
        display: block;
        width: 210px;
        height: 10px;
        background-color: #94A3B8;
    }

    .skeleton-description span:nth-child(2){
        display: block;
        width: 150px;
        height: 10px;
        background-color: #94A3B8;
        margin-top: 5px;
    }

    .skeleton-skills .skill{
        width: 65px;
        height: 12px;
        background-color: #94A3B8;
    }

    .skeleton-link{
        width: 75px;
        height: 12px;
        background-color: #94A3B8;
    }
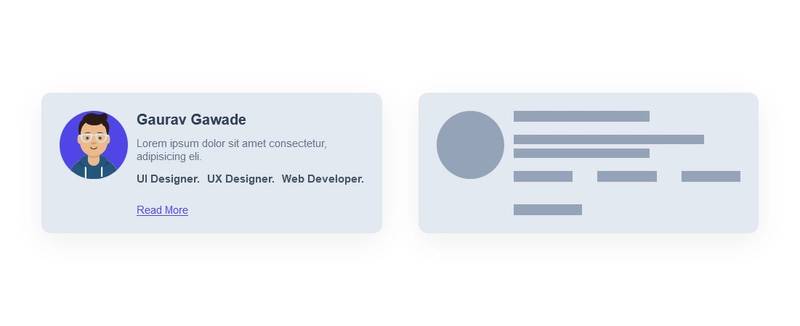
现在卡片和骨架应该看起来像这样
快完成了!现在,我们来给骨骼添加一些精细的动画。
步骤 5 - 添加动画
    @keyframes pulse {
        0% {
            background-color: #94A3B8;
        }

        50% {
            background-color: #CBD5E1;
        }

        100% {
            background-color: #94A3B8;
        }
    }
现在我们可以在所有骨架上添加此动画并删除背景颜色。
// replace all styles from skeletons with these styles

    .skeleton-title{
        width: 150px;
        height: 12px;
        animation: pulse 2s infinite ease-in-out;
    }

    .skeleton-img{
        animation: pulse 2s infinite ease-in-out;
    }

    .skeleton-description span:nth-child(1){
        display: block;
        width: 210px;
        height: 10px;
        animation: pulse 2s infinite ease-in-out;
    }

    .skeleton-description span:nth-child(2){
        display: block;
        width: 150px;
        height: 10px;
        animation: pulse 2s infinite ease-in-out;
        margin-top: 5px;
    }

    .skeleton-skills .skill{
        width: 65px;
        height: 12px;
        animation: pulse 2s infinite ease-in-out;
    }

    .skeleton-link{
        width: 75px;
        height: 12px;
        animation: pulse 2s infinite ease-in-out;
    }
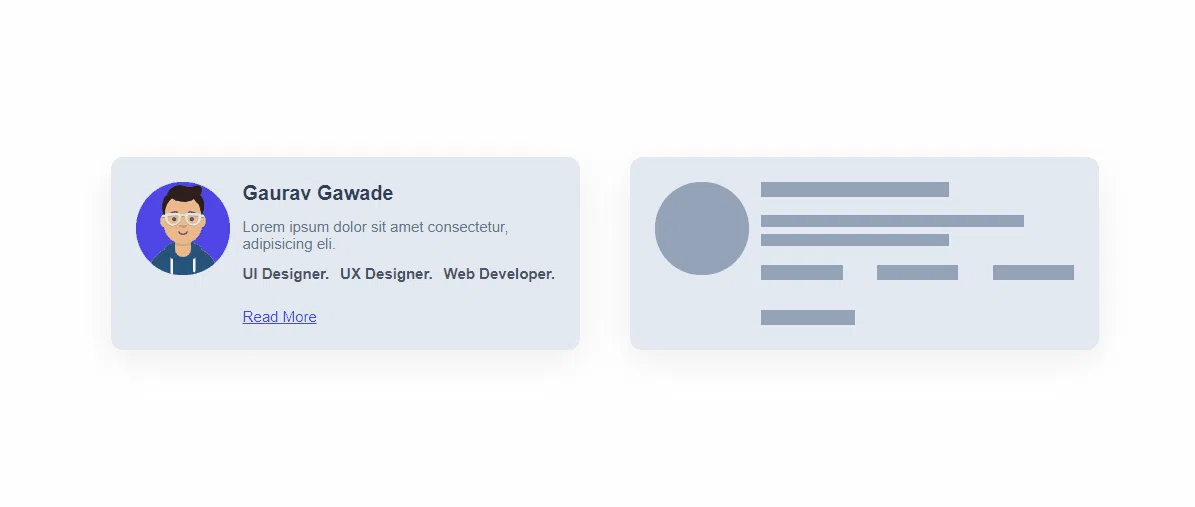
最终演示
希望这篇文章能帮到你。我写得不好,代码解释得不好,请见谅😅
非常感谢 🙂
 后端开发教程 - Java、Spring Boot 实战 - msg200.com


