使用 Probot 创建您的第一个 GitHub 机器人
有没有想过如果GitHub可以做到这一点或那...🥺。
好吧,我就此打住,大多数功能实际上可以通过 Github Apps 添加,它扩展了 GitHub,可以直接安装在组织和用户帐户上,并授予对特定存储库的访问权限。
你可能已经听说过一些流行的 GitHub 应用,例如 ImgBot、Stale和ReminderBot。阅读本文(并进行一些练习)后,你将能够创建自己的应用。
我们将使用 Probot 开发一个 GitHub 机器人应用程序🤖。
什么是 Probot?
Probot是一个用 Node.js 构建 GitHub 应用的框架。它负责接收和验证webhook。我们可以监视 GitHub 状态的变化并触发相应的操作。
Probot 应用程序只是一个导出函数的 Node.js 模块:
//index.js
module.exports = robot => {
  // robot is an Express App
  // our code here
}
robot参数是 Application 的一个实例,它使我们能够访问所有的 GitHub 功能💥 。
module.exports = robot => {
  robot.on('issues.opened', async context => {
    // A new issue was opened, what should we do with it?
  })
}
robot.on将监听 GitHub 触发的任何webhook事件,当 GitHub 上发生任何我们的应用想要了解的有趣的事情时,它将通知我们🙄 。
开发机器人
要开发 Probot 应用程序,我们首先需要安装最新版本的 Node.js。如果已安装且版本至少为 8.3.0 或更高版本,则可以;否则,请在此处安装最新版本。
生成机器人
create-probot-app是开始构建新应用的最佳方式,它包含了我们启动和在生产环境中运行应用所需的一切。现在,我们在终端中运行以下命令:
npx create-probot-app my-first-github-app
这将询问一系列有关我们的应用程序的问题,这些问题应该如下所示:
Let's create a Probot app!
? App name: my-first-github-app
? Description of app: A GitHub Bot built with Probot.
? Author's full name: Kakashi Hatake
? Author's email address: kakashi@uchiha.com
? GitHub user or org name: Kakashi.hatake
? Repository name: my-first-github-app
? Which template would you like to use? (Use arrow keys)
❯ basic-js
  basic-ts (use this one for TypeScript support)
  checks-js
  git-data-js
  deploy-js
Finished scaffolding files!

Installing dependencies. This may take a few minutes...

Successfully created my-first-github-app.

Begin using your app with:
  cd my-first-github-app
  npm start

View your app's README for more usage instructions.

Visit the Probot docs:
  https://probot.github.io/docs/

Get help from the community:
  https://probot.github.io/community/

Enjoy building your Probot app!
创建的最重要的文件是 index.js(应用程序代码存放的位置)和 package.json。
编写机器人脚本
让我们编写一个机器人,它会跟踪新问题是否被打开,并向该用户发送一条简单的问候消息进行评论。现在,issues.opened是触发器,当任何新问题被打开时都会触发它,我们将提取问题正文并创建一条要发布在下方的评论。
撰写评论后,我们将使用createComment函数将其发布。createComment函数会在问题正文下方添加一条新评论。
module.exports = (robot) => {
  robot.on("issues.opened", async (context) => {
    const { body } = context.payload.issue;

    // create a comment
    const comment = context.issue({
      body: body.includes("Thanks") ? "You are Welcome!" : "Thanks!",
    });
    // publish it
    return context.github.issues.createComment(comment);
  });
};
在本地运行机器人
现在我们可以在本地机器上运行该应用程序了。运行npm run dev来启动服务器:
注意:如果您正在构建 TypeScript 应用程序,请务必先运行 npm run build!
dev脚本将使用 nodemon 启动我们的应用程序,它将监视我们本地开发环境中的任何文件变化并自动重启服务器。
现在,访问 localhost:3000,我们应该看到类似这样的内容
注册机器人
让我们开始使用这个机器人吧⚡。点击“注册 GitHub 应用”按钮。接下来,我们需要确定应用名称。注册 GitHub 应用后,我们会被重定向到一个页面,可以在任意仓库中安装该应用。不妨尝试在任意仓库中安装。
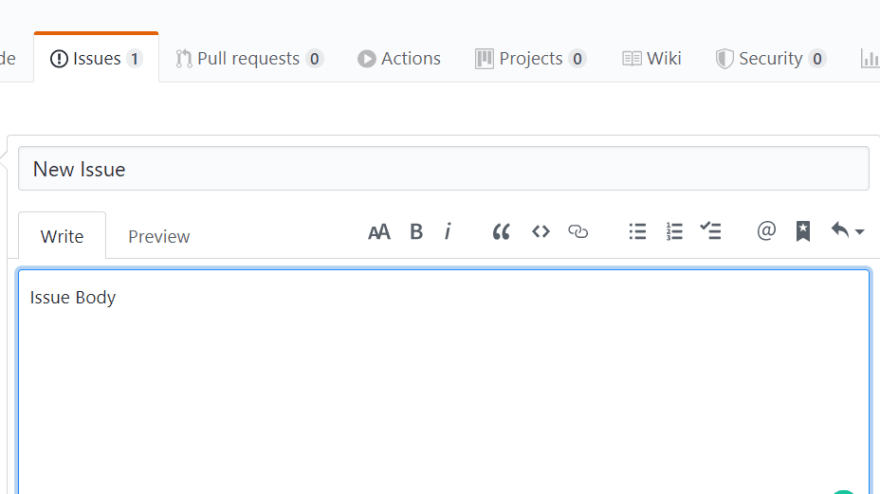
前往该存储库并创建一个问题,
当我们收到来自机器人的评论时,它可能看起来像:

好了!你刚刚用 probot 构建了你的第一个 GitHub 机器人。🙃
类似地,您可以创建类似提醒机器人的机器人,它将审查每条评论,并且带有特殊字符(例如//)的评论将被添加到提醒列表中,可能是数据库表。
毕竟,这是一个快速应用程序,您可以按照任何您想要的方式编写自己的 webhook 和 API。
这是GitHub Repo的链接。
在评论中告诉我你最喜欢的机器人。
😄 祝您有美好的一天!
鏂囩珷鏉ユ簮锛�https://dev.to/gh-campus-experts/create-your-first-github-bot-with-probot-e6o