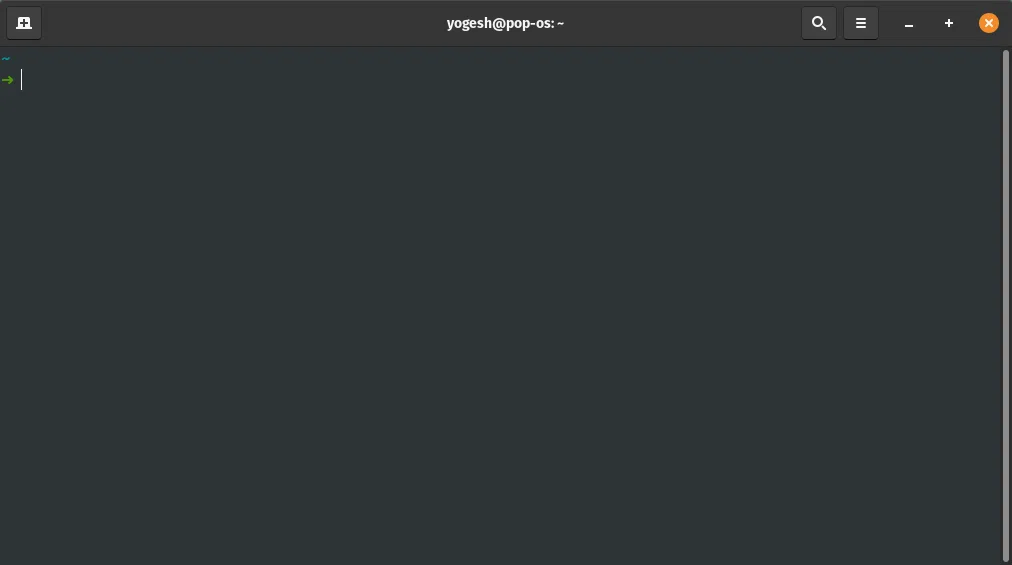
让您的 Linux 终端高效且美观。

在本文中,我们将配置 Linux 终端/shell,安装插件/包以提高速度、提高生产力并改变终端的外观。
首先,使用此命令检查活动的shell。
echo $SHELL
or
echo $0
以下命令将显示所有可用的 shell。
cat /etc/shells
按照步骤设置并配置您的终端
Linux(类似 Ubuntu 的操作系统)默认的终端是 Bash(Bourne Again Shell)。
在本教程中,我们将首先更改 Shell 并进行配置,然后安装/更新插件和颜色首选项。
安装 Zsh Shell()
首先,使用以下命令检查 zsh 是否已安装:
< /etc/shells grep zsh
outout:
/bin/zsh
/usr/bin/zsh
安装
- 对于 Debian(类似 ubuntu 的发行版)```
sudo apt 更新
sudo apt 安装 zsh
- For Redhat
sudo yum 安装 zsh
- For OpenSuse
zypper 安装 zsh
- For Arc Linux or Manjaro
pacman -S zsh
- For Fedora
dnf 安装 zsh
- For free bsd
pkg 安装 zsh
- For macOS
brew 安装 zsh
or you can download it from source **http://zsh.sourceforge.net/Arc/source.html**

Official Installation Doc: **https://github.com/ohmyzsh/ohmyzsh/wiki/Installing-ZSH**

Check zsh version: ```zsh

 --version
Zsh 已成功安装。
现在,将 zsh 设为您的默认终端:
chsh -s $(which zsh)
如果您想切换回默认 bash 或任何其他终端,请运行此命令。
chsh -s /bin/bash or exec bash
or
chsh -s /bin/zsh or exec zsh
然后重新启动终端。
安装 oh my zsh
Oh-my-zsh 是一个用于管理 Zsh 配置的开源框架。
通过Curl安装
sh -c "$(curl -fsSL https://raw.github.com/ohmyzsh/ohmyzsh/master/tools/install.sh)"
通过wget安装
sh -c "$(wget https://raw.github.com/ohmyzsh/ohmyzsh/master/tools/install.sh -O -)"
手动安装
curl -Lo install.sh https://raw.githubusercontent.com/ohmyzsh/ohmyzsh/master/tools/install.sh
检查.zshrc文件的变量,确认zsh已激活。
打开 zshrc 文件: > sudo nano ~/.zshrcexport ZSH="$HOME/.oh-my-zsh"
确保上述变量已在 .zshrc 文件中设置。如果不存在,请编辑该文件并添加上述行。
要应用 bashrc/zshrc 文件中的所有编辑更改,您必须运行或“source ~/.zshrc
source


    ~/.bashrc
接下来,我们将安装 omz 插件和主题。
主题
主题 (ZSH_THEME) 是 zshrc(omz) 文件的一个变量。要添加或更新主题,您必须先安装主题(如果未安装),然后更新主题 (ZSH_THEME) 变量。
oh-my-zsh 自带预定义主题。您可以通过设置 ZSH_THEME 变量来设置它们。
omzs 的默认和流行主题是 omz 安装附带的 robbyrussell 和 agnoster。
设置 robbyrussell 主题
ZSH_THEME="robbyrussell"
Agnoster 主题
ZSH_THEME="agnoster"
Oh-my-zsh 提供更多主题选项。
例如 Pure、Avit、Apple、Bira 等等……
查看 Oh-My-Zsh 主题的完整列表:https://github.com/ohmyzsh/ohmyzsh/wiki/Themes
除此之外,您还可以安装外部主题。一些流行的主题包括 Powerlevel10k、Powerlevel9k、Spaceship、Bullet-Train 等……
功率级别10k
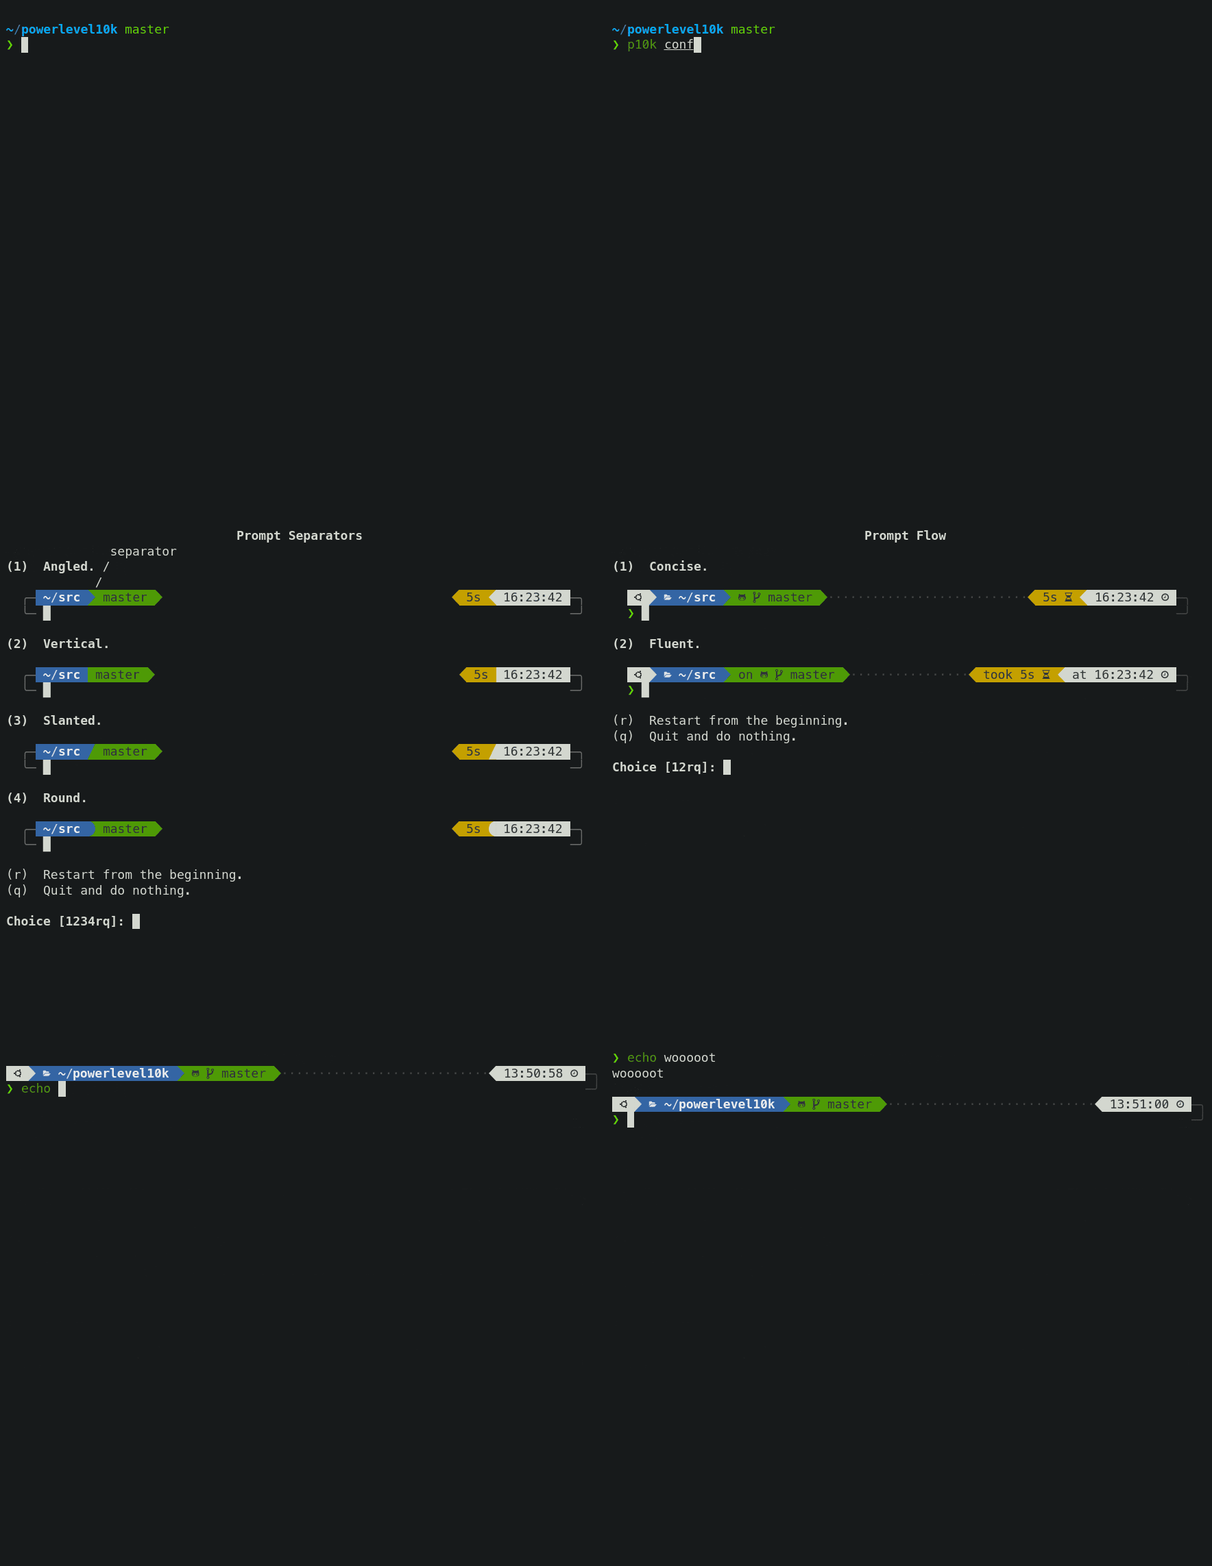
Powerlvel10k 是 zsh 的完全可定制且更高级的主题。
安装
对于 Oh my zsh
git clone --depth=1 https://github.com/romkatv/powerlevel10k.git ${ZSH_CUSTOM:-$HOME/.oh-my-zsh/custom}/themes/powerlevel10k
在 .zshrc 文件中的 ZSH_THME 变量中设置主题。
ZSH_THEME="powerlevel10k/powerlevel10k"
配置Powerlevel10k
输入命令:启动Powerlevel10k配置。p10
configure
或者您可以编辑配置文件:~/.p10k.zsh

飞船
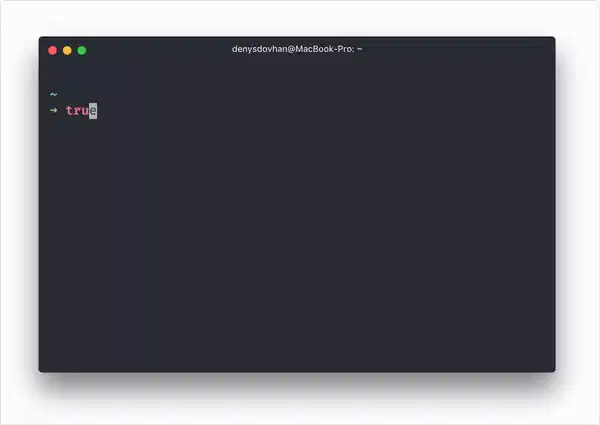
另一个强大的主题是 Spaceship。它具有许多功能,并且是一个非常可定制的 zsh 提示符主题。
安装
对于 Oh My Zsh
git clone https://github.com/denysdovhan/spaceship-prompt.git "$ZSH_CUSTOM/themes/spaceship-prompt" --depth=1
将 spaceship.zsh-theme 符号链接到您的 oh-my-zsh 自定义主题目录:
ln -s "$ZSH_CUSTOM/themes/spaceship-prompt/spaceship.zsh-theme" "$ZSH_CUSTOM/themes/spaceship.zsh-theme"
然后在 .zshrc 中设置 ZSH_THEME 变量
ZSH_THEME="spaceship"
插件
插件是一组变量(数组),包含 zshrc(omz)文件中已激活插件的值列表。要添加或更新插件,您必须先安装(如果尚未安装)插件,然后更新插件变量。
 .zshrc
plugins=(git node autojump ... )
plugins 变量的值应该用空格分隔,而不是逗号。
现在,安装一些有用的插件。Git
只需
在 plugins var 中添加 git 即可。
插件=(git...)
**zsh-autosuggestions**

For Oh-My-Zsh

First, clone the directory using git
git clone https://github.com/zsh-users/zsh-autosuggestions ${ZSH_CUSTOM:-~/.oh-my-zsh/custom}/plugins/zsh-autosuggestions
and activate the plugin
插件=(...zsh-自动建议)
Or Manual Installation
git clone https://github.com/zsh-users/zsh-autosuggestions ~/.zsh/zsh-autosuggestions
and add the following line to ~/.zshrc
源 ~/.zsh/zsh-autosuggestions/zsh-autosuggestions.zsh
and restart the terminal.

**zsh-syntax-highlighting**
**Installation**

For Zsh

Clone the git repo
git clone https://github.com/zsh-users/zsh-syntax-highlighting.git
echo "source ${(q-)PWD}/zsh-syntax-highlighting/zsh-syntax-highlighting.zsh" >> ${ZDOTDIR:-$HOME}/.zshrc
Then enable the plugin
源 ./zsh-syntax-highlighting/zsh-syntax-highlighting.zsh
For Oh-My-Zsh

Clone the repo
git clone https://github.com/zsh-users/zsh-syntax-highlighting.git ${ZSH_CUSTOM:-~/.oh-my-zsh/custom}/plugins/zsh-syntax-highlighting
And add the zsh-syntax-highlighting value in plugins variable
插件=(... zsh-语法高亮)
And restart the terminal.
**Before**


**After**


**z or Zsh-z**
Z allows you to jump quickly to the directory that you visited most in the past. Z will remember the path you've entered frequently and helped you to jump around them with few keystrokes.
Z uses regular expression.
To enable the z plugin, assing z to your plugin variable.
插件=(...z)

> For more oh-my-zsh plugins: **https://github.com/ohmyzsh/ohmyzsh/wiki/Plugins**
### **Terminal Preferences**
Install the **Patched Fonts** for the terminal. The patched font will be used to display characters, glyph, icons, arrow effects, emojis.
**Install Powerline fonts**
sudo apt-get 安装 fonts-powerline
For more options: **https://github.com/powerline/fonts#quick-installation**

**Download and Install the Powerline/Nerd font**
* [Source Code Pro](https://github.com/powerline/fonts/tree/master/SourceCodePro)
* [Fura/Fira Mono Powerline](https://github.com/powerline/fonts/tree/master/FiraMono)
* [Hack](https://github.com/powerline/fonts/tree/master/Hack)
* [Other Poweline Fonts](https://github.com/powerline/fonts)
* [Nerd Fonts](https://github.com/ryanoasis/nerd-fonts)

Then select the preferable front in custom font inside the text tab in Preferences.
[](https://designdrastic.com/images/articles/terminal-setup/preference-text.png)

**Change the colors(color scheme) of the Terminal**
Open the preferences and select the second tab=>  Colors.

Available Buil-in Schemes are:
[](https://designdrastic.com/images/articles/terminal-setup/built-in-schemes.png)
Tango & Solarized are recommended.

You can also customize the colors according to your need in the custom tab.

Next, you can make the terminal productive and more customizable with **Starship**

### **Starship**
**Install and configure Starship**
The Starship is "The minimal, blazing-fast, and infinitely customizable prompt for any shell!"

**Installation**
Using curl
curl -fsSL https://starship.rs/install.sh | bash
With Brew
brew 安装 starship
With Scoop
勺子安装星际飞船
After installation, add the below line to initialize the **Starship**

For Bash(~/.bashrc)
eval“$(starship init bash)”
For Zsh(~/.zshrc)
eval "$(starship init zsh)"
For Fish(~/.config/fish/config.fish)
星舰初始化鱼 | 来源
**Configuration**
Starship uses a TOML file for configuration.

TOML Doc: **https://github.com/toml-lang/toml**

To get started configuring starship, create the config file starship.toml inside .config directory.

**starship.toml**
add_newline = false
符号 = “➜”
[语言]
符号='*'
.
.
.
For prompt configuration visit: **https://starship.rs/config/#prompt**

### **Tmux/Tilix**
tmux is a program that runs in a terminal and allows multiple other terminal programs to be run inside it.
Tilix is similar to Tmux. It is a tiling terminal emulator. Tmux/Tilix can split your emulator window into multiple terminal panes.

I hope you guys find the article helpful.
 后端开发教程 - Java、Spring Boot 实战 - msg200.com


