10 分钟内使用纯 JavaScript 构建屏幕截图下载器应用程序
最近我偶然发现了一个很酷的工具,可以从任何网站即时截取屏幕截图。
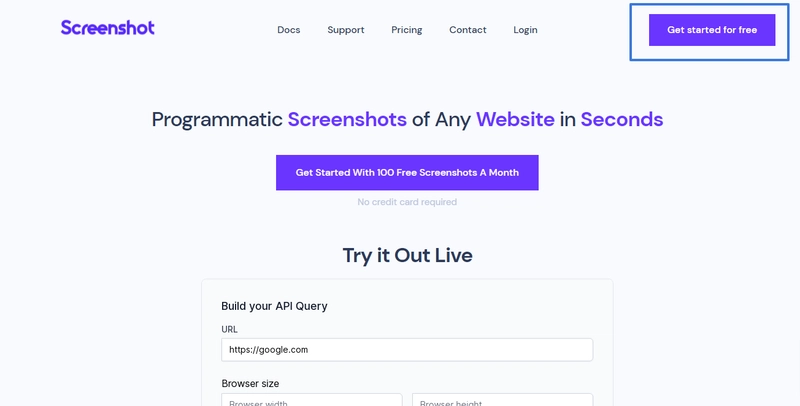
ScreenshotAPI是一个 API 工具,它允许您通过从脚本进行单个 API 查询来捕获和呈现任何网站的屏幕截图。
我发现这很有趣,所以我决定基于这个功能构建一些东西。
在本教程中,我们将从头开始构建一个屏幕截图下载器应用程序,利用 HTML、CSS、JavaScript 和屏幕截图 API。
您可以立即从CodePen获取该项目的代码
在 ScreenshotAPI 上创建帐户并获取令牌
要继续,我们需要一个 API 令牌来执行查询。要获取令牌,您需要先注册。
继续注册。您还将被要求验证您的电子邮件,因此请务必验证(也请检查垃圾邮件文件夹)
完成邮箱验证后,您将从个人资料页面跳转至仪表盘。在那里,您可以找到您的 API 密钥。请复制并保存 API 令牌。
截图应用程序的 HTML 标记
创建一个 index.html 文件,创建样板代码(!+tab在 emmet 中)并在 body 标签内使用以下标记:
<!DOCTYPE html>
<html lang="en">
<head>
    <meta charset="UTF-8">
    <meta http-equiv="X-UA-Compatible" content="IE=edge">
    <meta name="viewport" content="width=device-width, initial-scale=1.0">
    <title>Screenshot Downloader</title>
    <link rel="stylesheet" href="styles.css">
    <link rel="stylesheet" href="https://cdnjs.cloudflare.com/ajax/libs/font-awesome/6.0.0-beta2/css/all.min.css" integrity="sha512-YWzhKL2whUzgiheMoBFwW8CKV4qpHQAEuvilg9FAn5VJUDwKZZxkJNuGM4XkWuk94WCrrwslk8yWNGmY1EduTA==" crossorigin="anonymous" referrerpolicy="no-referrer" />
</head>
<body>

  <div class="container">
    <div class="form">
      <div class="title flex">
        <h1 id="title">Screenshot Downloader</h1>
        <i class="fa fa-camera-retro fa-2x" aria-hidden="true"></i>
      </div>
      <input id="url" type="text" placeholder="Enter url to screenshot">
      <button id="btn" type="submit">Take Screenshot</button>
    </div>

    <div class="image">
      Wait for your screenshot to appear below.

      <span class="reference"></span>
    </div>
  </div>

    <script src="script.js" type="text/javascript"></script>
</body>
</html>
注意:我们使用 Font Awesome 作为相机图标
整个应用都放在一个容器中。表单中有一个标题、一个文本输入框和一个按钮。我们使用.flexclass 来并排显示子h1元素i。
表单之后是图片部分。目前,它div是空的。但是,当提交 URL 并返回屏幕截图时,该 div 将会被屏幕截图填充。
该<span>标签仅供参考。我们将使用它来指定从 JavaScript 插入图像的位置。
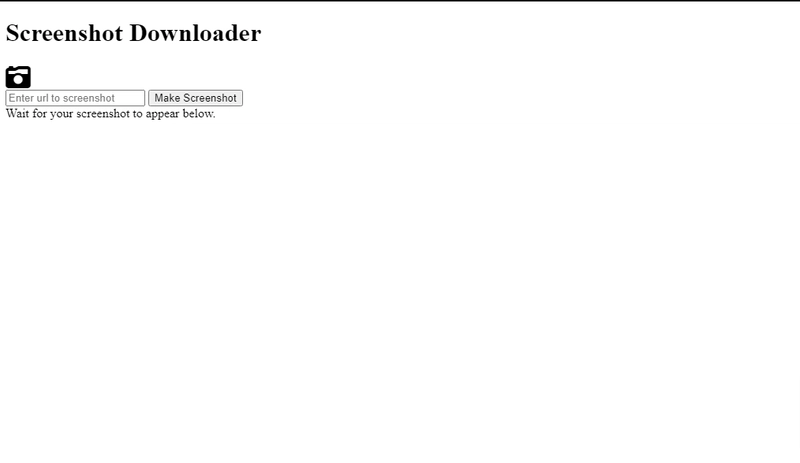
最后,我们链接到 JavaScript 文件。以下是页面的外观(无样式)。
应用程序样式
样式相当直观。我添加了一些注释来解释它们各自的功能。
/* Align the body to the center. Align all text within the body to center as well. Set background-color to light blue */

body{
  font-family: "rubik", sans-serif;
  display: flex;
  align-items: center;
  text-align: center;
  justify-content: center;
  background-color: #ADD8E6;
}

/* Change the color of the icon to grey */

i {
  color: grey;
  margin: 0 1rem;
}

/* Ensure that containing box is at the center. Set a max-width so content doesn't burst out of container */

.container {
  margin: 50px auto;
  max-width: 1100px;
}

/* Set height of image container to 50 percent of browser window's height and width to 40 percent of window's width. Sets backround to white. Make the border rounder, and increase font size */

.image {
  margin-top: 10vh;
  height: 50vh;
  width: 40vw;
  font-size: 2rem;
  background-color: white;
  border-radius: 6px;
}

/* Create a class for the eventual screenshot image. This image will not be present at the start. The class will be passed to the new image from JavaScript */

.screenshot {
  height: 100%;
  width: 100%;
}

/* Display title and icon side by side */

.flex {
  display: flex;
  align-items: center;
  justify-content: center;
}

/* Set padding, margin and font-size. Removes border line and make border rounder */

#url {
  padding: .7rem .7rem;
  margin: .3rem .3rem;
  font-size: 1rem;
  border: none;
  border-radius: 6px;
}

/* Same styles with input. Set cursor to pointer and background to blue */

#btn {
  padding: .7rem .7rem;
  margin: .3rem .3rem;
  background-color: blue;
  border: none;
  font-size: 1rem;
  border-radius: 6px;
  color: white;
  cursor: pointer;
}
使用 JavaScript 实现截图功能
我们的脚本中首先是一个async名为的函数loadImage()。你可能已经猜到了,这个函数将负责生成屏幕截图。
async function loadImage() {
 // get url value from from field and token from dashboard. Construct URL

  let formUrl = document.getElementById('url').value
  let token = "GA0KVYA-EQ94WNV-GKMC33C-3JZKQ3F"
  let url = `https://shot.screenshotapi.net/screenshot?token=${token}&url=${formUrl}`

 // Make a get request to screenshotnet API and get response object
  const response = await fetch(url)
  const object = await response.json()


  //create a new image element
  let newImg = document.createElement('img')

  // set class on that element
  newImg.className= 'screenshot'

 // set src property with the images' url from response object
  newImg.setAttribute('src', object.screenshot)

 // get the nodes where you want to insert the new image
  let container = document.querySelector('.image')
  let reference = document.querySelector('.reference')

/* check if an image already exists. if so, simply replace that image. if not, then insert the new image before the reference element (<span>) */
  if (document.images.length >= 1 ) {
      let existingImg = document.querySelector('.screenshot')
      container.replaceChild(newImg, existingImg)
  } else {
      container.insertBefore(newImg, reference)
  }

}
注意:注释用于解释代码,不属于可执行代码的一部分。
最后,我们给按钮添加一个事件监听器。当按钮被点击时,我们尝试加载屏幕截图。
// Get reference to button
let button = document.getElementById('btn')

// add event listener, run an async function when button gets clicked

button.addEventListener("click", async (event) => {

    // prevent from submission
    event.preventDefault()

    try {
      loadImage()
    } catch(e) {
      console.log("Error!");
      console.log(e);
    }
})
您可以从Codepen获取完整代码
概括
因此,在本教程中,我们使用一些 HTML、CSS 和 JavaScript 构建了一个截图应用程序。
在脚本中,我们向屏幕截图 API 发出查询,将所需网站传递给 url 参数,并将 API 令牌传递给 token 参数。API 返回一个对象,我们可以从中获取屏幕截图 URL 并使用 JavaScript 进行渲染。
希望你喜欢本教程。你可以查看代码并根据自己的喜好进行调整。
感谢您的关注。
文章来源:https://dev.to/ubahthebuilder/how-to-build-a-screenshot-downloader-app-with-plain-javascript-in-10-minutes-2j01 后端开发教程 - Java、Spring Boot 实战 - msg200.com


