如何制作高级指针动画(TS React 和 Framer Motion)
我通过 Product Hunt 找到了Pointer 博客,那里的背景动画给我留下了深刻的印象。它很复杂,但因为只在鼠标移动时才会出现,所以显得低调而简约。
我想看看它是怎么做的,所以我做了一些实验,并尝试对其进行逆向工程。这就是我们今天要构建的:demo。
一路走来,我学到了很多关于 Framer Motion 的知识,现在终于有机会尝试一下 Vite 了。它的速度很快。
我觉得这是一个传授知识的好机会。以下是你将学到的一些内容:
- 反应
- 维特
- TypeScript
- CSS-in-JS 的情感
- 使用 Framer Motion 进行高级动画
设置
我们将首先使用 Vite 搭建我们的项目:
# npm
npm create vite@latest pointer-animation -- --template react-ts

# yarn
yarn create vite pointer-animation --template react-ts
按照最后的命令安装依赖项并以开发模式运行项目,然后安装一些进一步的依赖项:
# npm
npm install @emotion/react @emotion/styled framer-motion

# yarn
yarn add @emotion/react @emotion/styled framer-motion
网格
创建一个components文件夹,src我们可以在其中开始构建我们的组件,并在其中创建一个Cell.tsx具有以下内容的组件:
import styled from '@emotion/styled';

export const CELL_SIZE = 60;

const Container = styled.div`
  width: ${CELL_SIZE}px;
  height: ${CELL_SIZE}px;
  border: 1px dashed #555;
  color: #777;
  display: flex;
  justify-content: center;
  align-items: center;
  user-select: none;
`;

const Cell: React.FC = () => {
  return <Container>→</Container>;
};

export default Cell;
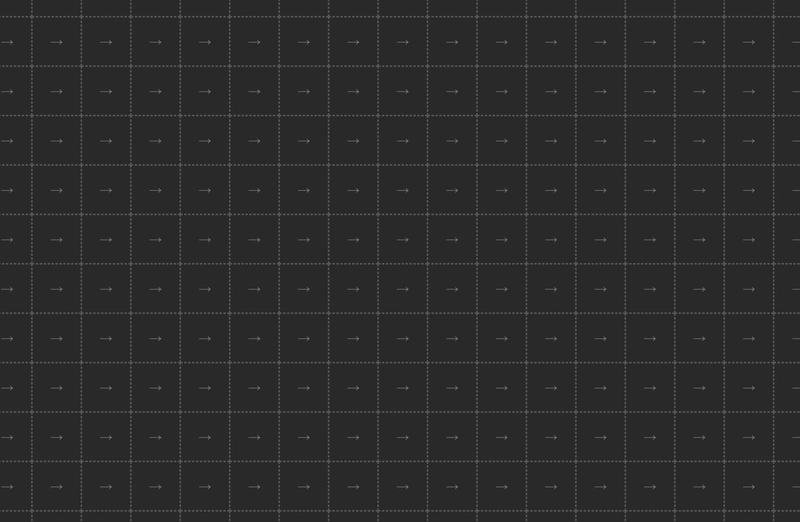
这是我们的网格单元,带有一些基本样式。注意,这里有一个文本→,我们稍后会添加动画效果。CELL_SIZE文件顶部有一个常量,我们可以轻松调整它。
接下来,让我们创建一个Grid.tsx组件:
import styled from '@emotion/styled';
import { motion } from 'framer-motion';
import { useEffect, useState } from 'react';
import Cell, { CELL_SIZE } from './Cell';

const Container = styled(motion.div)<{
  columns: number;
}>`
  position: absolute;
  top: 0;
  left: 0;
  width: 100vw;
  height: 100vh;
  overflow: hidden;
  display: grid;
  grid-template-columns: repeat(${(props) => props.columns}, 1fr);
`;

function Grid() {
  const [columns, setColumns] = useState(0);
  const [rows, setRows] = useState(0);

  // determine rows and columns
  useEffect(() => {
    const calculateGrid = () => {
      const columnCount = Math.ceil(window.innerWidth / CELL_SIZE);
      setColumns(columnCount);
      const rowCount = Math.ceil(window.innerHeight / CELL_SIZE);
      setRows(rowCount);
    };
    // calculate the grid on load
    calculateGrid();
    // recalculate grid on resize
    window.addEventListener('resize', calculateGrid);
    // cleanup
    return () => {
      window.removeEventListener('resize', calculateGrid);
    };
  }, []);

  return (
    <Container columns={columns}>
      {Array.from({ length: columns * rows }).map((_, i) => (
        <Cell key={i} />
      ))}
    </Container>
  );
}

export default Grid;
让我们来分析一下。
我们设计Container元素的样式,使其覆盖整个视口(100vw和100vw)并绝对定位在左上角。
我们在这里使用 CSS 网格,并根据主组件的 prop 确定列数Grid。
组件Grid保存状态中的列数和行数。这些值useEffect在组件安装时运行的 内部计算。
该calculateGrid函数确定我们需要用 s 覆盖整个屏幕所需的列数和行数Cell。我们只调用一次(因此它会在组件挂载时运行),并将其添加到事件监听器中。如果用户调整屏幕大小,行数和列数将重新计算。
最后,我们Cell利用一个小技巧,根据列数和行数来渲染组件Array.from。
让我们删除一些样板并Grid在其中渲染组件App.tsx:
import './App.css';
import Grid from './components/Grid';

function App() {
  return (
    <Grid />
  );
}

export default App;
我们现在应该有一个响应用户浏览器宽度的网格!
指针
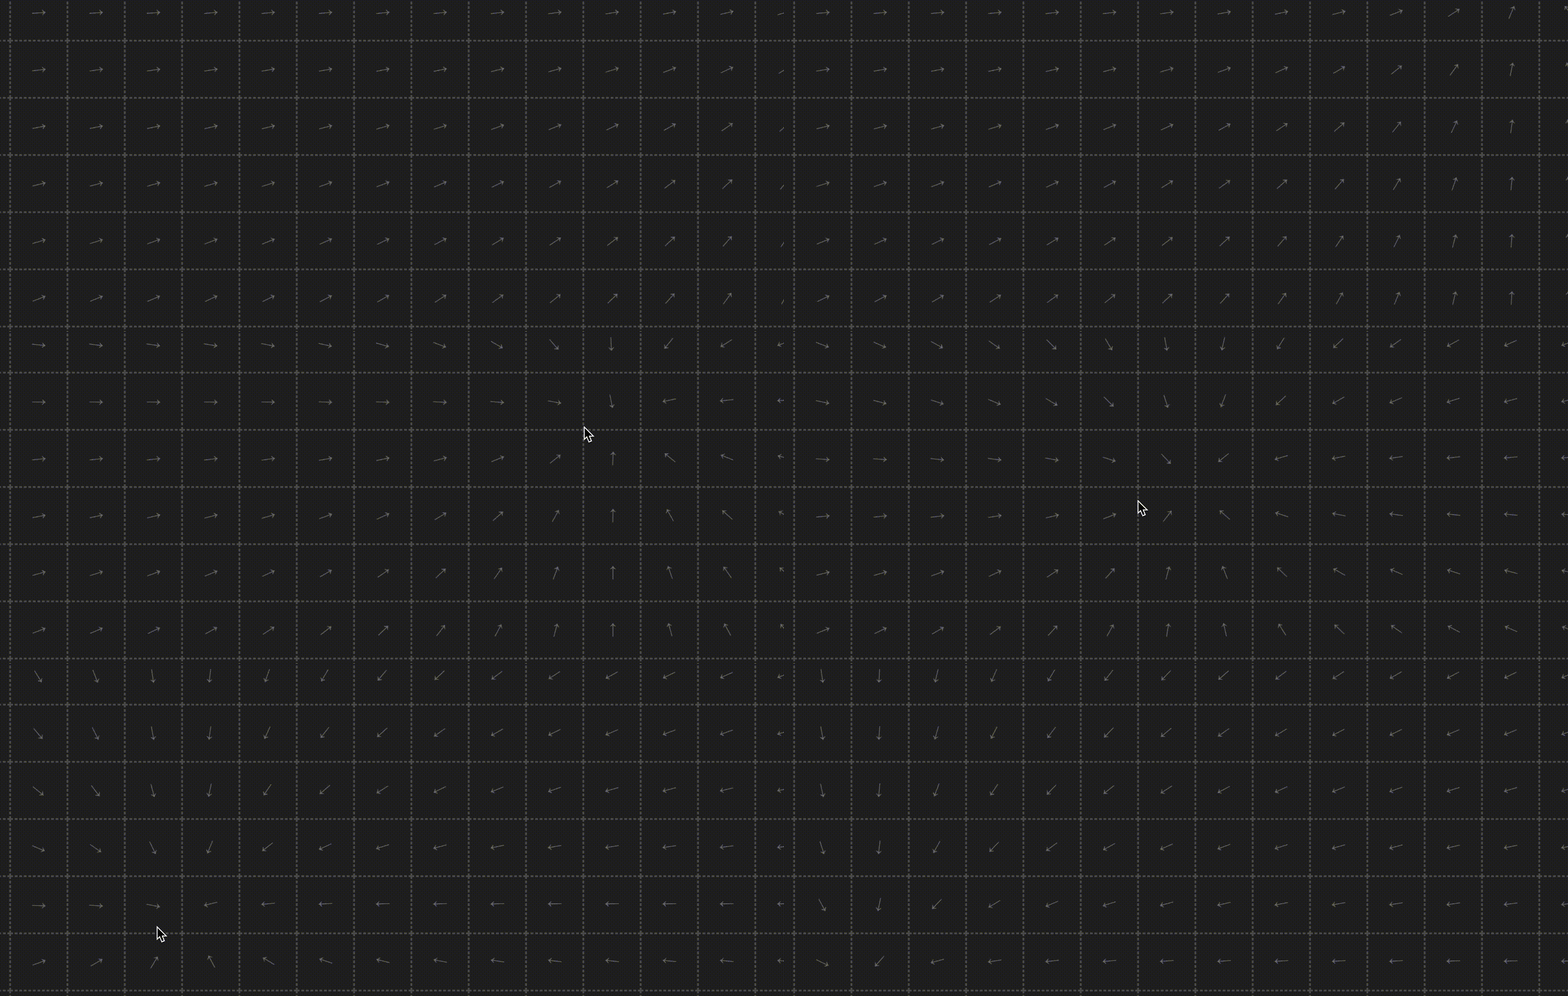
我们有静态网格和箭头,现在我们希望它们指向鼠标光标。
将以下内容添加到Grid组件:
import { animate, motion, useMotionValue } from 'framer-motion';

// ...

// mouse position
const mouseX = useMotionValue(0);
const mouseY = useMotionValue(0);

// handle mouse move on document
useEffect(() => {
    const handleMouseMove = (e: MouseEvent) => {
        // animate mouse x and y
        animate(mouseX, e.clientX);
        animate(mouseY, e.clientY);
    };
    // recalculate grid on resize
    window.addEventListener('mousemove', handleMouseMove);
    // cleanup
    return () => {
        window.removeEventListener('mousemove', handleMouseMove);
    };
}, []);

// ...

<Cell key={i} mouseX={mouseX} mouseY={mouseY} />
这里我们新增了一个状态,它将鼠标光标的坐标存储为运动值。这意味着我们可以将这些值传递给 Framer Motion 来处理动画。
我们为窗口对象添加了一个事件监听器,animate每当鼠标移动时,它会使用一个函数来更新 motion 值。我们将这个值作为 prop 传递给每个单元格。
现在,讨论Cell组件:
import { motion, MotionValue, useTransform } from 'framer-motion';
import { useState, useRef } from 'react';

// ...

interface CellProps {
  mouseX: MotionValue<number>;
  mouseY: MotionValue<number>;
}

const Cell: React.FC<CellProps> = ({ mouseX, mouseY }) => {
  const [position, setPosition] = useState([0, 0]);
  const ref = useRef<HTMLDivElement>(null);

    return <Container ref={ref}>→</Container>;
};

// ...
我们在这里接收鼠标坐标道具并将它们输入为包含数字的运动值。
我们希望确定每个单元格的位置。为此,我们添加了 state 来保存坐标,并ref添加了一个 React 来引用单元格的 DOM 元素。
让我们添加一个useEffect将单元格的中心位置设置为状态:
import { useState, useRef, useEffect } from 'react';

// ...

useEffect(() => {
    if (!ref.current) return;
    const rect = ref.current.getBoundingClientRect();
    // center x coordinate
    const x = rect.left + CELL_SIZE / 2;
    // center y coordinate
    const y = rect.top + CELL_SIZE / 2;
    setPosition([x, y]);
}, [ref.current]);

// ...
每个单元格现在都知道它自己的坐标,并传递鼠标光标的坐标。
我们需要确定从当前单元格到鼠标光标的线的角度:
// ...

const direction = useTransform<number, number>(
    [mouseX, mouseY],
    ([newX, newY]) => {
        const diffY = newY - position[1];
        const diffX = newX - position[0];
        const angleRadians = Math.atan2(diffY, diffX);
        const angleDegrees = Math.floor(angleRadians * (180 / Math.PI));
        return angleDegrees;
    }
);

// ...

return (
  <Container ref={ref}>
    <motion.div style={{ rotate: direction }}>→</motion.div>
  </Container>
);

// ...
我们使用useTransformFramer Motion 的 hook 来实现这一点。它接收运动值,对其进行转换,然后返回一个新的运动值。
这里的关键部分是Math.atan2我们用来计算单元格中心与鼠标光标之间角度的方法。我们将角度从弧度转换为度数,以便直接传递给箭头。
箭头被包裹在 a 中motion.div,我们将新的运动值传递给它以进行动画处理。
箭头现在应该跟随鼠标光标!
聚光灯
我们已经有一个非常酷的效果,但接下来的润色将使它更加令人印象深刻。
首先,我们将向我们的Grid样式添加以下样式Container:
mask-image: radial-gradient(
    300px 300px,
    rgba(0, 0, 0, 1),
    rgba(0, 0, 0, 0.4),
    transparent
);
mask-repeat: no-repeat;
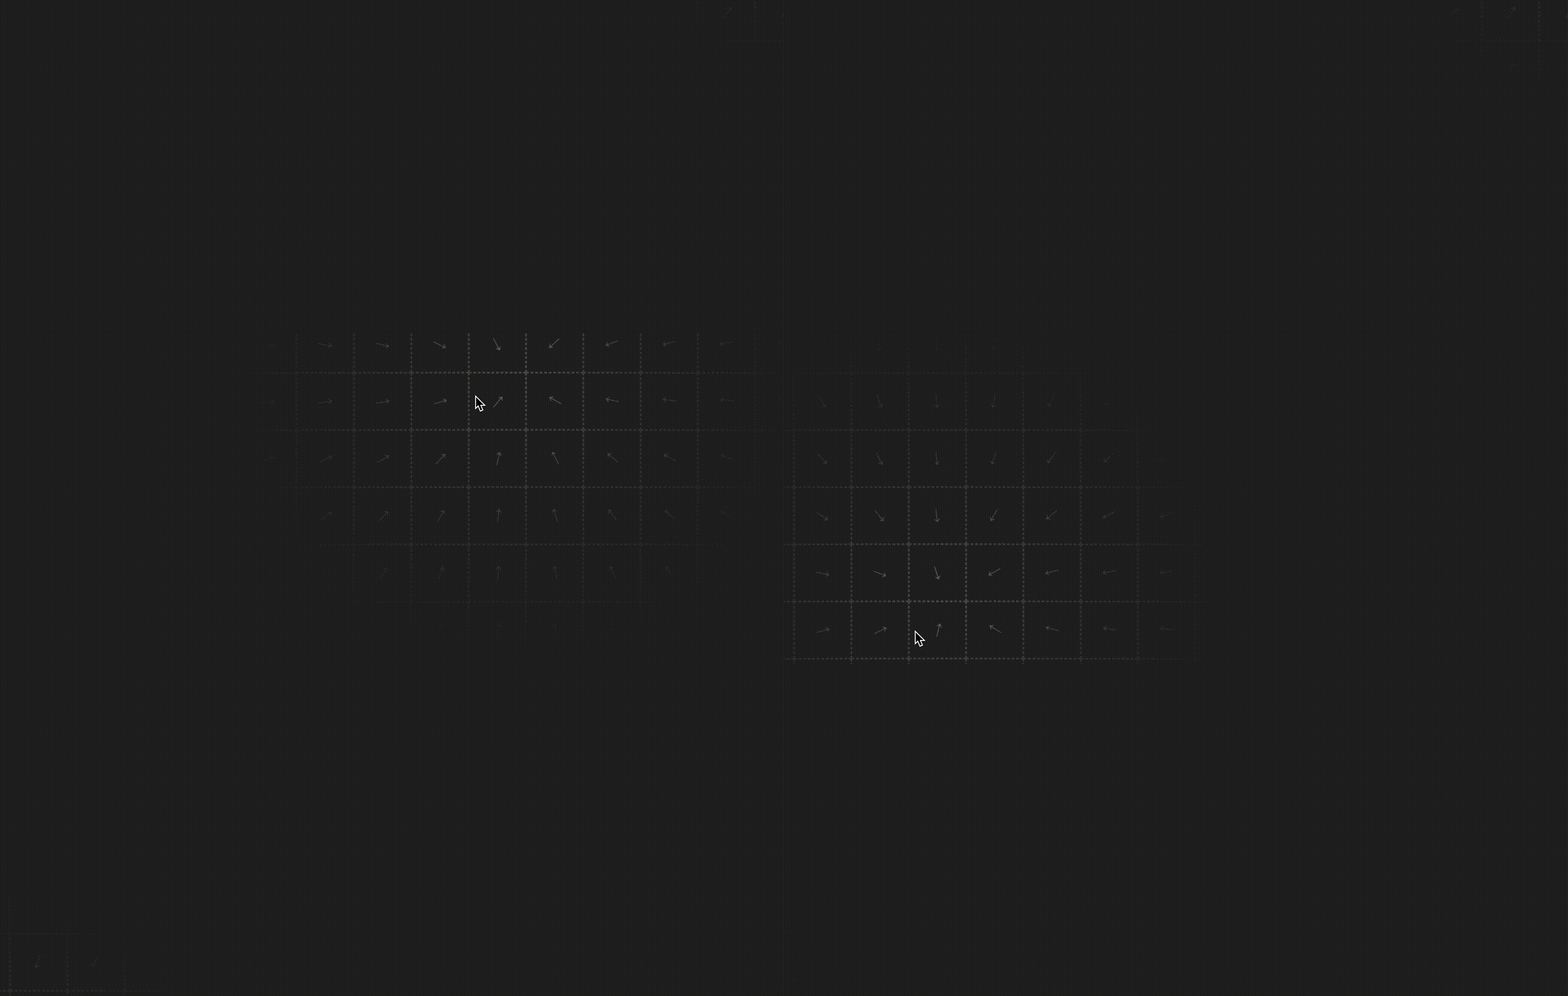
现在我们应该看到箭头网格的中间被点亮,而外部则变暗。我们希望这个中心蒙版能够跟随鼠标移动。
在组件中的鼠标坐标运动值下方添加以下内容Grid:
import {
  animate,
  motion,
  useMotionTemplate,
  useMotionValue,
  useTransform,
} from 'framer-motion';

// ...

const centerMouseX = useTransform<number, number>(mouseX, (newX) => {
    return newX - window.innerWidth / 2;
});
const centerMouseY = useTransform<number, number>(mouseY, (newY) => {
    return newY - window.innerHeight / 2;
});
const WebkitMaskPosition = useMotionTemplate`${centerMouseX}px ${centerMouseY}px`;

// ...
默认情况下,我们的遮罩将位于屏幕中心,其位置将以此为基准。我们变换当前鼠标位置,使坐标以屏幕中心为基准。
然后,我们使用 Framer Motion 的钩子创建一个运动模板值,并将其添加到我们Grid的Container组件中,如下所示:
// ...

<Container columns={columns} style={{ WebkitMaskPosition }}>

// ...
我们现在应该有一个跟随鼠标光标的聚光灯!
速度淡出
为了完成最后的润色,我们需要做一些体操来使其顺利完成,所以请注意。
在组件中我们之前的鼠标运动值下Grid,添加以下内容:
import {
  animate,
  motion,
  useMotionTemplate,
  useMotionValue,
  useTransform,
  useVelocity,
} from 'framer-motion';

// ...

// eased mouse position
const mouseXEased = useMotionValue(0);
const mouseYEased = useMotionValue(0);
// mouse velocity
const mouseXVelocity = useVelocity(mouseXEased);
const mouseYVelocity = useVelocity(mouseYEased);
const mouseVelocity = useTransform<number, number>(
    [mouseXVelocity, mouseYVelocity],
    ([latestX, latestY]) => Math.abs(latestX) + Math.abs(latestY)
);
// map mouse velocity to an opacity value
const opacity = useTransform(mouseVelocity, [0, 1000], [0, 1]);

// ...
我们创建一个 motion 值,它再次保存鼠标坐标,只不过这次的坐标是缓和的。这最终会给我们带来淡出效果。
我们通过将 x 和 y 坐标的速度与 Framer Motion 的钩子相结合来确定鼠标光标的速度useVelocity。
从那里,我们将鼠标速度(我发现到的范围0效果很好)映射到和1000之间的不透明度值。01
快完成了。我们只需要在鼠标移动时为缓和的鼠标坐标添加动画效果。我们的handleMouseMove函数Grid应该如下所示:
import {
  animate,
  AnimationOptions,
  motion,
  useMotionTemplate,
  useMotionValue,
  useTransform,
  useVelocity,
} from 'framer-motion';

// ...

const handleMouseMove = (e: MouseEvent) => {
    // animate mouse x and y
    animate(mouseX, e.clientX);
    animate(mouseY, e.clientY);
    // animate eased mouse x and y
    const transition: AnimationOptions<number> = {
        ease: 'easeOut',
        duration: 1,
    };
    animate(mouseXEased, e.clientX, transition);
    animate(mouseYEased, e.clientY, transition);
};

// ...
现在我们将不透明度值传递给我们style的 prop :GridContainer
// ...

<Container
    columns={columns}
    style={{
        opacity,
        WebkitMaskPosition,
    }}
>

// ...
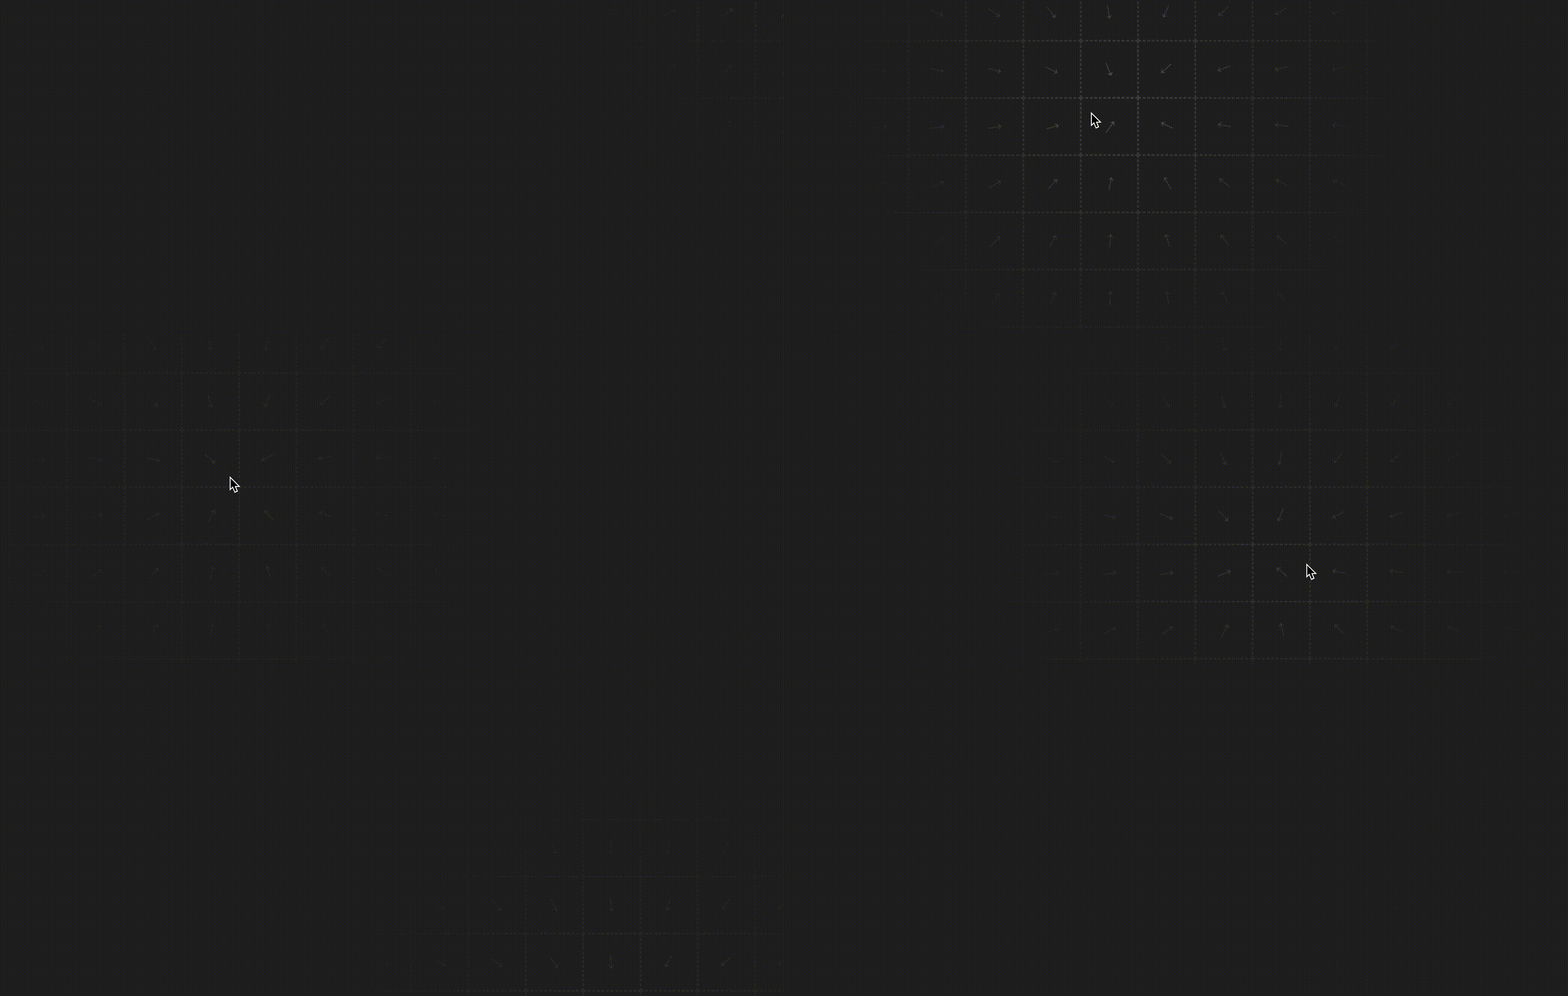
网格现在应该会根据用户鼠标速度淡入淡出。这部分真正将动画整合在一起。
恭喜你取得了如此大的进步!
这里有一些技巧可以让你发挥创造力。这对我来说是一次学习经历,我期待着更深入地探索。
您可以查看最终的项目 repo来查看最终的代码,这里再次提供演示的链接。
过程中遇到过什么问题吗?你觉得有哪些地方可以改进?你有没有利用这些技巧创作其他作品?
我很乐意在评论中听到它!
鏂囩珷鏉ユ簮锛�https://dev.to/arielbk/how-to-make-an-advanced-pointer-animation-ts-react-and-framer-motion-2p39 后端开发教程 - Java、Spring Boot 实战 - msg200.com


