为您的下一个项目添加“物理”智能按钮
硬件
软件
轮到你了……
最近我突然有个想法想探索一下:如果我能构建一个真正的按钮,并让它只用一个 URL(webhook)就能触发任何操作,会怎么样?在这篇简短的文章中,我会带你了解我是如何在一个晚上就构建这个项目的:
(见推文)
观看实际操作:
让我们开始吧...
硬件
物理按钮
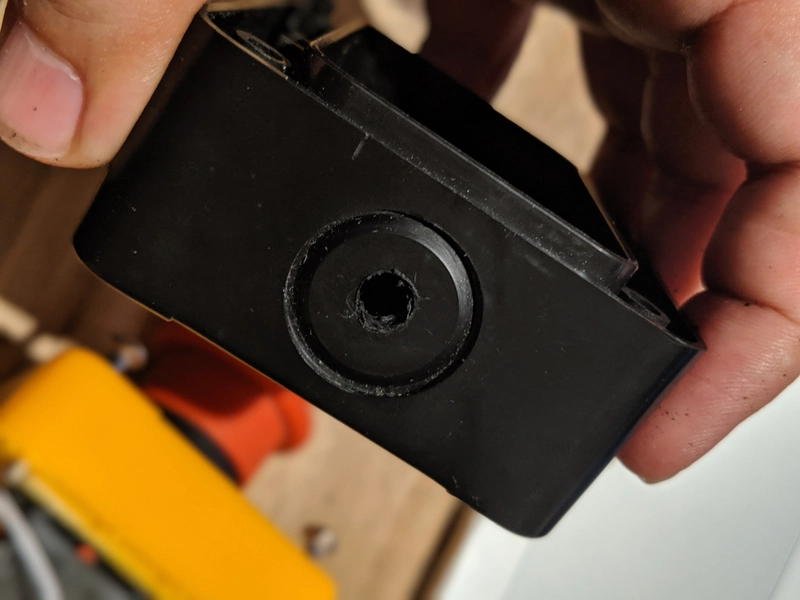
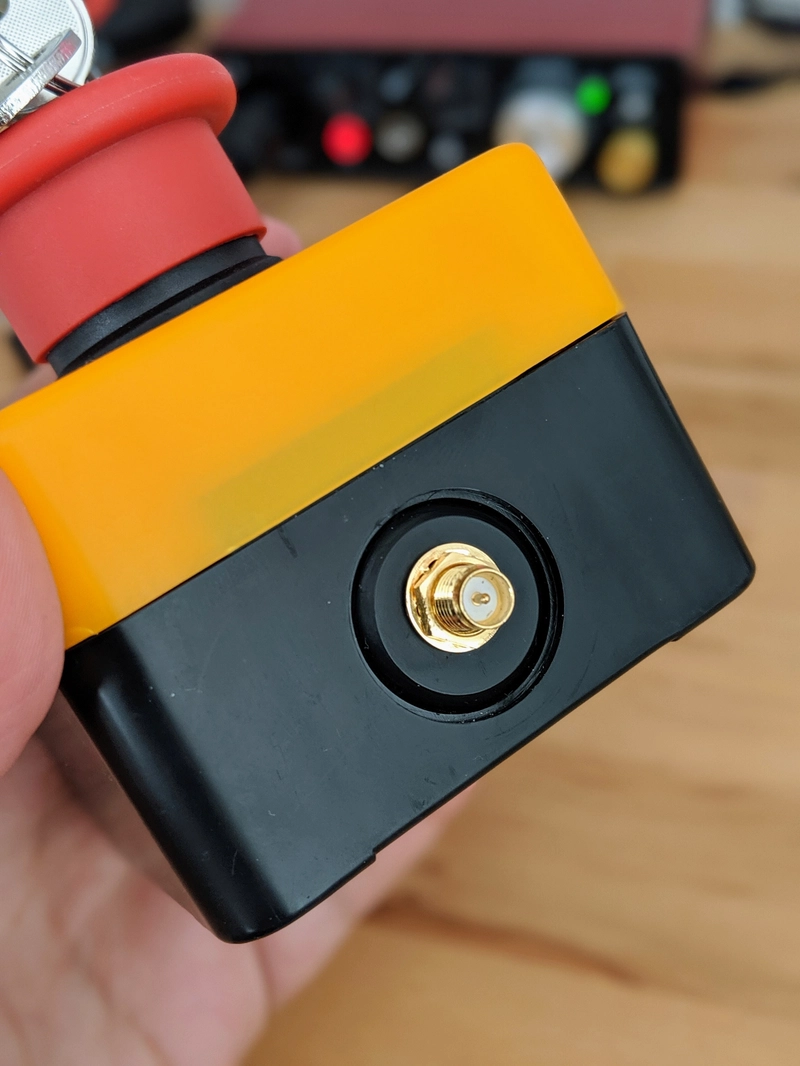
首先,我需要一个实体按钮(这显而易见吧?)。幸运的是,几周前我已经在亚马逊上订购了一个“紧急按钮” 。我偶然发现了这个很酷的按钮,决定买下来,以防有一天我需要用它来做东西。看来我的猜想是对的!
当然,您可以使用任何其他按钮,只要确保它有一个锁定开关(这样更现实!)但可以随意使用任何其他类型的开关。
刨花板(大脑)
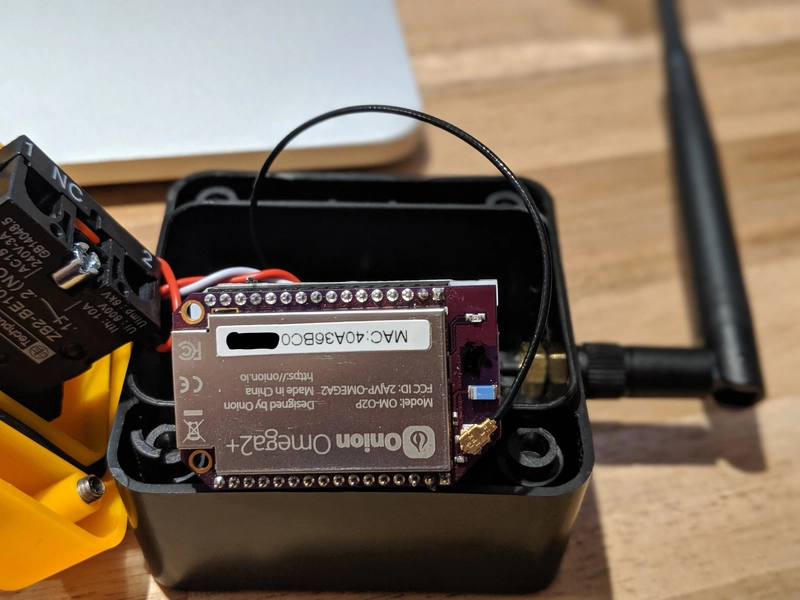
我超级喜欢Onion Omega开发板。其实我有很多这样的开发板(你知道,以防万一)。我每个物联网项目都会用到它们,比如我的“语音控制站立式办公桌”小程序。
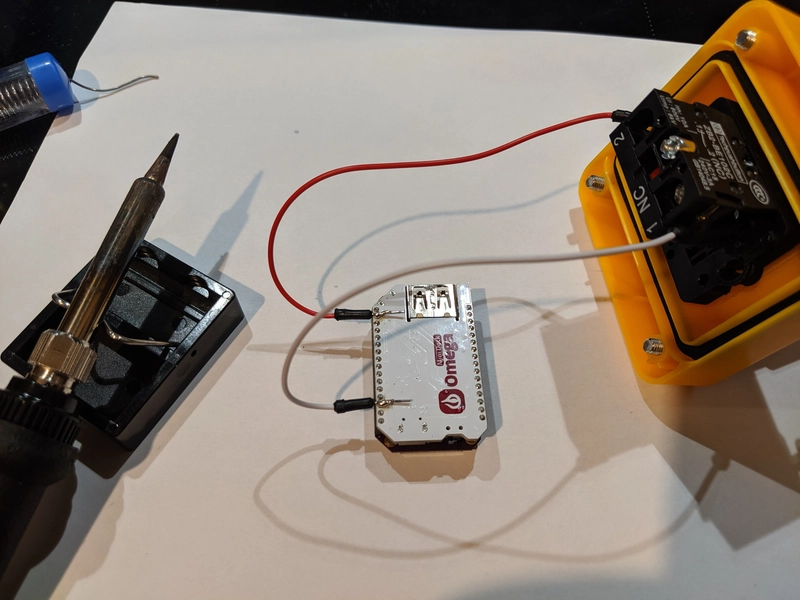
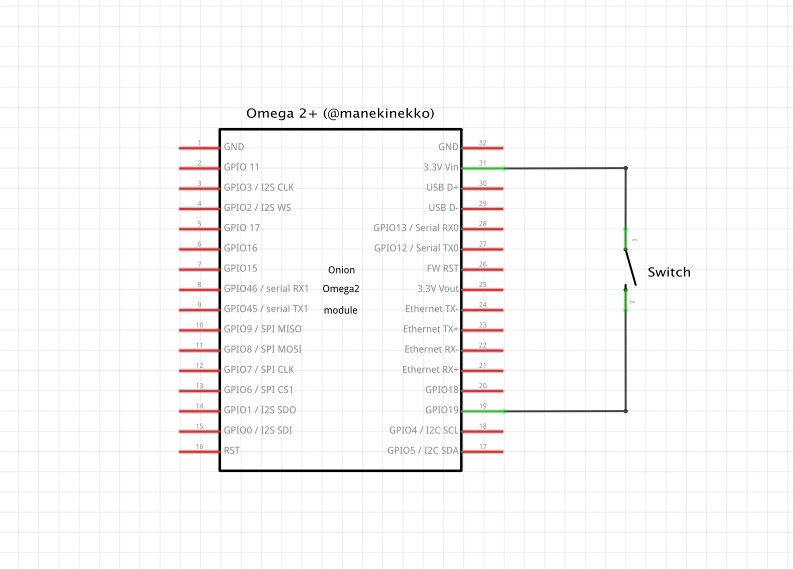
对于这种设置,事情会变得容易得多,因为我们只需要连接 2 根电线(焊料,来自按钮的开关并进入 Omega2+ 引脚)。
这是 Fritzing 图:
如果您想了解有关 Onion Omega2+ 板的更多信息,这里有一个很棒的入门教程。
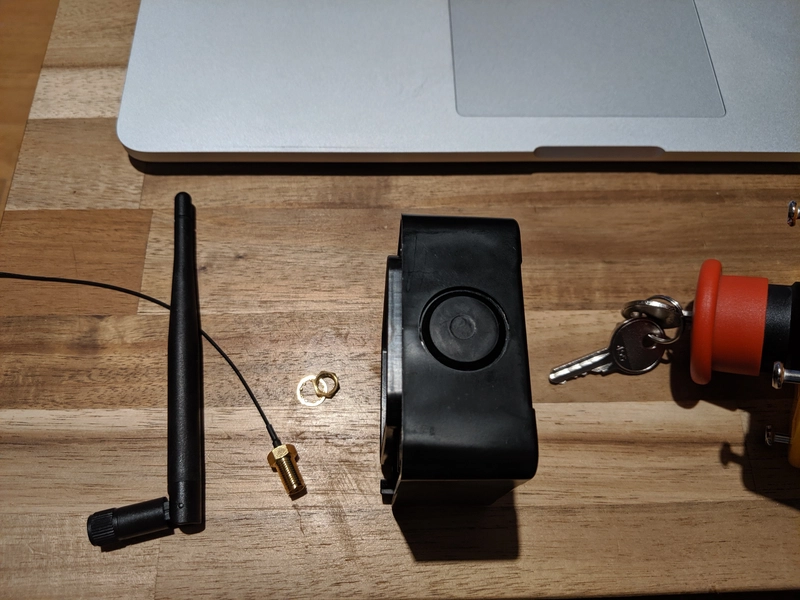
Wifi天线
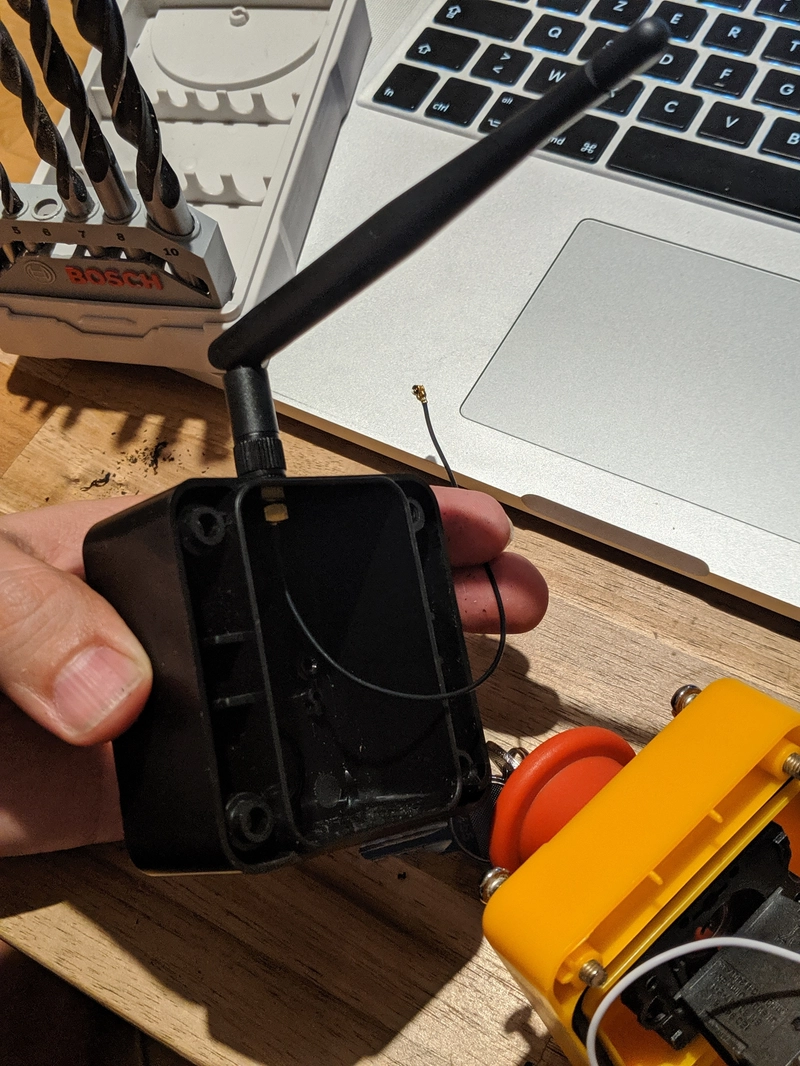
有一件事(并非强制性要求)是为 Onion Omega2+ 开发板使用外部 Wifi 天线。这是为了防止由于表面贴装 (SMT) 天线导致信号丢失。
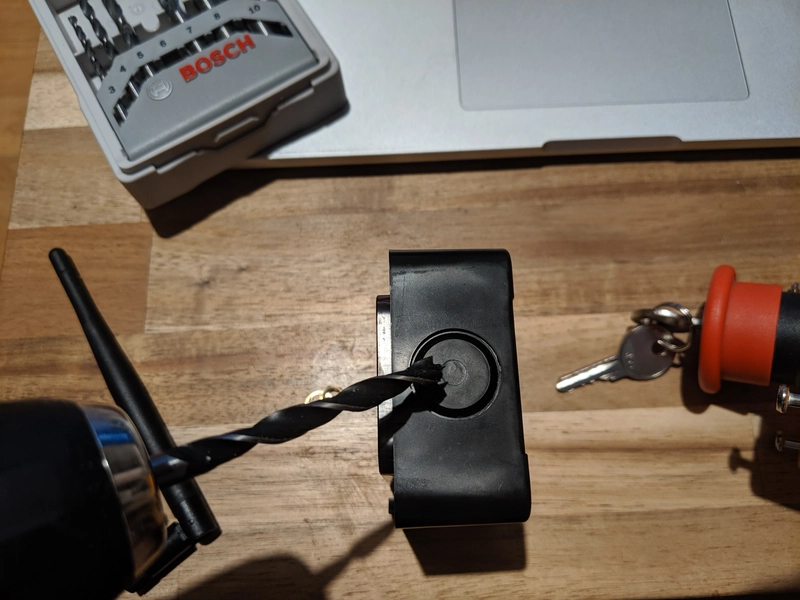
我的设置使用了工具箱里闲置的一根 6dBi 天线。只需确保你的天线兼容 u.FL 连接器即可。如果你想了解更多关于如何连接此类天线的信息,我强烈建议你阅读洋葱指南。
把所有东西放在一起
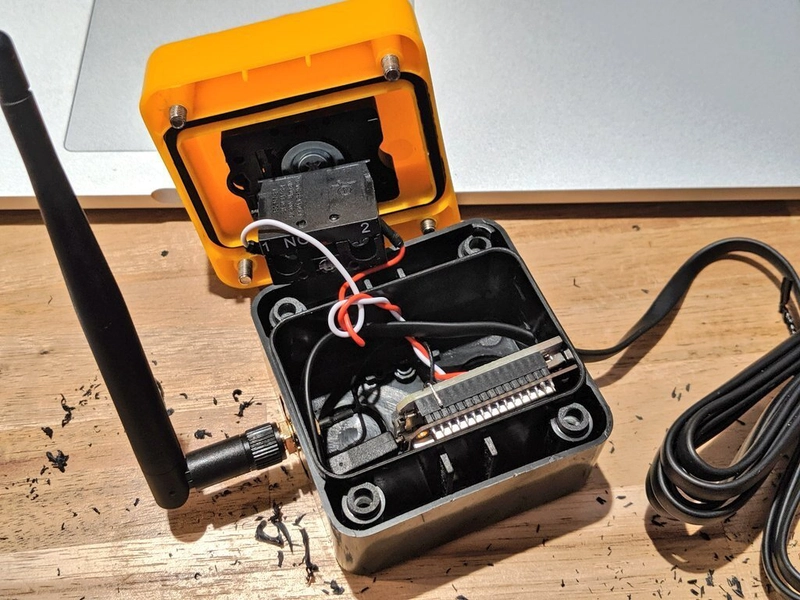
最后,我们需要将微型 USB 电缆连接到 Omega2+(为电路板供电)并将所有东西紧密地放置在按钮盒内:
软件
至于软件部分,正如我之前提到的,这是一个简单的设置,我们实际上可以选择任何能够与 HTTP 端点通信的技术(Python、Node……)。为了完成这个快速的 DIY 项目,我编写了一个简短的 Shell 脚本来处理按钮的行为。我在代码中添加了注释:
| #!/bin/ash | |
| # set the input pin | |
| IN_PIN=19 | |
| WEBHOOK=https://my-awesome-endpoint.dev/build-id | |
| LOCK_FILE=/tmp/yolo.lock | |
| # set the state direction of the pin | |
| fast-gpio set-input $IN_PIN | |
| while true | |
| do | |
| # get the state value '0' or '1' from the pin | |
| # - '0': means the button is pressed | |
| # - '1': means the button is relased | |
| # NOTE: make sure the 'GPI19' string matches the $PIN number | |
| state=$(fast-gpio read $IN_PIN | awk '/Read GPI19:/ {print $4}') | |
| # if the pin state is '0', this means the button is being pressed | |
| if [ "$state" = "0" ]; then | |
| echo "YOLO Button Engaged..." | |
| if [ -f "$LOCK_FILE" ]; then | |
| # check if the button is already in lock mode (the button is pressed and locked) | |
| # in this case, we just show the followingg message and skip. | |
| echo "Command Loaded & Locked!" | |
| echo ">Release Button to Cancel." | |
| else | |
| # when the button is pressed and not in lock mode, | |
| # we go ahead and ping the $WEBHOOK url AND create a lock file. | |
| curl -X POST -d {} $WEBHOOK | |
| touch $LOCK_FILE | |
| echo "Engaging Command..." | |
| fi | |
| else | |
| # if the pin state is '1', this means the button is being released | |
| # we delete the lock file to clear the state | |
| [ -f $LOCK_FILE ] && rm $LOCK_FILE | |
| echo "YOLO Button ready!" | |
| fi | |
| sleep 1 | |
| clear | |
| done |
这段代码的作用基本上是启动一个循环,并持续监听$PIN状态变化。按下按钮时,我们会激活连接两根电线的开关,使电路闭合。此时,Omega 2+ 开发板会接收到一个高电压 (3.3V) $PIN。使用fast-gpio附带的套件,我们可以读取状态。
- 值
0表示按钮被按下。 - 值表示
1按钮被释放。
其余逻辑仅用于处理此特定按钮的按下和锁定模式,这是因为此按钮使用了锁存开关。
轮到你了……
现在,你可能想知道这个按钮能做什么?说实话,这个按钮的用途非常广泛,但基本上,任何暴露 HTTP 端点(部署 URL、无服务器 API 等)的服务都是不错的选择!
如果您想开始尝试并将此按钮挂接到 API,您可以尝试 Azure Functions,它可以让您快速创建应用程序逻辑并将其部署到无服务器环境,看看如何做到这一点。
在下面的评论中让我知道您会用它做什么(发挥创意)?
享受。
鏂囩珷鏉ユ簮锛�https://dev.to/wassimchegham/add-a-physical-smart-button-to-your-next-project-m85 后端开发教程 - Java、Spring Boot 实战 - msg200.com

