使用 i18next + react-i18n 实现国际化
我希望这能对你有所帮助!
嘿,这只是一个例子,在我的计算机上有效!
了解如何应对不同类型的用户至关重要,而语言是其中最重要的障碍之一,因此,你的项目具备某种国际化能力至关重要。
在你的项目中实现国际化有很多方法,但我发现最快捷、最简单的方法是使用 i18next + react-i18n。
如何:
- 创建您的项目(我使用vite):
npm create vite@latest
- 将 i18next + react-i18n 添加到你的项目中
npm install react-i18next i18next --save
- 创建一个名为的文件夹
lib并创建一个名为的文件i18n.ts:> 应该看起来像这样
import i18n from "i18next";
import { initReactI18next } from "react-i18next";

i18n.use(initReactI18next).init({
  resources: {},
  lng: "en", // the default language you want on your project

});
- 创建另一个
src名为 的文件夹locale,您可以在其中添加.json文件,在此示例中我创建了两个:en.json对于英语和pt.json葡萄牙语:en.json
{
    "translation":{
        "header": "Our Header",
        "footer": "Our Footer {{year}}"
    }
}
pt.json
{
    "translation":{
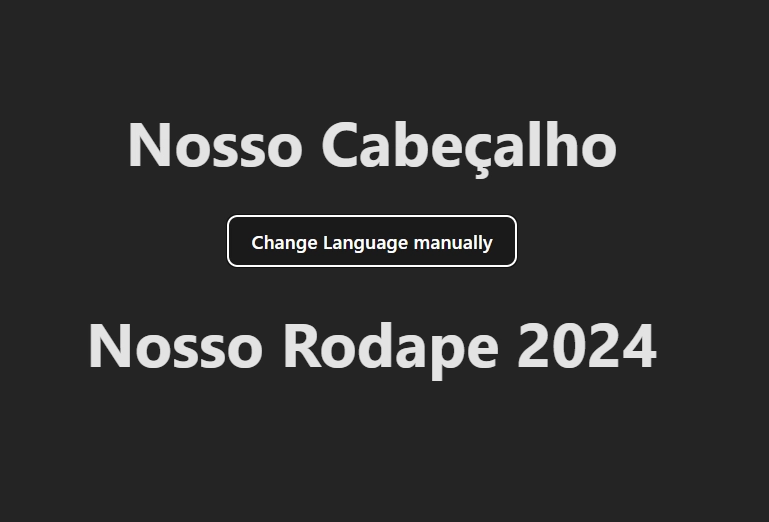
        "header": "Nosso Cabeçalho",
        "footer": "Nosso Rodape {{year}}"
    }
}
现在回到你的i18n.ts文件:
应该看起来像这样
import i18n from "i18next";
import { initReactI18next } from "react-i18next";

//Add the translation files
import enTranslations from "../locale/en.json";
import ptTranslations from "../locale/pt.json";

i18n.use(initReactI18next).init({
  resources: {

    en: { ...enTranslations },

    pt: { ...ptTranslations },

  },
  lng: "en",

});
最后步骤!
- 转到您的
main.tsx文件并导入 i18n.ts 文件:
import "./lib/i18n.ts";
现在我们必须利用这一点,让我们继续 App.tsx
- 让我们添加
useTranslation钩子:
  const {
    t,
    i18n: { changeLanguage, language },
  } = useTranslation();
- 创建一个 useState 来在语言之间切换:
const [currentLang, setCurrentLang] = useState(language);
- 创建一个简单的函数来切换语言:
  const switchLang = () => {

    const newLang = currentLang === "en" ? "pt" : "en";

    changeLanguage(newLang);

    setCurrentLang(newLang);
  };
- 更改您的 App.tsx 以便我们可以测试我们的理论!
应该看起来像这样
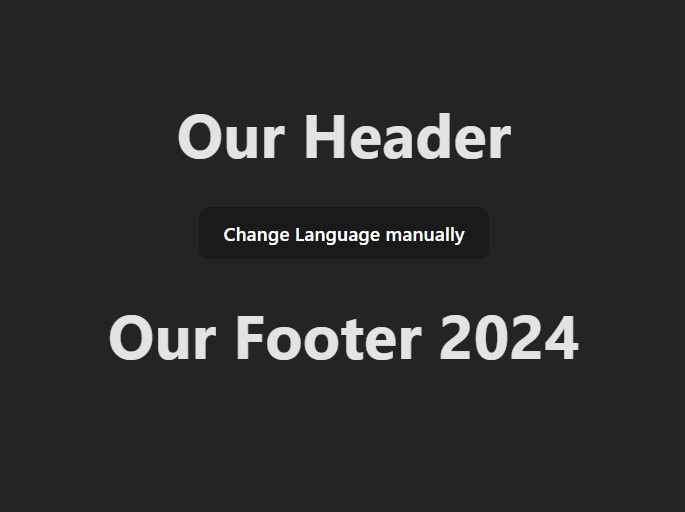
 return (

    <>

      <h1>{t("header")}</h1>

      <button type="button" onClick={switchLang}>
        Change Language manually
      </button>

      <footer>
        <h1>{t("footer", { year: new Date().getFullYear() })}</h1>
      </footer>

    </>

  );
- 如您所见,要使用翻译,我们必须将我们在 .json 语言上创建的标记传递给它
t。useTranslation
结果
我希望这能对你有所帮助!
如何找到我?
鏂囩珷鏉ユ簮锛�https://dev.to/guim0/internationalization-with-i18next-react-i18n-4m28 后端开发教程 - Java、Spring Boot 实战 - msg200.com

