使用 HTML/CSS 开发《星球大战》片头
步骤 1:创建背景
第 2 步:添加著名的介绍短语
步骤 3:显示徽标
步骤 4:添加滚动文本
最后一步:音乐
最后的想法
尽管《星球大战:最后的绝地武士》是一部引起争议的电影(我保证这不是本文的重点),但它启发我开发出最无用的东西:仅使用 HTML、CSS 和少量 Javascript(但出于一个很酷的原因)来制作该系列著名的开场动画。
爬行包含5个基本要素:
- 背景
- 介绍短语
- 徽标
- 文本
- 音乐
我将简单介绍必要的步骤,从构建每个元素到最后的润色,例如添加约翰·威廉姆斯的著名曲目。
步骤 1:创建背景
让我们做一些比添加太空图片更新颖的事情。让我们随机生成星星!
JS:
// Sets the number of stars we wish to display
const numStars = 100;

// For every star we want to display
for (let i = 0; i < numStars; i++) {
  let star = document.createElement("div");
  star.className = "star";
  var xy = getRandomPosition();
  star.style.top = xy[0] + 'px';
  star.style.left = xy[1] + 'px';
  document.body.append(star);
}

// Gets random x, y values based on the size of the container
function getRandomPosition() {
  var y = window.innerWidth;
  var x = window.innerHeight;
  var randomX = Math.floor(Math.random()*x);
  var randomY = Math.floor(Math.random()*y);
  return [randomX,randomY];
}
CSS:
body {
  margin: 0;
  background-color: black;
}

.star {
  position: absolute;
  width: 1px;
  height: 1px;
  background-color: white;
}
太棒了!现在我们有了一个漂亮的背景来展示爬行视频了。
它看起来像这样(请注意,这张图片上的星星很难看清,因为它们只有一个像素宽,但一旦你真正实现它们,它们会看起来不错,我向你保证):
第 2 步:添加著名的介绍短语
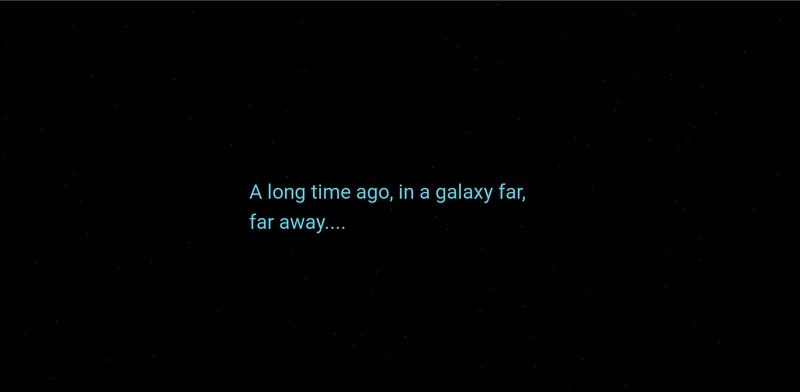
很久以前,在一个遥远的星系......
每个人在一生中都已经听过、看到过或低声说过这句话,所以让我们添加它(并附带必要的效果)。
HTML:
...

<section class="intro">
  A long time ago, in a galaxy far,<br> far away....
</section>
CSS:
...

/* Center it, set the color, size and hide the text */
.intro {
    position: absolute;
    top: 45%;
    left: 50%;
    z-index: 1;
    animation: intro 6s ease-out 1s;
    color: rgb(75, 213, 238);
    font-weight: 400;
    font-size: 300%;
    opacity: 0;
}

@keyframes intro {
    0% {
        opacity: 0;
    }
    20% {
        opacity: 1;
    }
    90% {
        opacity: 1;
    }
    100% {
        opacity: 0;
    }
}
结果:
步骤 3:显示徽标
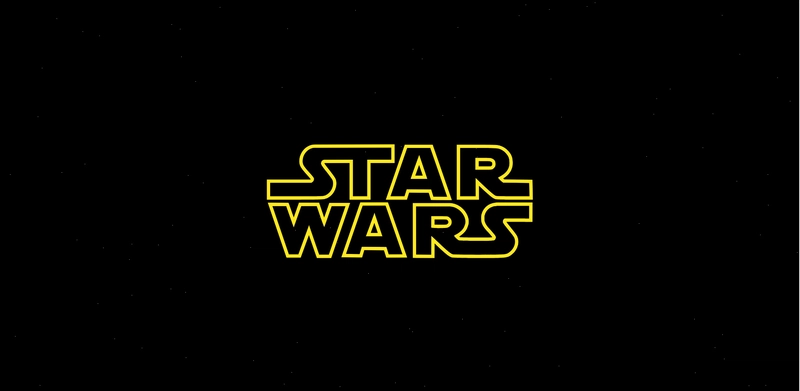
徽标对于这个开场序列至关重要,下面是我添加它的方式。
HTML:
...

<section class="logo">
    <!-- SVG GOES HERE -->
</section>
由于SVG文件很长,我已将其上传到这里供您复制和粘贴。
CSS:
...

/* Set the animation & hide the logo */
.logo {
    position: absolute;
    top: 20%;
    left: 45%;
    z-index: 1;
    margin: auto;
    animation: logo 9s ease-out 9s;
    opacity: 0;
}

.logo svg {
    width: inherit;
}

/* Scale the logo down and maintain it centered */
@keyframes logo {
    0% {
        width: 18em;
        transform: scale(2.75);
        opacity: 1;
    }
    50% {
        opacity: 1;
        width: 18em;
    }
    100% {
        opacity: 0;
        transform: scale(0.1);
        width: 18em;
    }
}
就这样,我们美丽的动画标志就出现了:
步骤 4:添加滚动文本
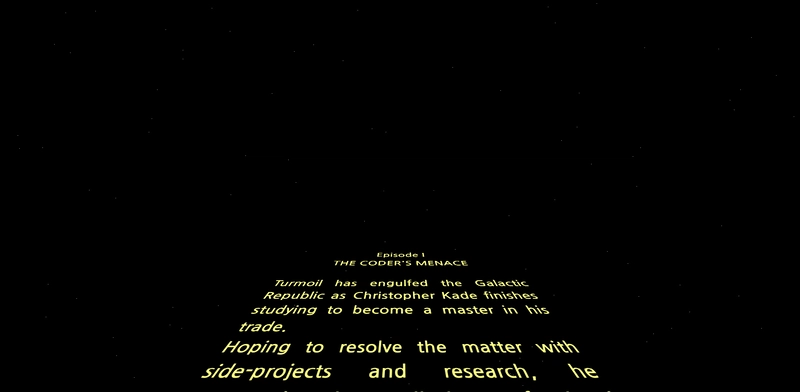
这可能是爬行过程中最重要的部分,但实现起来相当容易。
HTML:
...

<!-- Change the text to your liking -->
<div id="board">
  <div id="content">
    <p id="title">Episode I</p>
    <p id="subtitle">THE CODER'S MENACE</p>
    <br>
    <p>Turmoil has engulfed the Galactic Republic as Christopher Kade finishes studying to become a master in his trade.</p>
    <!-- Add as many paragraphs as you want -->
    <!-- And make it cheesy ! -->
  </div>
</div>
CSS:
...

p {
  color: #FFFF82;
}

/* Set the font, lean the board, position it */
#board {
  font-family: Century Gothic, CenturyGothic, AppleGothic, sans-serif;
  transform: perspective(300px) rotateX(25deg);
  transform-origin: 50% 100%;
  text-align: justify;
  position: absolute;
  margin-left: -9em;
  font-weight: bold;
  overflow: hidden;
  font-size: 350%;
  height: 50em;
  width: 18em;
  bottom: 0;
  left: 50%;
}

#board:after {
  position: absolute;
  content: ' ';
  bottom: 60%;
  left: 0;
  right: 0;
  top: 0;
}

/* Set the scrolling animation and position it */
#content {
  animation: scroll 100s linear 16s;
  position: absolute;
  top: 100%;
}

#title, #subtitle {
  text-align: center;
}

@keyframes scroll {
    0% {
        top: 100%;
    }
    100% {
        top: -170%;
    }
}
就这样!
最后一步:音乐
如果没有音乐,《星球大战》会是什么样子?
由于我们已经提前对动画进行了计时,所以这应该是小菜一碟!
首先,下载以下 .mp3文件并将其添加到项目资产中。
然后,在我们的 HTML 文件中添加:
<audio preload="auto" autoplay>
  <source src="@/assets/audio/Star_Wars_original_opening_crawl_1977.mp3" type="audio/mpeg">
</audio>
在页面加载时预加载音乐并自动播放。
瞧,一切都应该按预期进行。
最后的想法
您可以在此codepen上找到成品(不带音乐)。
做一些随机的事情来探索原生 Web 技术的可能性总是很有趣的。我希望这篇文章能给你们中的一些人带来一些行动的启发,也希望在评论区听到大家的分享。
感谢阅读,
克里斯托弗·凯德
 后端开发教程 - Java、Spring Boot 实战 - msg200.com


