没有副驾驶?没问题!现在就在 VSCode 中获取免费 AI!
由 Mux 主办的 DEV 全球展示挑战赛:展示你的项目!
厌倦了依赖 Copilot、Cursor AI 或 ChatGPT 等付费工具?这里介绍如何将功能强大且完全免费的 AI 助手直接集成到 Visual Studio Code 中。按照以下步骤操作,您就能拥有一个触手可及的私人编码导师——没有任何限制!
第一步:设置您的 Groq 帐户
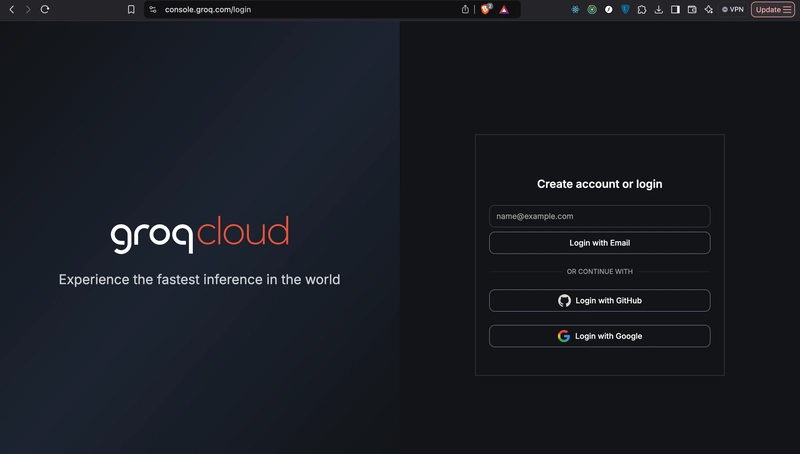
- 访问Groq 控制台。
- 创建账户或登录。
- 导航至API 密钥并创建一个新密钥。

- 重要提示:请立即复制并保存您的 API 密钥——它只会显示一次!

步骤 2:安装 Continue 扩展程序
- 打开 Visual Studio Code。
- 在扩展程序市场中搜索“继续” 。
- 安装扩展程序。
步骤 3:配置继续扩展

- 打开已安装的扩展程序,然后点击齿轮图标(页面顶部从右数第三个图标)。
- 将会打开一个配置文件。请将其内容替换为以下内容:
   {
     "models": [
       {
         "model": "AUTODETECT",
         "title": "Ollama",
         "apiBase": "http://localhost:11434",
         "provider": "ollama"
       },
       {
         "model": "AUTODETECT",
         "title": "Groq",
         "apiKey": "YOUR_GROQ_API_KEY",
         "provider": "groq"
       }
     ],
     "customCommands": [
       {
         "name": "test",
         "prompt": "{{{ input }}}\n\nWrite a comprehensive set of unit tests for the selected code. It should setup, run tests that check for correctness including important edge cases, and teardown. Ensure that the tests are complete and sophisticated. Give the tests just as chat output, don't edit any file.",
         "description": "Write unit tests for highlighted code"
       }
     ],
     "tabAutocompleteModel": {
       "title": "codeqwen",
       "provider": "ollama",
       "model": "starcoder2:3b"
     },
     "contextProviders": [
       { "name": "code", "params": {} },
       { "name": "docs", "params": {} },
       { "name": "diff", "params": {} },
       { "name": "terminal", "params": {} },
       { "name": "problems", "params": {} },
       { "name": "folder", "params": {} },
       { "name": "codebase", "params": {} }
     ],
     "slashCommands": [
       { "name": "edit", "description": "Edit selected code" },
       { "name": "comment", "description": "Write comments for the selected code" },
       { "name": "share", "description": "Export the current chat session to markdown" },
       { "name": "cmd", "description": "Generate a shell command" },
       { "name": "commit", "description": "Generate a git commit message" }
     ]
   }
- 替换
YOUR_GROQ_API_KEY为您保存的 API 密钥。保存文件。
第四步:开始使用您的人工智能伙伴!
- 在编辑器中选中任意代码。
- 按Command + L(或您系统上的等效键)打开“继续”菜单。
- 提出问题、请求代码审查或提出解决方案,没有任何限制!
为什么这将改变游戏规则:
- 完全免费:告别订阅费!
- 无限提示:与 ChatGPT 不同,您不受使用次数限制。
- 无缝集成:直接集成到您的 VSCode 工作区中。
- 可自定义:根据您的需要定制命令。
体验更智能、更高效的编码方式。立即设置您的免费 AI 助手,将您的编码工作流程提升到全新水平!🚀
文章来源:https://dev.to/royged/no-copilot-no-problem-get-free-ai-in-vscode-now-1a1g